Ballerina Bunny Wreath Tutorial 2016
Supplies - (Kit with supplies is sold out, but instructions are left up since other products may be substituted)
XX759950 Iridescent White Ribbon Rail (2)
XB94610-01 White Iridescent Snowball Mesh (2)
RC126627 White Tulle 6" x 25 yards
MT20070 Bunny Kit (head, arms, legs) (sold out and no longer produced by the manufacturer)
Assorted 1.5" x 10 yard ribbons - We used three different styles
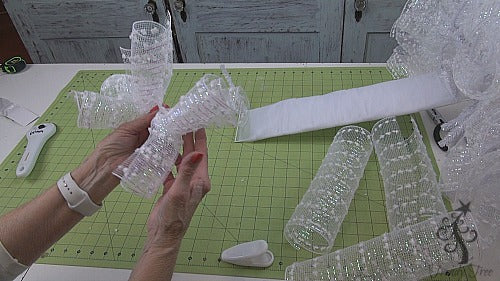
The Ballerina Bunny was a fun project to make and we started off by covering one of the straight ribbon rails with 6" wide white nylon tulle. As you can see from the video, we covered about 4 squares of the ribbon rail with tulle and we really only needed to cover three. Hindsight you know is always 20:20)))
Secure the tulle by attaching to a twist and just wrap the tulle round and round the pencil rail until it is covered well. Cover the first three squares of the rail with tulle. We covered four, but this was too much and made our body too long.
You could use less Tulle for the body of the ballerina, if you covered with rail with something like quilt batting or anything wire. It just took several layers of the tulle to get the rail covered up enough. We used the entire roll of 25 yards, but again, we covered more than we needed to.
The tulle was attached to a twist just below the top of the rail and secured again at the bottom of the rail once it was covered. The raw end was just tucked to the inside of the tulle.
Next we positioned the rails together. The fifth block on the covered rail can be bent towards the back. Then position the body rail (standing upright) to the second rail in the center. Secure with zip ties and clip ends.
The above image is how we first fastened the rails together and later had to be taken apart to make the body shorter.
You can shape the bottom rail slight to achieve the curve of the tutu. You can shape this even more if you need too once the wreath is finished.
The 10" wide white snowball mesh was cut into lengths of 20" We use a 24" x 36" self healing Omnigrid Cutting Mat and a 45mm Omnigrid Rotary Cutter (these are available at Amazon and we have included our affiliate links.)
A ruffle was made by scrunching up through the mesh piece about 3/4 from the mesh edge. The ruffle was then secured into one of the twist on the bottom rail.
If you notice, the twists on the rails are evenly spaced around the rail, but to keep our tutu even, we will have to add in a "twist" in places where there isn't one already on the rail.
When you have created your second ruffle, just re-open the twist and secure on top of the first ruffle. Now you are ready to secure your twist with 3-4 turn since we won't be adding anything else to the twist.
Continue working all around the bottom rail and attach a cluster of two ruffles in the corner where there is no twist.
To do this, you make your cluster of two ruffles, snip a chenille stem in the center and take the piece of chenille stem and lay across the front of your ruffle. Twist in the back a couple of turns and place this "ruffle pick" over the metal rail where you don't have a twist and secure from the back side. It will slip and slide a little, but it won't hurt anything.
Next we added some mesh curls to the top of the straight rail. These were made by cutting mesh into 10" length and rolling up the pieces.
We attached three clusters of curls (each cluster had three curls". One attached to each side at the top (add cluster with chenille stem if you don't have a twist in place to use) and add one to the center at the top using the chenille stem method.
After we had attached the body curls, it was apparent that our body was too long. We should have only covered three squares with tulle and shortened the body rail before attaching. We just clipped the zip ties and started over attaching the two rails together.
You can see in the above image, the bottom square of the body rail was bent upward. Then the rails was placed on the skirt rail and secured with zip ties. Since the tulle covered up the ties, we had to put two zip ties together to make them long enough and secured the two rails together.
This shortened our body. You could adjust the rail at this point to make it however long or short you want. Next we attached the bunny arms.
The arms have a seam, so we positioned the arms to where the seam would be to the inside. The arms are on sticks so they are not flexible.
We positioned the arms to the top of the straight ribbon rail to where the hands would just touch the tutu. Arms were secured with zip ties in two places. The sticks at the top of the rail won't show once the head is attached.
The bunny head has two stakes to secure by and the head was tucked gently into the tulle wrap and secured to the rail with zip ties. The sticks from the arms rested behind the bunny head.
Be sure to snip off all the ends of the zip ties and turn the cut edges to the inside so they won't scratch your wall or door.
After we had our bunny head and arms together, it looked like we needed a little more fullness in the very center front of the skirt. We made two clusters of 20" ruffles and placed them in the center just about on either side of the body rail. We used a chenille stem if there was no twist available.
We had enough mesh left over to make two clusters of curls (these clusters only had two curls each) and secure them underneath the bunny arms on either side.
The bunny legs are attached together with plastic piece, but this is not likely enough to secure them well. Also there is no wire in the legs for shaping so we took a coat hanger, straightened it out and snipped two pieces of wire about the length of the legs. This wire was just worked down into the leg so we could shape them.
The legs were attached to the back of the ribbon rail by placing floral wire around the legs and then securing to the ribbon rail. You can shape the legs after hang the wreath on the door.
You can make a hanger for the wreath by using a couple of zip ties or make a loop out of chenille stems or floral wire.
Next we just added some little extra touch of color with three assorted ribbons 1.5" in width. We did not use all the ribbon, several yards were left over.
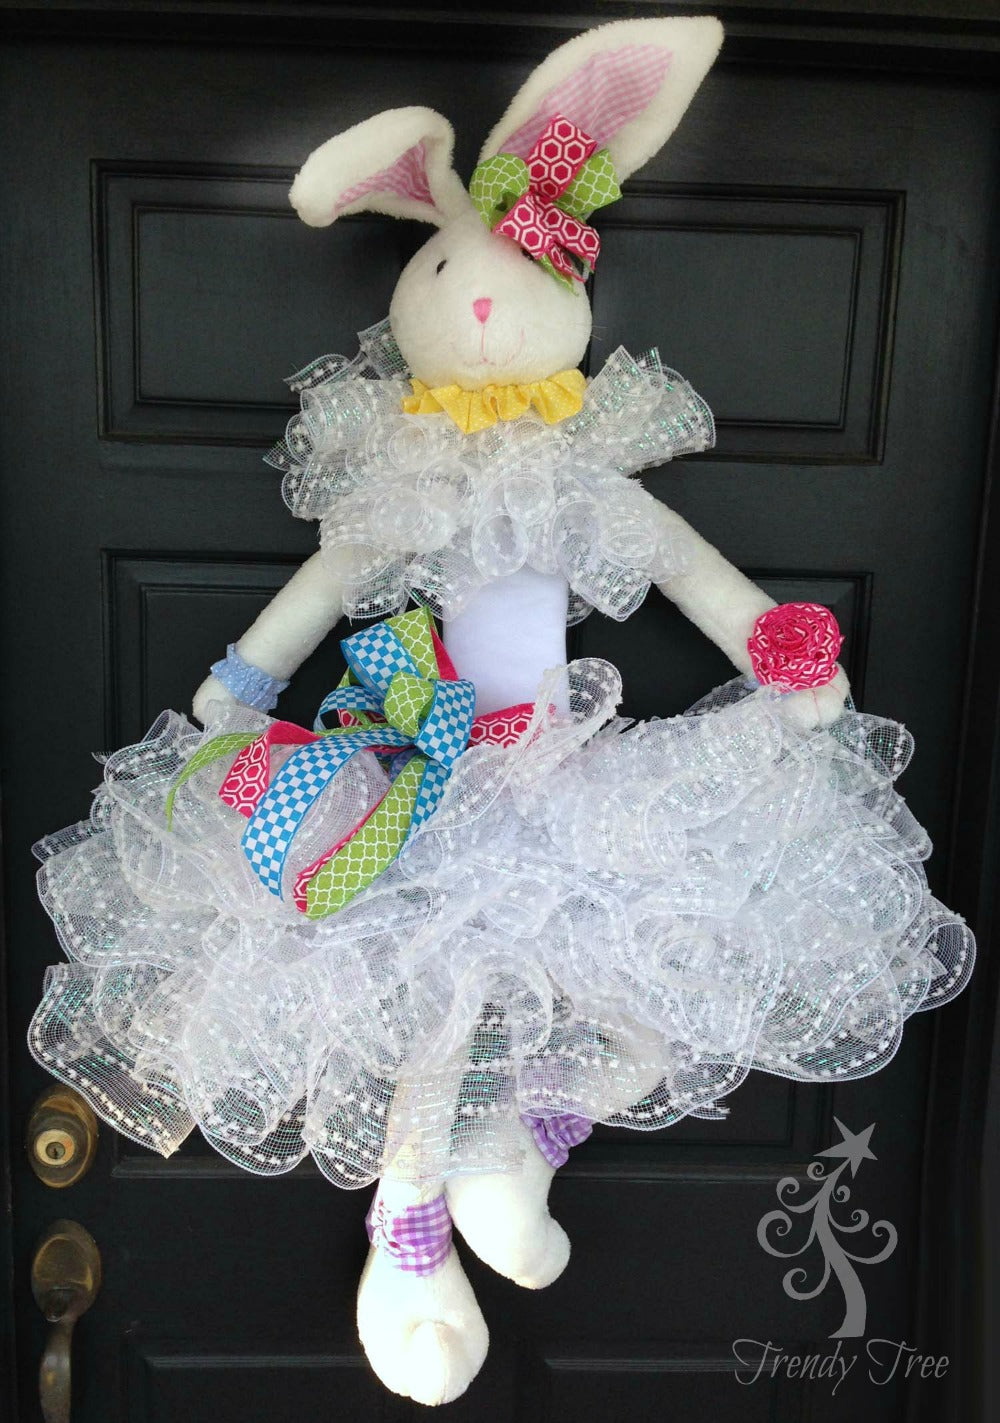
The bunny wreath measures about 48" in ht and 32-24" in width. Finishing touches included a simple three ribbon bow at the waist and a two ribbon small bow at the ear and ribbon rose at the wrist. Here's a link to making a ribbon rose.
SaveSaveSave