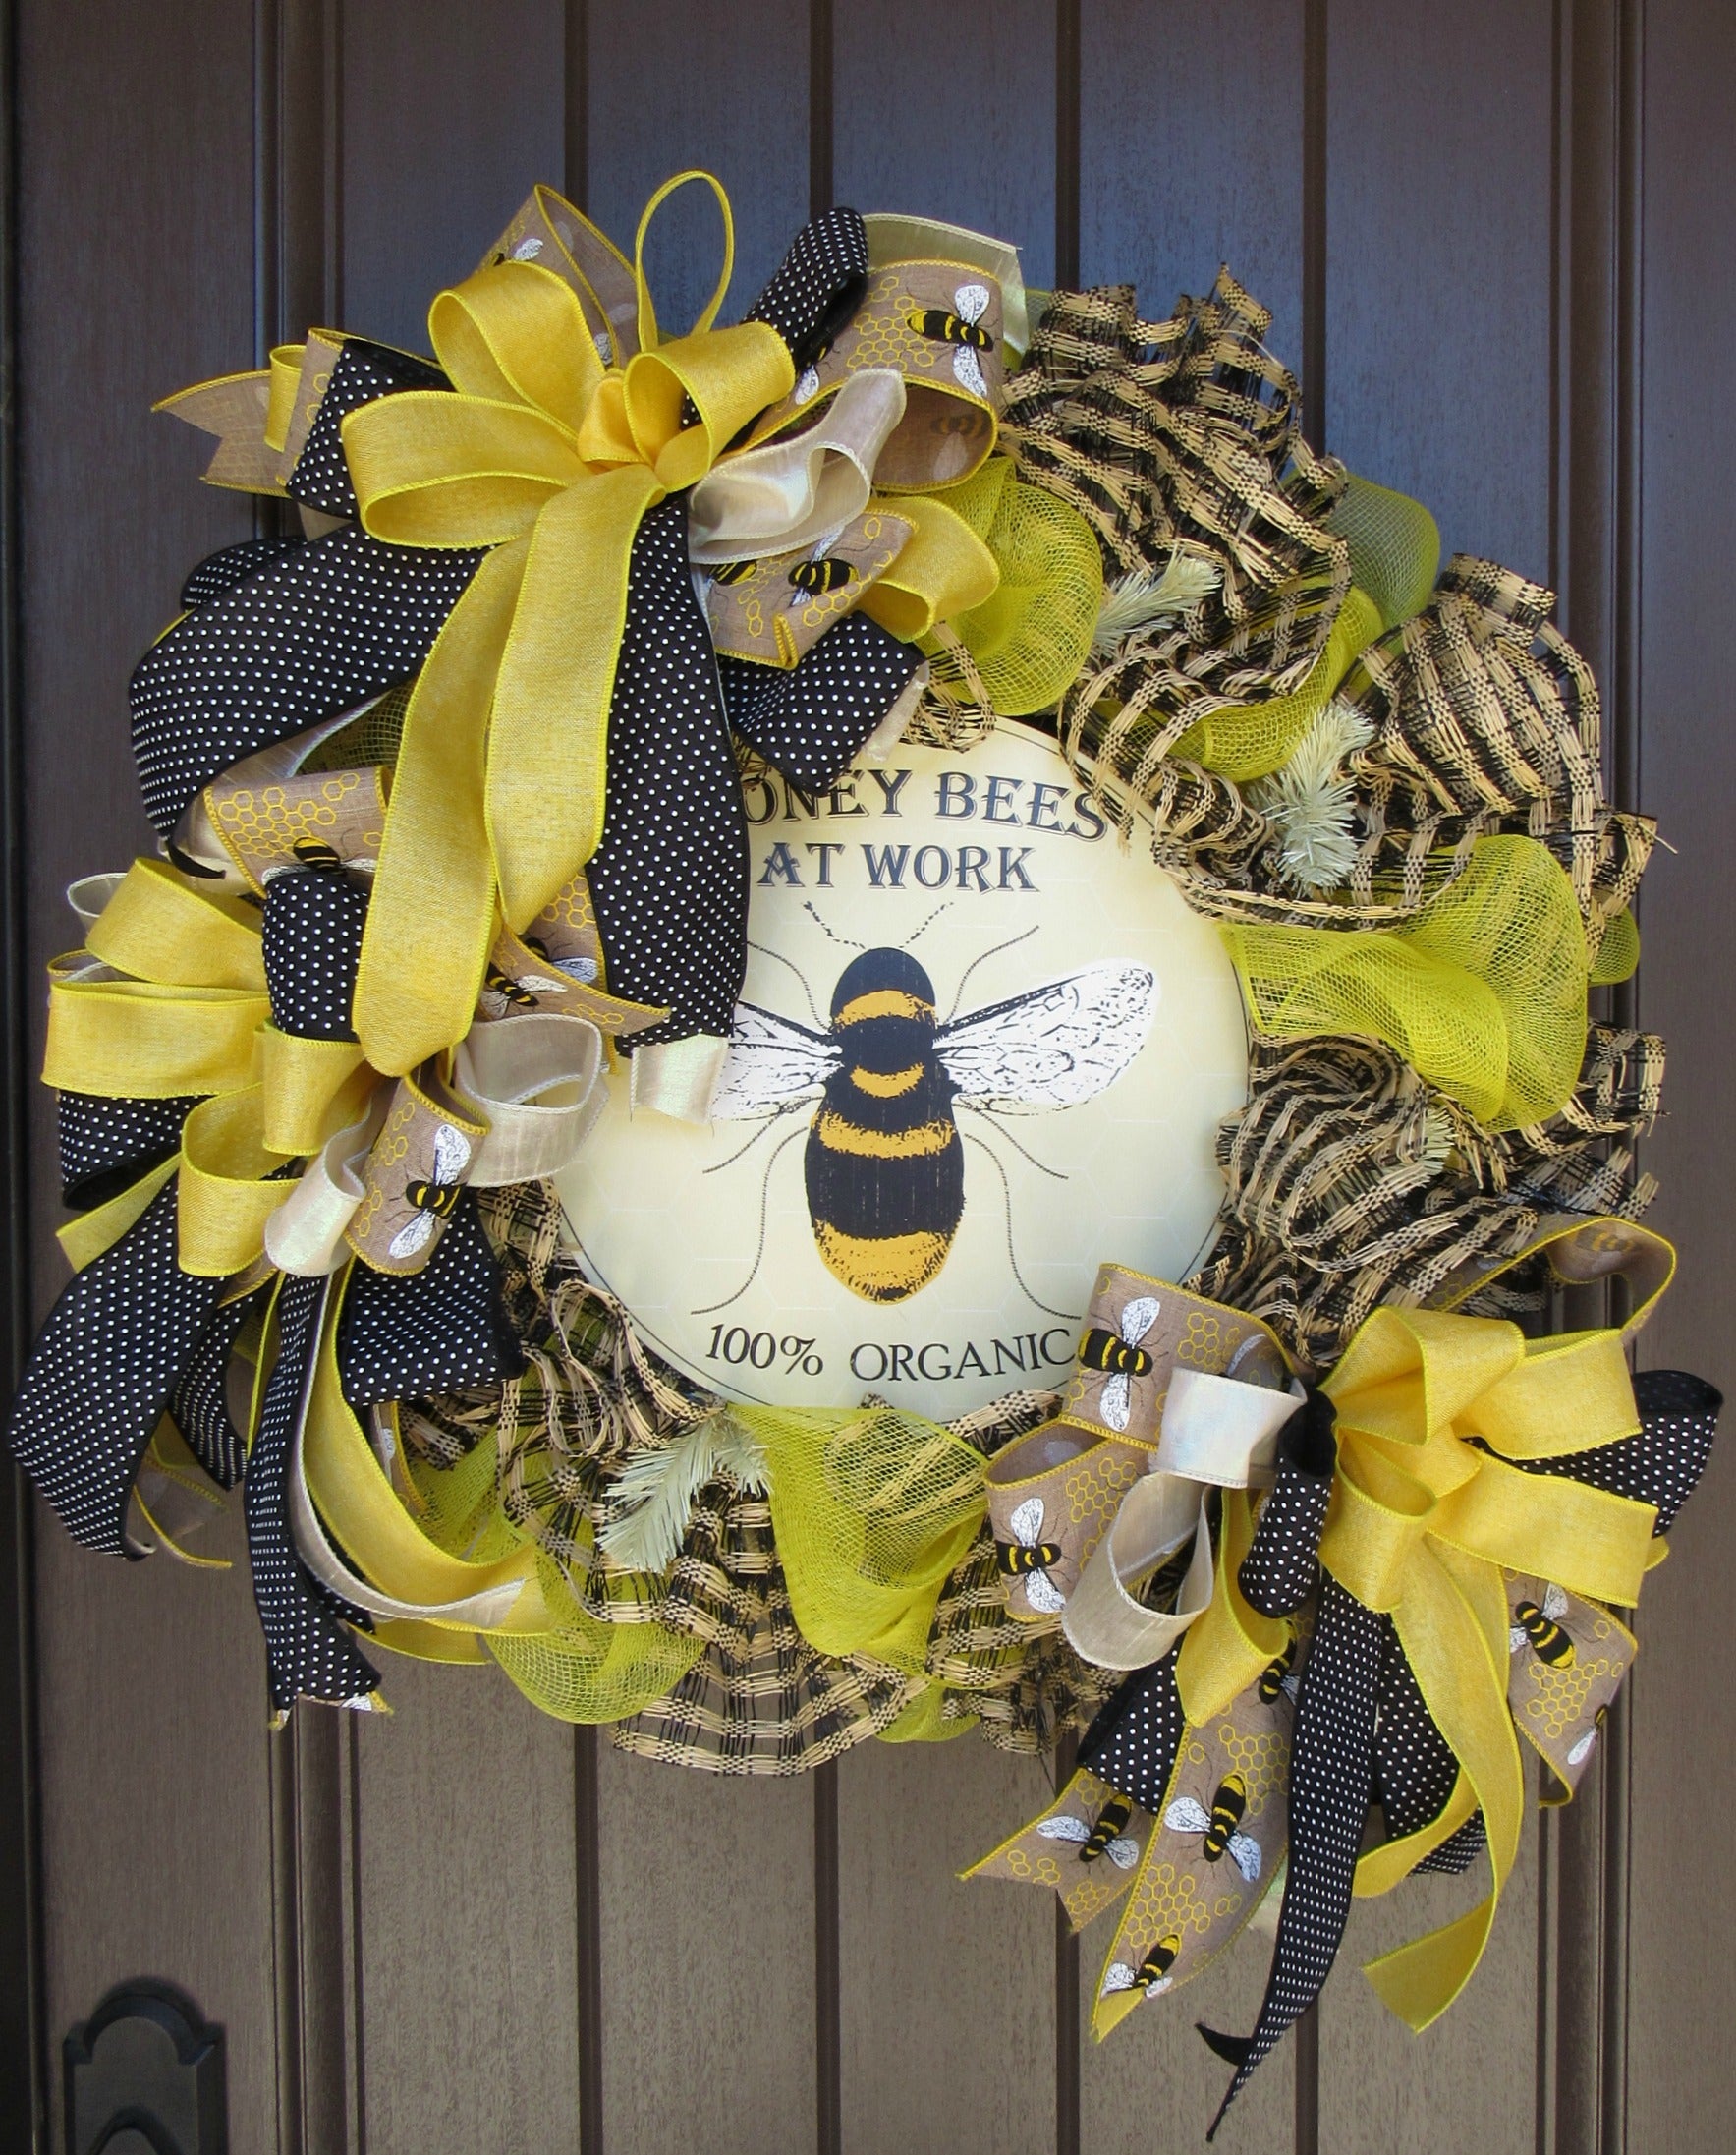
Honey Bee wreath tutorials using poly burlap checked mesh, plain mesh, a sign and four ribbons.
Supply ListXX748839 Cream Work WreathMD0459 Honey Bee SignRP8121F8 Beige & Black Poly Burlap CheckRE100229 21" Yellow Deco Poly MeshRG0195201 2.5" Honey Bee Ribbon
RG0188029 -1.5" Yellow Ribbon (not available on website)
RG0165202 Black Swiss Dots 2.5"
RG0196464 - 1.5" Cream Ribbon (not available on website)
Click here to purchase the supply kit: 2019 Honey Bee Wreath Supply KitNote: The tutorial will be left up even after the kits or supplies have sold out, since you can follow the basic instructions and create a similar wrath by choosing different products that are in stock.
Summary:
Wreath: We chose a 24" Cream Work Wreath for this project, but you could use a cream pencil wreath or yellow either one. Our 24" wreaths measure 15" across the widest ring,, but with the addition of mesh and other products, you wind up with a wreath that measures 24" or greater. We had a couple of yards left over from the yellow Deco poly mesh.
Mesh: We used two different styles of mesh. The first was a 21" Yellow Deco Poly Mesh. The pouf technique as used and poufs were about 12" We chose the lesser expensive plain Deco poly mesh for the base, since we had chosen a more expensive product for the top layer.
The top layer was made of 20" ruffles from a new black and beige poly burlap check. Poly burlap is a heavier Polypropylene product than just regular Deco poly mesh. The check poly burlap is also a wider, more open wreath. The roll was 10" in width and 10 yards in length. Since the work wreath has 18 twists, we cut 18 pieces 20" in length. The last piece was a little short, but it won't show.
A ruffle was placed in each twist on the work wreath. To attach the ruffles, we opened the twist, laid the ruffle down and closed the twist with 3-4 turns.
Sign: The Honey Bee sign we chose is 12" in diameter, made of metal and is round. It has two holes for securing. We used two full length chenille stems in the holes to secure the sign. You don't want to press the sign so far into the wreath that it is covered up by mesh, so you need the longer chenille stems to place your sign more on top of the wreath. Secure the wreath to the metal frame of the work wreath with the chenille stems. It helps to go ahead and create a hanger for the back of the wreath using a chenille stem, zip tie or floral wire. That helps you keep your center when positioning the sign.
Ribbon: We chose four styles of ribbons, two 2.5" and two 1.5" Ribbon can be applied to the wreath is many forms. You can do ribbon strips, loops and tails, small or large bows. We chose to make three large identical bows.
We have a tutorial showing how we made the three large bows using the EZ Bowmaker. But you can make free handed, bows or any type that you prefer.
It's helpful to hang your wreath to get your placement for your bows. It's a pain to have to move them once they are secured.
EZ BowmakerFinishing: Be sure to clip all your strings, and you will have some, all mesh ravels. Check the back of the wreath to make sure there is nothing sharp that might scratch your door.
Happy Wreathing!