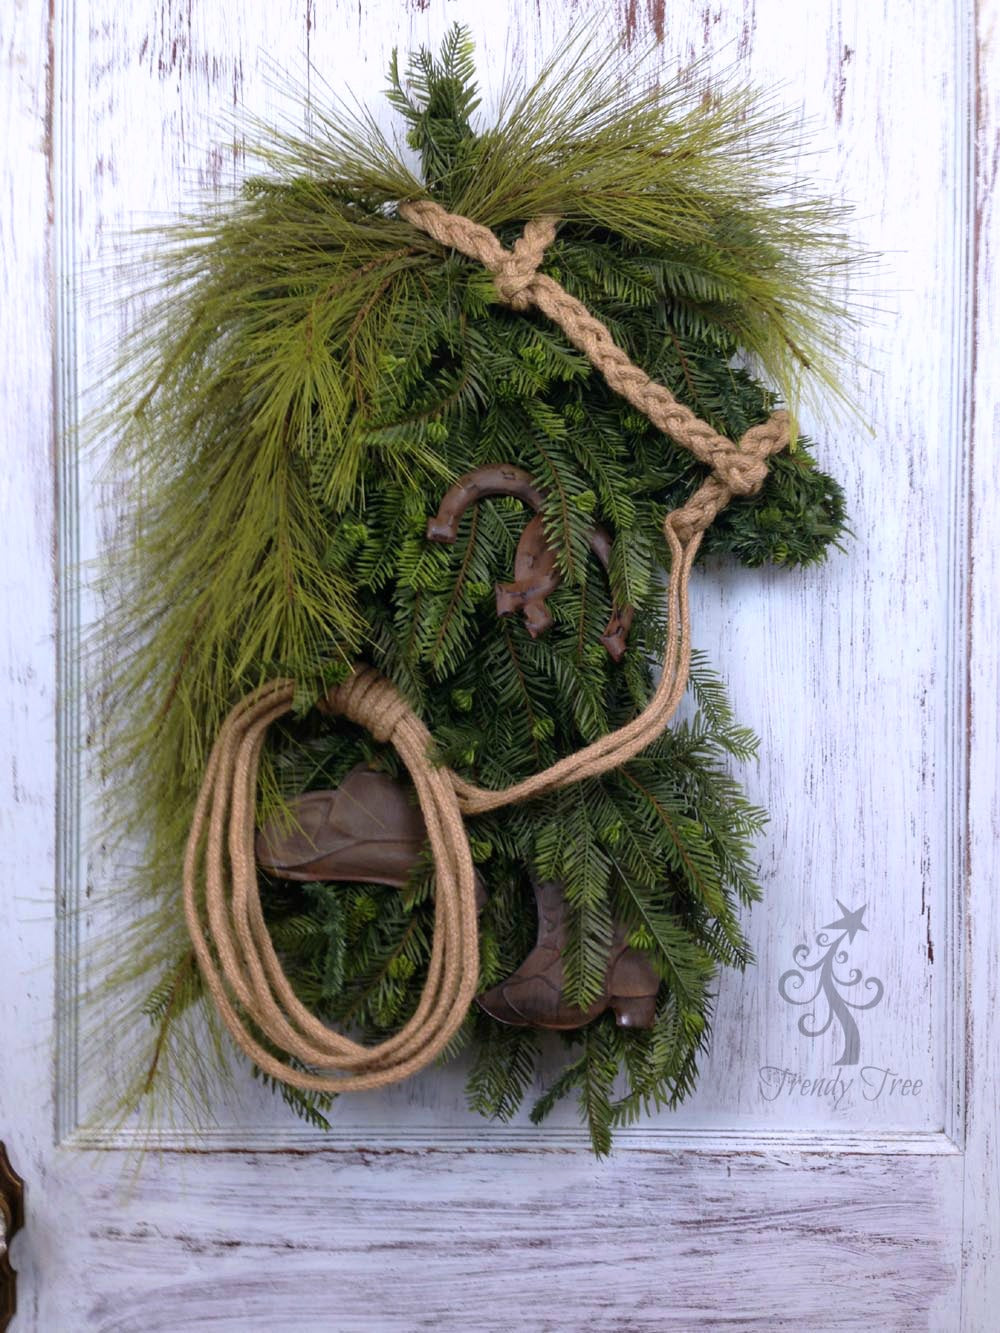
New 2016 Evergreen Horse Head Wreath tutorial. This wreath was made with a little different greenery and trim, but basically the same technique as a previous horse head wreath last year.
Supplies - There will be a limited number of kits available for this project. Once the kits are sold out, the tutorial will be left up since you could still follow the basic directions using other materials or even fresh greenery.
Click here to purchase the wreath kit - Sorry kits are now sold out 8/20/16XX771709 Evergreen Horse Head Wreath Form
XV693637 Noble Fir Package of 6 Sprays - 2 packs (not available on the website, will be in kit only)
XX1718 Long Needle Pine Spray - 3 (not available on website, will be in kit only)
RD 105618 Natural Jute Roping 25'
MS124582 Western Ornaments Set of 3
Other Supplies needed, that will not be included in the kit:
Wire cutters, small and large zip ties, green paddle wire or floral wire.
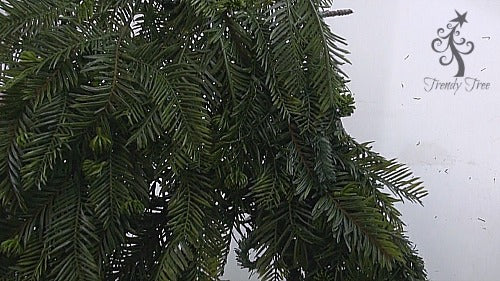
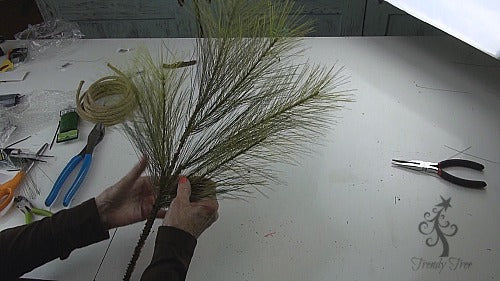
We started with the Evergreen Horse Head wreath form and noble fir sprays.
We used two different types of sprays, the shorter noble fir and the larger sprays were long needle pine sprays (3).
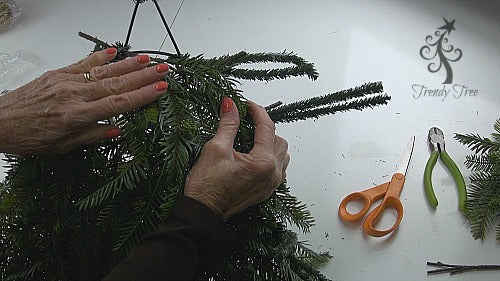
The noble fir sprays come as 6 to a package. We started at the nose of the horse head and worked our way down the neck. Initially we just laid the sprays down to get an idea of how many it would take for good coverage and decided to use two packs for a total of 12 sprays. The sprays were laid down with the stems tucked to the inside of the wreath form.
Once the wreath was covered fairly well, we secure some of the sprays using the twist ties on the wreath form. Don't worry about hiding your twists until you are done, this can be one of the last things to do.
We flipped the wreath over to the back and continued to secure the sprays using the twists ties and adding tiny zip ties when needed.
The nose and inner neck area needs to be fairly smooth to give a good outline of the shape of the head.
We clipped off the individual limbs of one of the sprays to fill in well around the nose.
To smooth the area around the nose, we used green paddle wire, which is just a thin green floral wire that can be purchased at WalMart in the floral section.
The paddle wire was attached to the wreath form and wrapped around the nose several times to keep the sprays in place. The wire was snipped with wire cutters and secured to the wreath form.
A few of the short pieces were used to fill in the ear and this also was secure with twist ties and paddle wire, to maintain the shape.
Check the sprays by gently tugging on them to make sure you have them all secured well to the wreath frame. We used several of the tiny zip ties for this. Sprays along the inner neck edge were secure well with zip ties and twist ties to make it fairly smooth also.
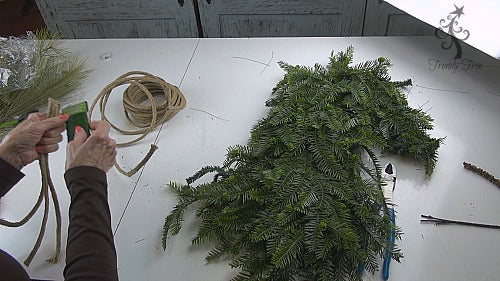
Check the wreath for loose sprays and also check the back of the wreath for any sharp edges. When the tips of zip ties are cut, that can leave a sharp edge and you want to turn those to the inside so they won't scratch your wall or door. You can snip off long ends of sprays, but we chose to leave the ends long and just attach them in more than one place with either twist or zip tie. Once all the sprays were secure, we tucked the evergreen twists along the inner neck and face to the inside. The twist ties on the outer neck area were used for the mane.
Next we fashioned a halter out of some natural jute wired roping. This roping could probably be used as a single piece, but we decided to braid it to make it wider. Three pieces were cut, ends secure with a piece of the floral wire and a simple braid done.
The braid was placed over the nose area and secure to the back of the wreath using the floral wire.
A longer piece was braided and used as a straight piece to go behind the ear.
One end was placed under the nose piece and secure with wire to the wreath frame and the other end secure to the back of the wreath form, behind the ear, with wire.
Another shorter piece was placed in front of the ear also.
Next we added the long needle pine sprays for the mane.
A few short pieces were cut from one spray to use as bangs to hang down the front of the head.
The spray was shortened to make it easier to secure, and a second spray also shortened and secured to the neck edge. The third spray was snipped into pieces and the individual pieces attached to the neck edge also for fullness.
It's best to practice with the sprays before you start securing so you can experiment with the look you want.
The metal ornaments were connected by attaching the burlap strings to the back of the wreath form.
A lasso was fashioned out of the remaining jute roping and secured around the nose braid and attached with a large zip to to the wreath frame.
The overall wreath measured about 22" x 25"
Save