 Supplies
XX167839
Supplies
XX167839 10" Cream Pencil Wreath
RE130083 Cream White Two Tone Deco Poly Mesh 10"
RF24154E Black Cream Faux Burlap 9.5"
X00412-40010-1003 Red Black Print 2.5" Ribbon
x00455-40010-0026 Black Silver Glitter 2.5" Ribbon
X433609-12 Red Emerald Felt Two-Sided Ribbon 1.5"
3352318 RAZ Snowman Head
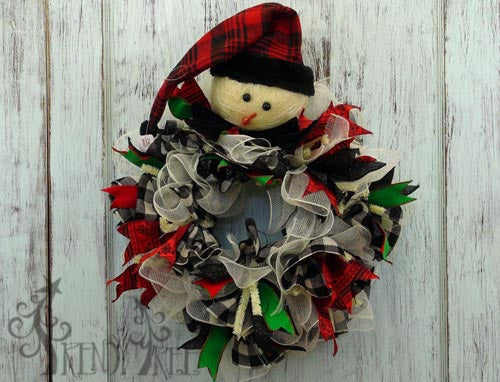
Apply Deco Poly Mesh and Faux Burlap
We used a ruffle technique to cover the 10 Pencil Wreath. You could other colors of mesh or pencil wreath to make this project.
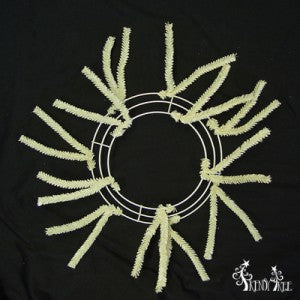
XX167839 10" Cream Pencil Wreath
We chose a Cream White Two Tone Deco Poly Mesh which has no foil. Lengths of poly mesh were cut into 10" strips to make the ruffles. The 10" Pencil Work Wreath has 12 twists, so we started out cutting 12 lengths of the Deco Poly Mesh
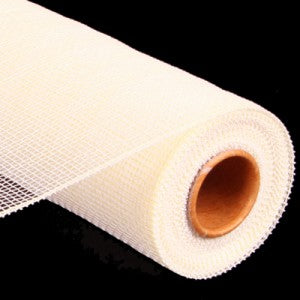
RE100083 Cream White Two Tone Deco Poly Mesh 10"
Twelve pieces were also cut from the Black Cream Faux Burlap roll, each one 10" in length.
We use a 24" x 36" self healing
Omnigrid Cutting Mat and a
45mm Omnigrid Rotary Cutter (these are available at Amazon and we have included our affiliate links.)
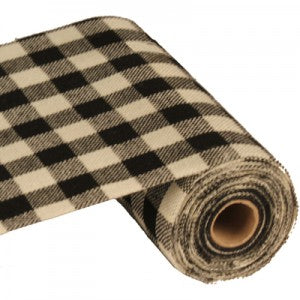
RF24154E Black Cream Faux Burlap Check
To make the ruffle, scrunch up through the middle of the 10" length (selvage edges should be to the outside). Hold the pinched ruffle in the center and secure in one of the twist using just a couple of turns to secure. We placed two layers of ruffles down at a time in each twist. Sometimes having the Faux Burlap on top and sometimes having the poly mesh on top.
Once two layers of ruffles had been placed around in each of the twists of the wreath, we decided we need to add more layers. We then cut 12 more pieces of the Deco Poly Mesh and laid another ruffle down on top of the previous ruffles all the way around the wreath. To add this additional ruffle, we opened up the twist and laid the third ruffle down on top of the other two and re-secured with a couple of twists.
After that additional layer of Cream White Deco Poly Mesh was laid down, we then added 6-7 more ruffles in the Black Cream Faux Burlap, just placing a Faux Burlap around in every other twist. Adding these additional layers gave much more fullness to the wreath.
Ribbon Strips
Next we added ribbon strips cut in 12" lengths. We chose three different ribbons and alternated placing them around the wreath.
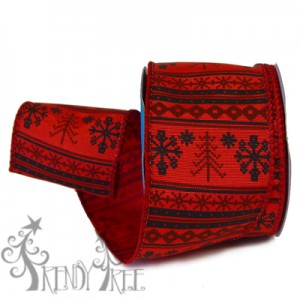
X00412-40010-1003 Black Red Christmas Print Ribbon
This Black Red Christmas print ribbon has a very nice texture and is wire edged. Then ends of the ribbon strips were finished with a cheron or dovetail finish by folding the ribbon together and cutting at a angle from the folded side of the ribbon. All the ribbons strips were cut 12" in length. We cut enough of the Black Red Ribbon to go in every other twist.
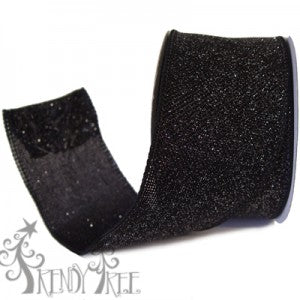
x00455-40010-0026 Black Silver Glitter Ribbon
The black ribbon has silver glitter and is also wire edged. It has a very nice texture and bit of stiffness to it making it excellent for ribbon strips.
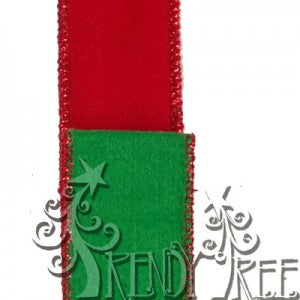
X433609-12 Red Emerald Green Two Sided Felt Ribbon 1.5"
The Red and Emerald Green Felt Two Sided ribbon is 1.5" in width and it was laid on top of the black ribbon, alternating between red side up or green side up.
Attach Snowman Head
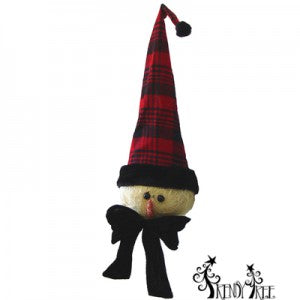
3352318 RAZ Snowman Head with Stocking Cap
The RAZ Snowman h\Head is made of a creamy straw like material . To attach the head to the wreath, we slipped a zip tie through the straw on the back and attached it to the frame of the Pencil Wreath.
Here's a close up of the face.
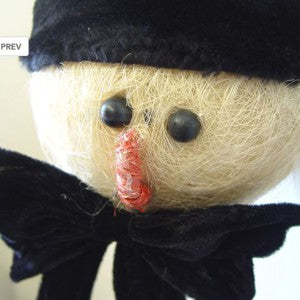
RAZ Snowman Head
The RAZ Snowman Head also comes with a red black top hat.
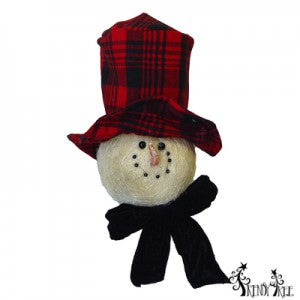
3352318 RAZ Snowman Head with Top Hat
 Save
Save


