Seems that as we get busier and busier in the shop filling orders, it's rare that I ever get to make anything for myself! And I do like making wreaths and decorations, not for re-sale - at least at this point, but I like making them for our home and family.
I have a weakness though.....bow making.....I love beautiful bows and mine are satisfactory for the most part but I've always wanted to make really pretty bows and just could never seem to get them just right.
Then I saw this video by Regina Sellers demonstrating how to "Make a Bow Like a Pro Every time" with the
Pro Bow bowmaker "The Hand."
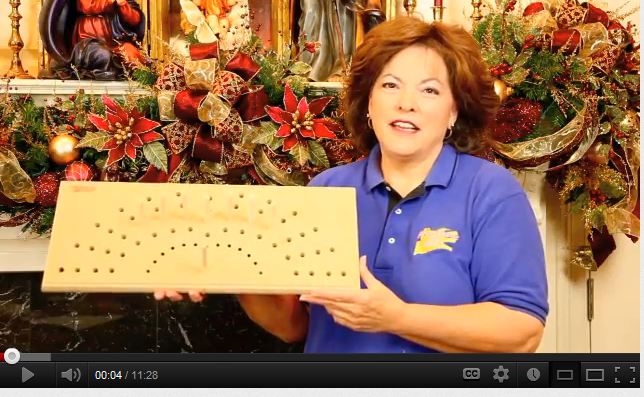
I was sold....figured this was something I could do and turn out much better bows that I've been doing on my own. So I purchased it.
My first thought.....it was a little expensive....but I still felt it looked like a good product, had to be durable and Regina made it look so EASY))) And I also thought......if it impressed me as much as Regina's video....we would start selling them on Trendy Tree. And....guess what.....they're now in stock!
Regina has such a great American story....she developed the Pro Bow out of necessity and she and her husband Dave, turned her creation into a small business that is now shipping Pro Bows all over the world.
My
Pro Bow arrived!

Everything you need is in the box. There are small bags to keeps the pegs in. And this thing is heavy! Weighs over six pounds.....but this is good. Feels very solid and well made.

There are two boards in the box. The large piece is "The Hand" the smaller board with three holes is for holding up to three rolls of ribbon .....no more tangled mess!
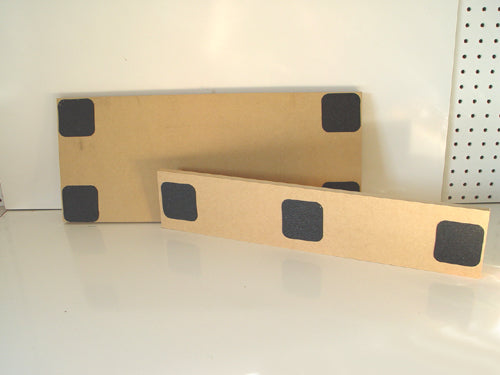
The first thing you do, is open the bag and apply the self stick non-skid pads to the back of the boards. There is a diagram in the box that shows you placement.

Now, if you know me.....it's the details that always do me in! My first quandry....was which way to put the pegs in the holes! I wanted to do it right.....so I think by watching the video again, the flat ends go in the hole with the tapered ends up.

I quickly put the pegs in place and set out to make my first bow.

I chose something that I already had open on my craft table...a faux burlap wired edge ribbon in rust.


And here we have it....my first bow with the Pro Bow bowmaker.....not bad! Maybe not perfect....but it was my first. I'm going to love playing with this thing)))

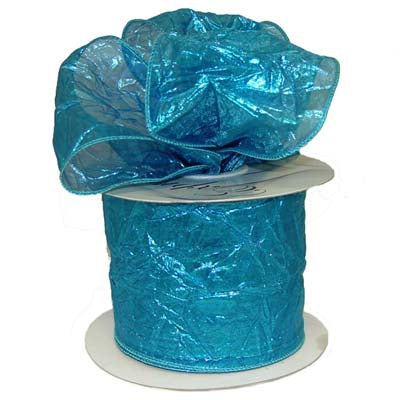
Purple Crushed Metallic....a thin, sheer ribbon with wire edge. We sold out of the Purple, but still have several other colors in stock.
 Pumpkin Crinkle Taffeta
 wire edge ribbon.

The large
Pro Bow is designed for #40 or 2 - 2/12" ribbons. The small Pro Bow is for smaller widths. Both are available on the website.
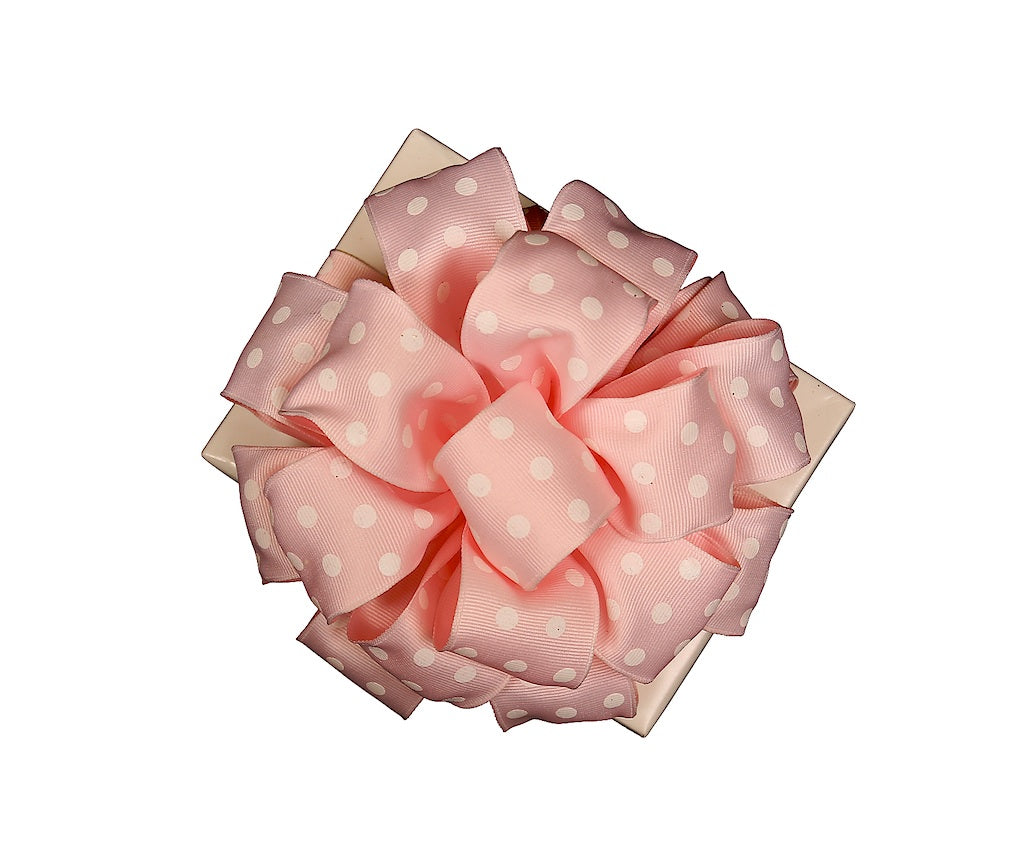
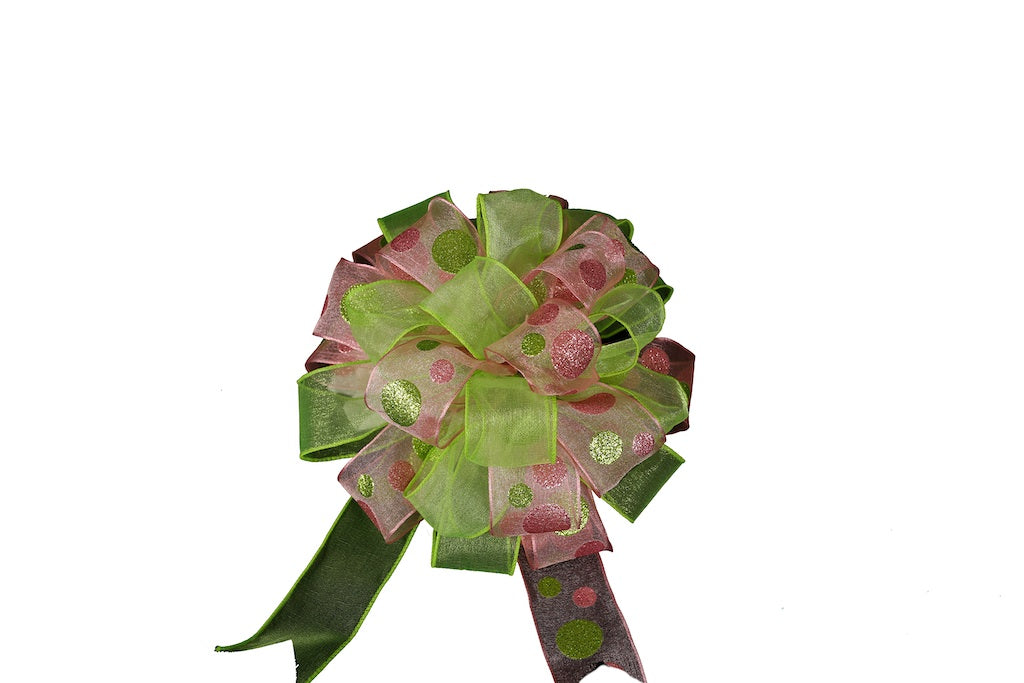
Now for beautiful examples of bows done by the creator of Pro Bow - Regina Sellers:




More Instructional Videos
Yep.....this is gonna be fun.......better get your Pro Bow today!

