on all orders over $99
U.S. Orders Only (lower 48 states)
on all orders over $99
U.S. Orders Only (lower 48 states)
on all orders over $99
U.S. Orders Only (lower 48 states)
on all orders over $99
U.S. Orders Only (lower 48 states)
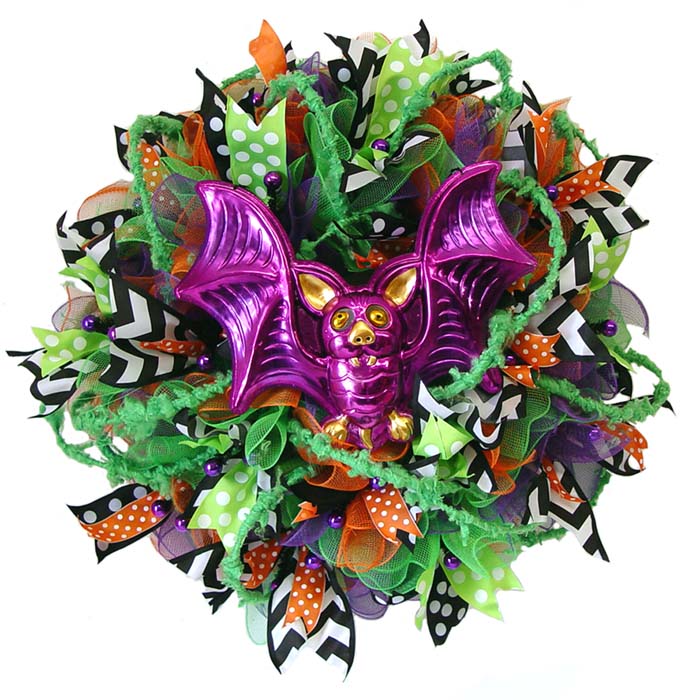
 This is a Halloween wreath created from one that we had done previously for a tutorial using the ruffle technique. Several new products have arrived at Trendy Tree since that previous wreath was made, so we wanted to take this opportunity to show you some of the new products.
The nice thing about this particular wreath, is that it is made with three rolls of 10" Deco Poly Mesh which is the least expensive Deco Poly Mesh we have in stock at $3.99 per roll. With the basic wreath being less expensive, you can put more of your resources into assorted ribbons and other embellishments to make a stunning wreath.
Lets start with the basic wreath now.
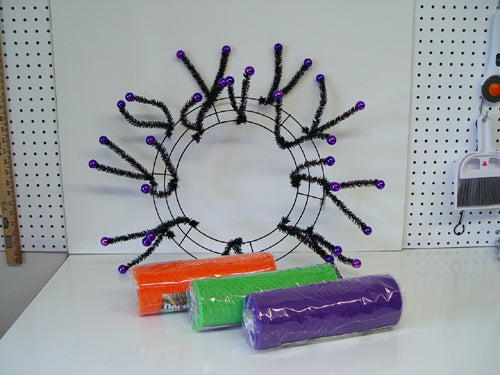 We started with a Black Pencil Wreath with Purple Balls and three rolls of 10″ x 10 yards Deco Poly Mesh in Orange, Lime Green and Purple. We wanted to try the plain mesh with no foil to see what kind of coverage it would give using the ruffle technique. Each roll of 10″ x 10 yard mesh will yield 18 ruffles so we used all three rolls with just a tiny bit left over, not really enough to do anything else with.
The Pencil Wreath with Balls Work Wreath is a little more expensive than the regular Pencil or Work Wreaths but give a little extra bling without adding more product and less work. The Pencil Wreath with Balls are $10.99. So your expense for the basic wreath is $22.96.
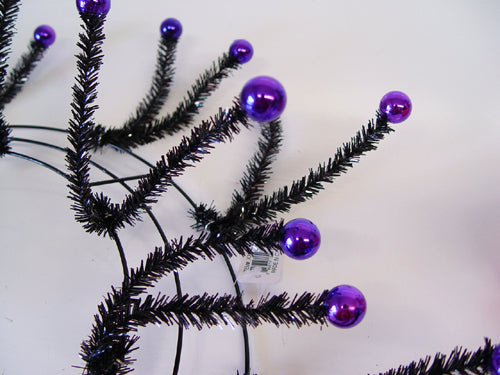 When working with the Pencil Ball Wreaths, it’s important to remember not to secure the twists by pulling on the balls. They are glued on and if one should come off you can easily glue it back on. They’re pretty tough, but occasionally you might have one to come loose.
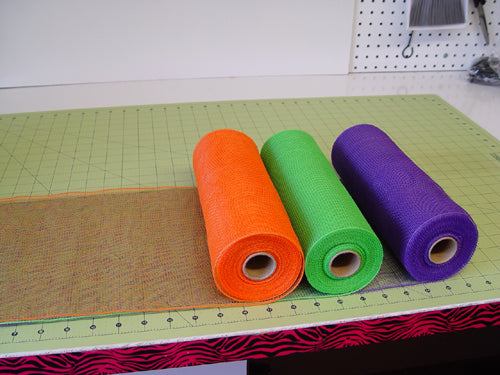 First we placed all three rolls on the cutting mat and lined them up to cut all three layers at one time.
We use a 24" x 36" self healing Omnigrid Cutting Mat and a 45mm Fiskars Rotary Cutter (these are available at Amazon and we have included our affiliate links.)
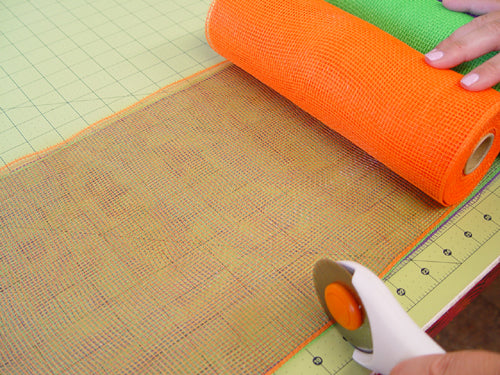 Cut strips of mesh 20″ in length. We used a rotary cutter which is really a time saver if you make a lot of wreaths. There is a Blog post with more information on the cutting mat and rotary cutter here.
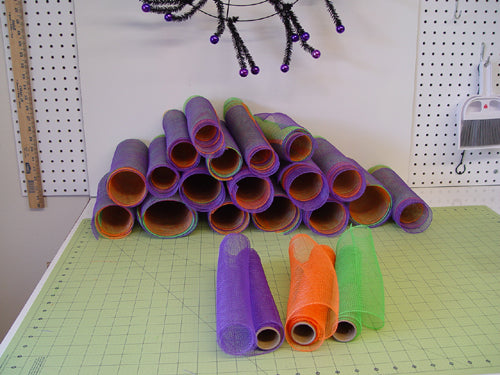 We cut 18 rolls from each color and you can see we had just a little left on each roll.
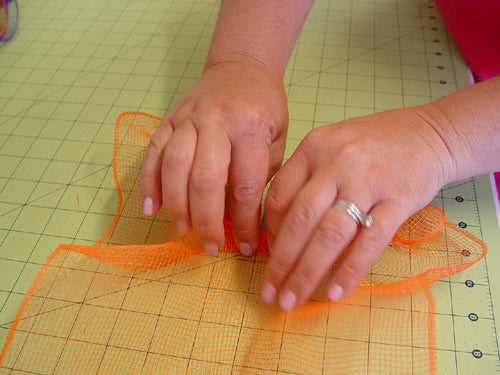 To make the ruffle, just lay the mesh out flat and start pinching up right down the middle of the mesh, sort of a pleating or gathering motion.
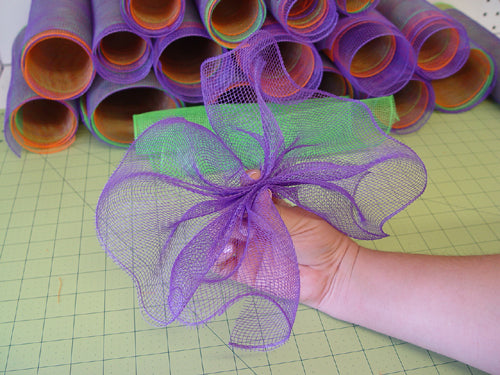 Hold it pinched in your hand until ready to place in the twist. Since both of us were working on the wreath we decided to do all three layers of ruffles at one time on this wreath, instead of working all around in single layers. You need someone to hold your ruffles until you get all three ready to secure.
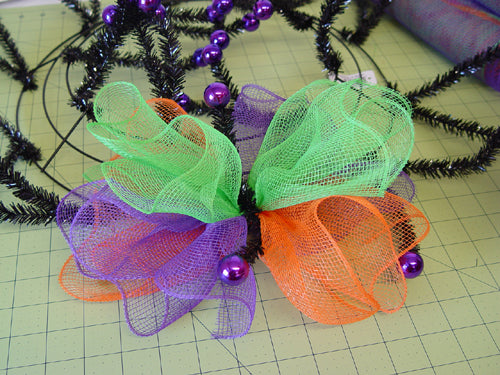 We secure three ruffles into a twist and gave it a couple of turns….not by the ball remember)))
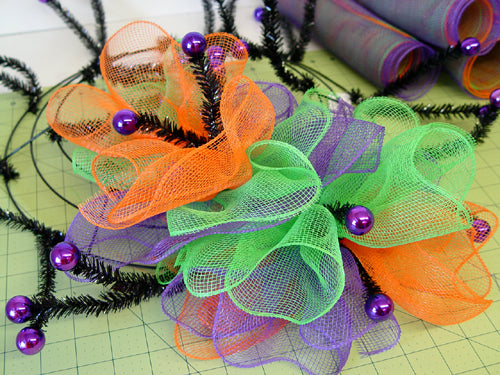 For this wreath we worked around the wreath form going outside to inside…..it really doesn’t make any difference.
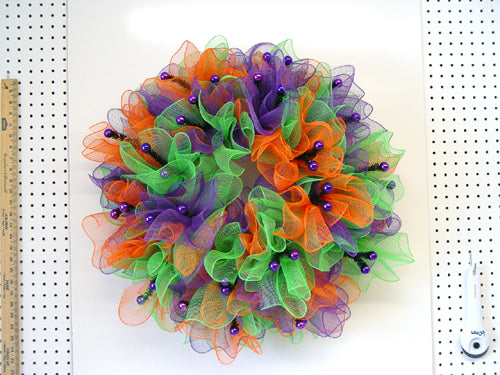 This image shows the completed mesh….three ruffles in each twist. See how the Pencil Ball wreath just adds a little bit of extra bling here.
 The first new product we chose to add to our wreath is the new Cotton Candy Roping. This roping is just fun to play with))) It's is wired, comes in a 25 ft length and assorted colors.
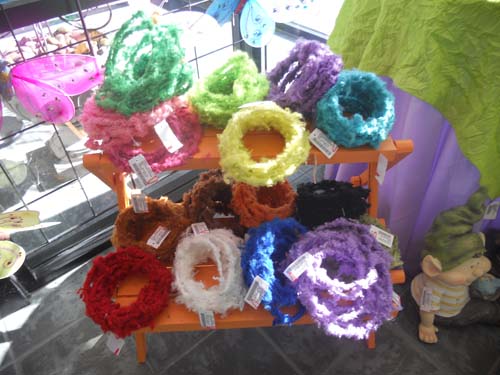 The Cotton Candy Roping we chose for this wreath was the Emerald Green.....Matt and I were wondering around the warehouse today looking for Halloween products and he picked it out......I would have probably opted for the apple green....but I was being flexible)))
We used the entire 25 feet on this wreath. Initially we had stopped with about 4-5 yards left....and we decided to go ahead and use it all. I really like the whimsy feel of it.....it's nappy, knotty and fluffy.....just adds a little different texture. It's $10.99 a roll and comes in red, purple, emerald, apple green, fuchsia, white, turquoise and pink.
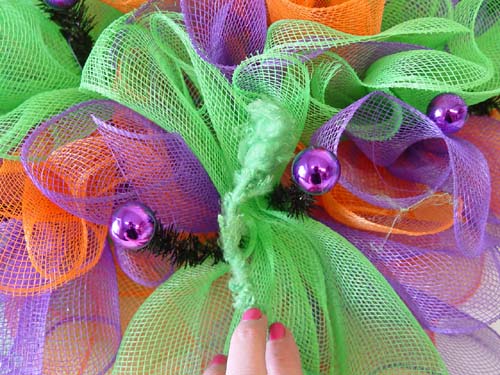 To attach the Cotton Candy Roping, just open up one of the twists making sure the ruffles stay in place and lay the roping in, give it a couple of twist and just let the rope meander around the wreath. You don't have to try to attach it to every twist, skip some here and there. Sometimes you might secure on the inner ring and the next place be an outer ring.
 Here's closeup of the Cotton Candy Roping.
 Here's our wreath with the entire 25 feet applied.
Next we added some ribbon strips. Ribbon can be one of your most expensive products to use on a wreath, but the good news is.....most of the time you have enough left over to do another project.
We chose an assortment for ribbons for our wreath.
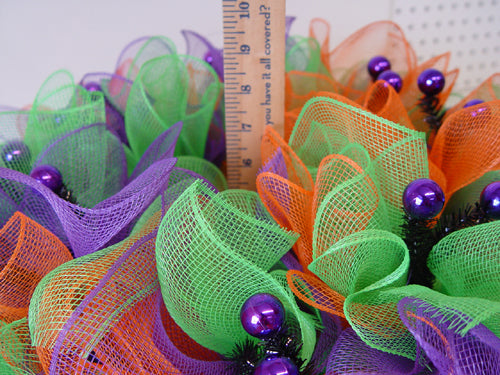 You can measure the depth of the wreath to determine the length needed for ribbon strips. We cut these at 15″
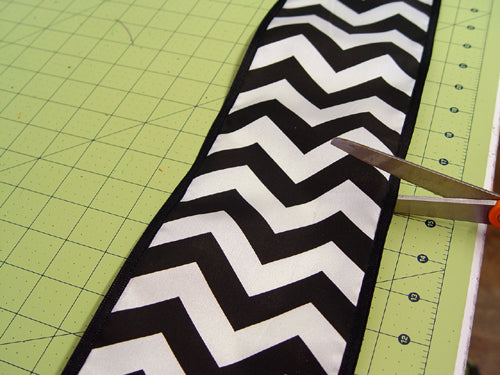 The first ribbon we chose is a new Chevron Stripe in Black and White. It’s 5″ in width and 10 yards in length and wire edged. Black and white is a nice bold contrast especially for Halloween projects.
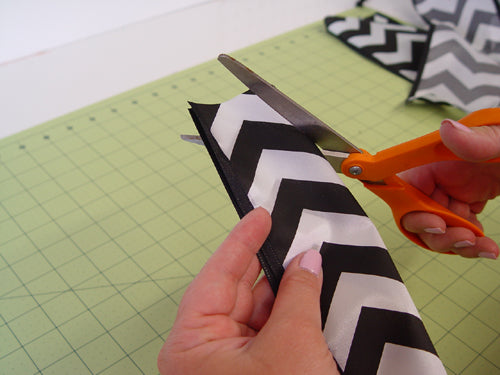 The ribbon was folded and ends trimmed at an angle from the folded side to create a chevron or fishtail finish.
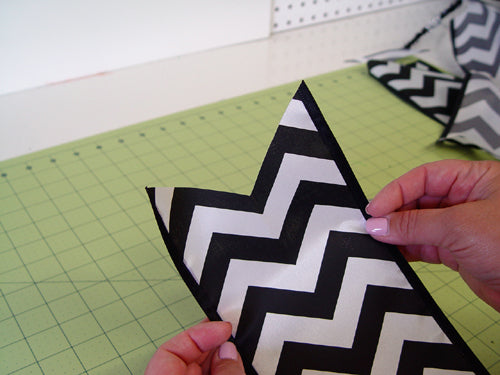 You can just cut at an angle too…..just depends on how you want the end of your ribbon finished. If you’re not using a lot of ribbon, or have just a couple of tails in a bow, you can just fold the ends of the ribbon to finish it off.
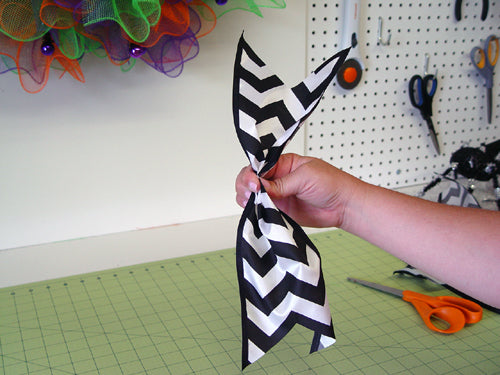 Pinch the ribbon strip in the center and secure it between one of the twist.
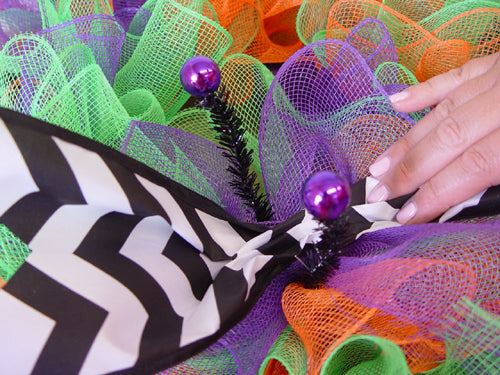 Just open one of the twist making sure the ruffles stay in place and lay the pinched ribbon strip right on top of the ruffle. When using a ribbon that has a front and back side, be sure to place it in the twist with the right side up. Secure the twist now with 3-4 turns since this will be the last layer for the wreath.
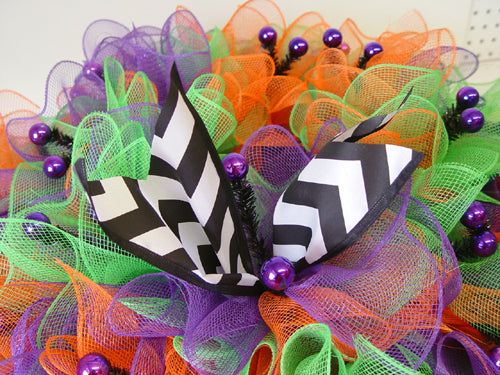 It’s always a good idea to hang your wreath up and step back and take a look. You want to make sure that your ribbon strip looks the way you want and isn’t too short or too long before you cut the rest of your strips.
We also chose three styles of Polka Dot ribbon. An Orange with White Dots which is 1.5" in width.
A Black with White Polka Dots in a 2.5" width.
And a Kiwi Green with White Polka Dots in a 2.5" width.
All the ribbons were cut in the same manner and the ends trimmed in the chevron style. They were randomly applied using two ribbon strips at a time.
The twists were opened and ribbon strips secured this time with 3-4 twists since this was our last layer to the wreath.
This is our wreath now finished with the addition of the Cotton Candy Roping and four assorted styles of ribbon.
Next we chose some new RAZ Bobble Eye signs or wall hangings that just came in and are new for this season. So many times it's really difficult to appreciate the size of items such as this and it really helps to see them on a wreath. This wreath measures 28-30" in width and height.
 The larger style of RAZ Bobble Eye sign comes in the Purple Bat, Orange Owl and Black Owl. They measure anywhere from 11" to 15" in ht and 10" to 12" in width. They are very lightweight which makes them the perfect sort of thing for a wreath and have a ribbon hanger. The Bobble Eyes just shimmer and wiggle with the slightest touch.
 Here's the Orange Owl with his purple bow tie. And a close up look.
 The Black Owl with his gold hat.
There is a smaller version of the same style of Bobble Eye sign from RAZ this year also. The styles include Dracula, Frankenstein, Skeleton and Witch. These are smaller versions and measure9" - 10". They have wire hangers.
 We have a huge selection of Halloween products and many more that would look great with this wreath. Hope you enjoyed the tutorial!