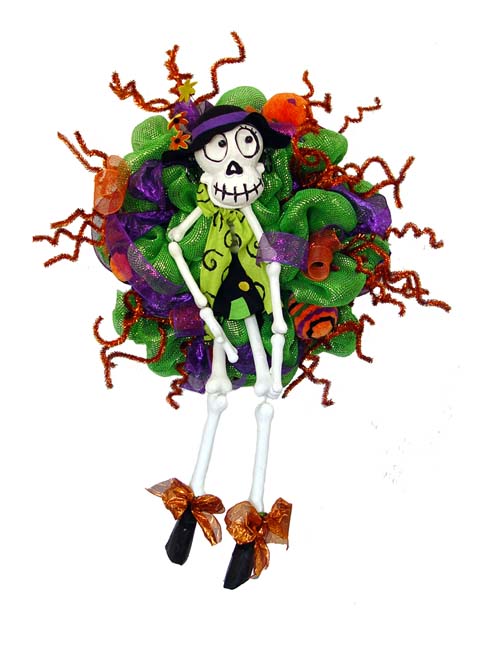
My granddaughter Maggie and I did a little "creative" repair this afternoon in preparation for Halloween. This girl skeleton was destined for the trash, but Maggie thought we could salvage her and fix her up a bit....and I think we did.
The only new items we used for this project were some
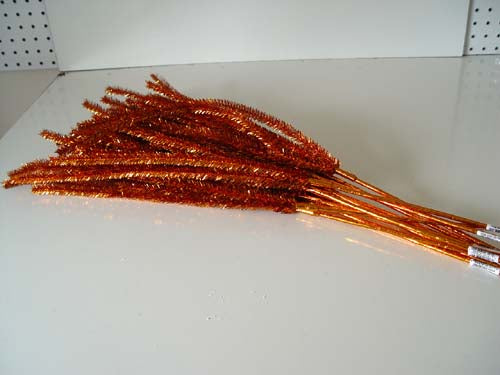
Copper Tinsel Sprays and
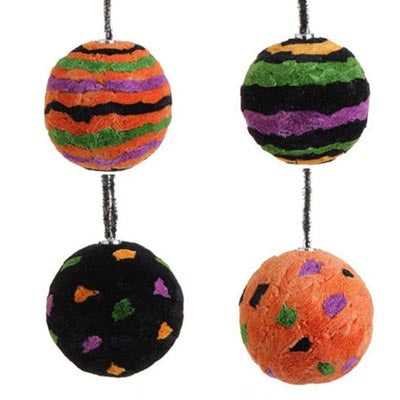
RAZ Halloween Balls. Everything else we used was either remnants or leftovers from other project.
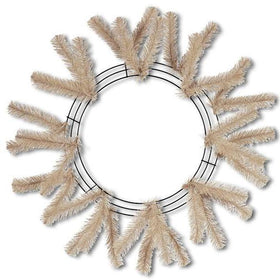
Remember the Lime Green Wide Foil Wreath we made a few weeks ago using a new Red Pencil Wreath....well we just removed the old embellishments down to just the mesh and started out with a basic green wreath. I was a little bit concerned about it being on a red pencil wreath, just the fact that it was red, but if you'll notice in the finished photo, it doesn't show one bit.
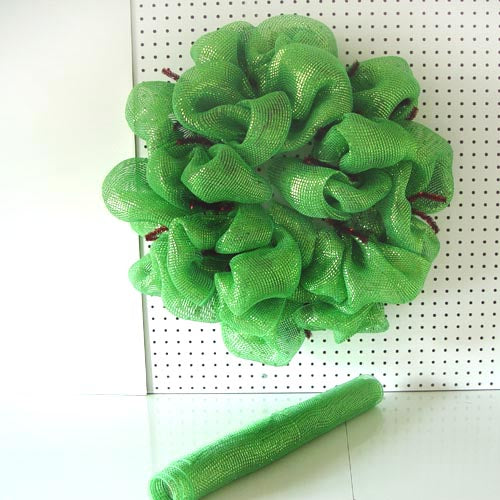
Clicking on the wreath photo will take you to the blog post to show you how to create a basic wreath.
The first thing we did, was fix the skeleton! She had broken bones, completely dis-articulated in some places, but a little hot glue fixed that right up, her feet were stuck together and where we separated them, Maggie took a magic marker and just covered over the spots of Styrofoam that were showing.
Added some contrasting Purple and Copper Crushed Metallic 4" wired ribbon just to add more Halloween color the the lime "Christmas" wreath and then secured the skeleton.
She was secured to the wreath frame using a zip tip and then we choose three of the Halloween balls that were secured using twists.
For the curly sprays, we just curled the sprays around a cardboard roll and then secured in and around the wreath.
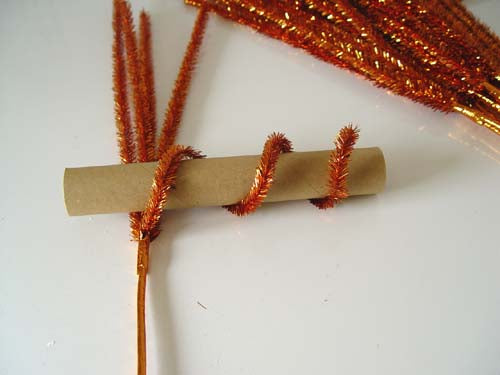

I could have done without the curly sprays, but Maggie like them.....so we have curly sprays)))


