This wreath tutorial was done to show you the ruffle technique using two layers of ruffles. The previous one we did in red/white/blue had three layers of ruffles.
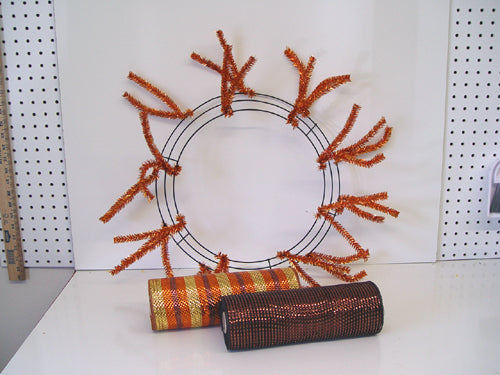
Supplies started with a
Copper Pencil Wreath ($5.99)and two rolls of Deco Poly Mesh in the wide foil. Wide foil mesh is a more expensive mesh, but with using 10" rolls, two rolls worked perfectly for this wreath. We chose
Gold Copper Chocolate Foil Stripe at $7.99and a roll of
Chocolate Wide Foil for $6.99.
This the basic wreath the expense would only be $20.97 ....not bad.....the most expense comes in the embellishments where you can put as much or a little as you wish. Take a look around your home for items you have put away for instance. The
Large Moss Bird Nest ($38.00) on this wreath was one that we do have in stock, but the one we used was one that sat on our dining room table in an arrangement from October to December. We just freshened it up a bit with a pair of
RAZ clip on Birds for $9.99 a pair. The most expensive part of this wreath was the
Autumn Multicolor Plaid Ribbon which was $37.99 for 10 yards. But we only used about 4 yards, so there is enough for another project.
Lets get started with the tutorial))
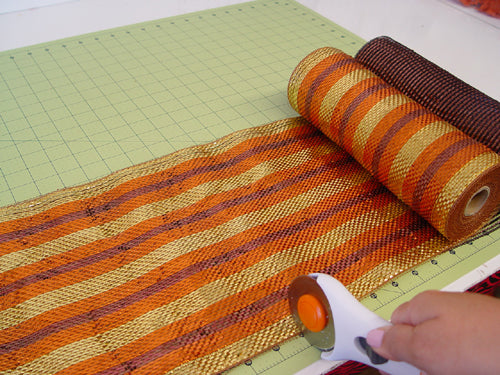
First thing we did was cut strips of the 10" Deco Poly Mesh into 20" lengths. Two rolls were cut at the same time using a rotary cutter and cutting mat. To see a brief tutorial on these tools click
here.
You should be able to cut 18 strips from each roll of mesh (this mesh is 10 yards in length).
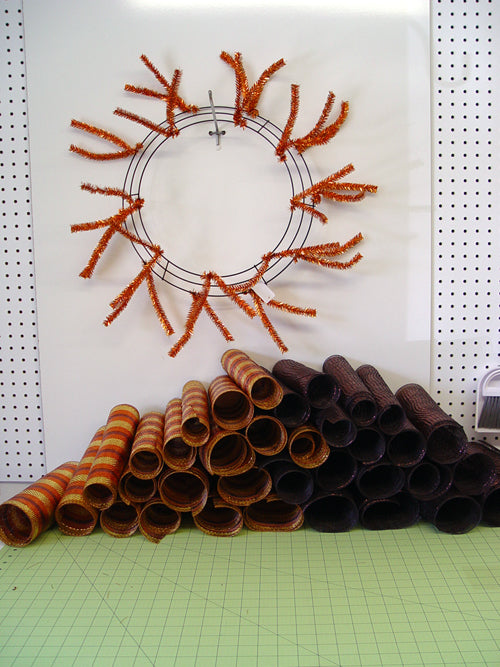
This wreath was made using two layers of ruffles, but we'll show you an image with one layer of ruffles which might be all you need for the look you wish to achieve. By using one layer of ruffles you could get two wreaths from two rolls of 10" mesh......not bad.
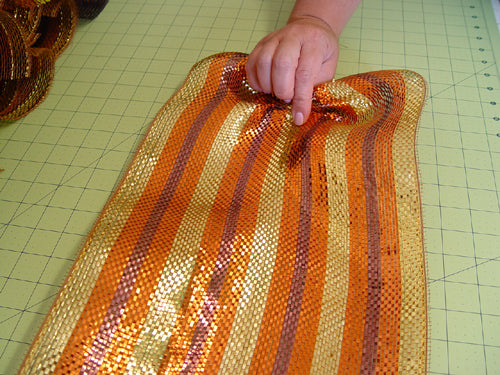
To make the ruffles, take the 20" strip of mesh and lay it flat on the table, scrunch it up in the middle and work your way down the entire length of the strip.
We used a 24" x 36" self healing
Omnigrid Cutting Mat and a
45mm Fiskars Rotary Cutter (these are available at Amazon and we have included our affiliate links.)
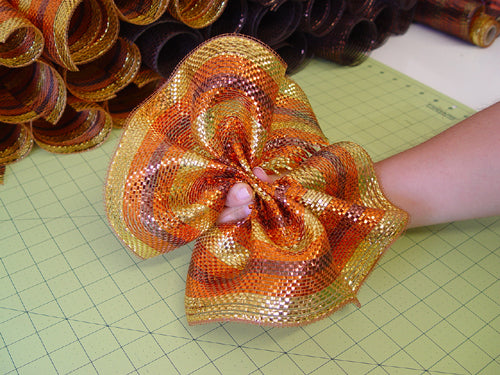
Hold it pinched in the center in your hand and place in a twist on the Copper Pencil Wreath.
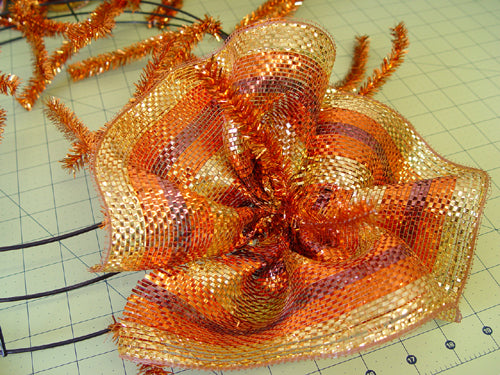
Secure the ruffle with a couple of twists. No need to secure any tighter at this point since this is the first layer. We started with the striped mesh ruffle and alternated with a solid chocolate ruffle.
We started on the outside of the wreath form (but it doesn't really matter where you start). Continue alternating ruffles around the outer ring of the wreath form.
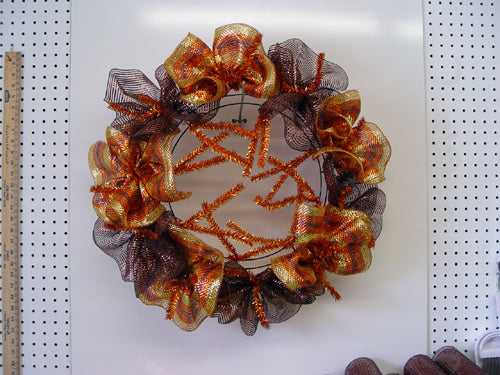
This image shows one layer of ruffles on the outer ring.
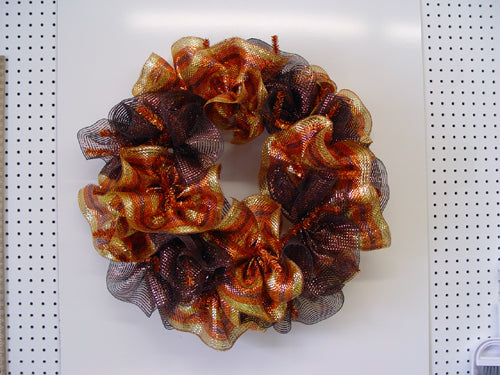
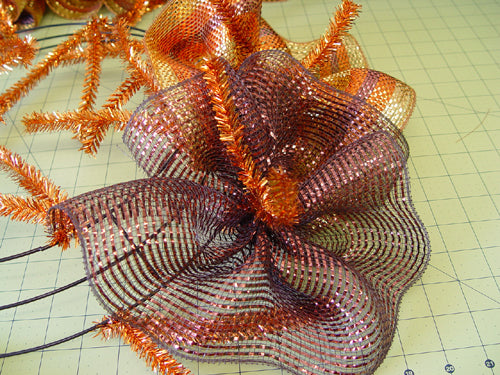
This image shows one layer of ruffles on the inner and outer ring. Depending on the type of embellishments, etc. You might just stop right here and finish the wreath. We chose to make it fuller with another complete layer of ruffles on the inner and outer rings.
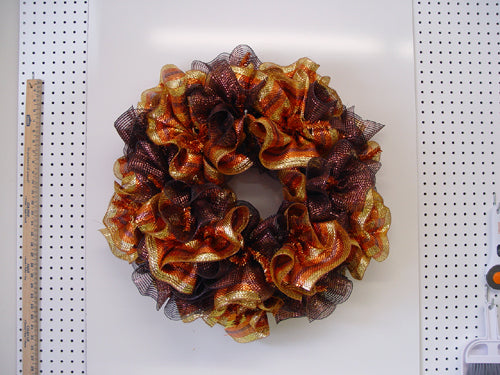
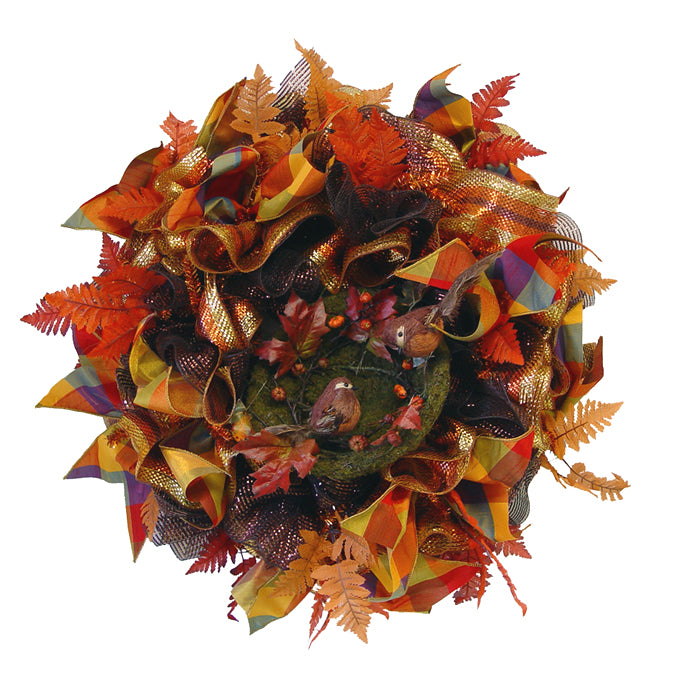
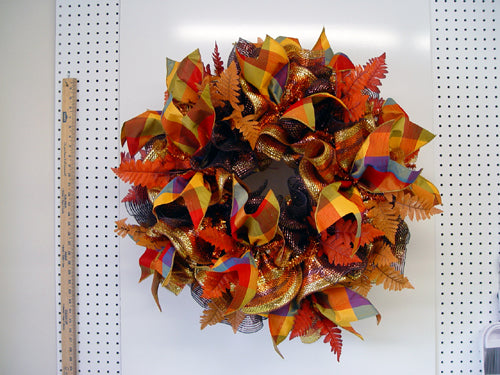
This image has two layers of ruffles on the inner and outer rings. We're ready now for our embellishments. Fall is such a great time to decorate this this wreath would lend itself well to natural twigs, acorns, pine cones etc.
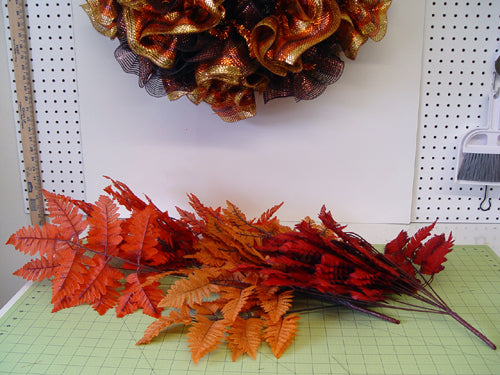
We chose to add in some silk fern leaves in fall colors. These
Silk Fern Bushes are very inexpensive at $3.99 and come in three colors - yellow, orange and red. The stems were cut and leaves stripped down to the last three leaves on the tips. All the leaves were saved for use on another project. Several complete stems were left over.
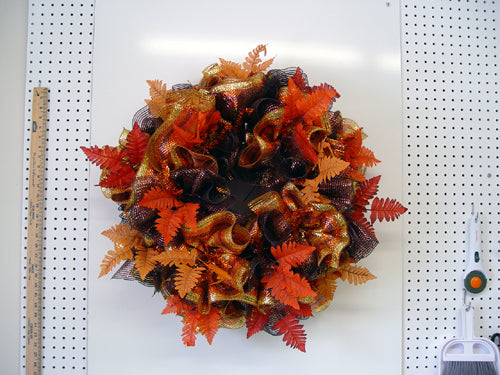
The fern leaves were randomly applied to the wreath and secured in the twist right on top of the mesh.
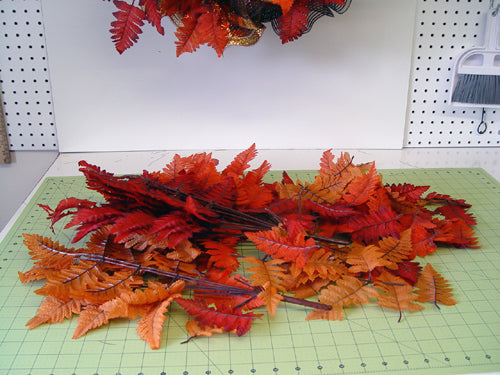
You can see we had quite a bit left over.
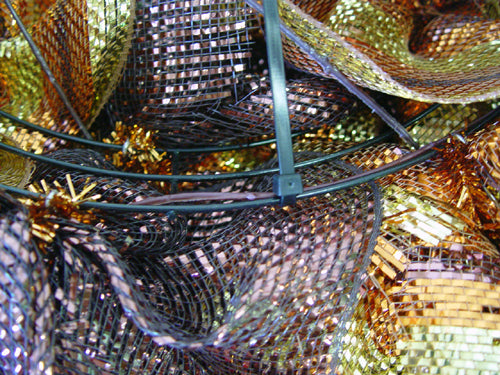
Next we turned the wreath over to its back to "clean it up." Anytime you're using sprays or picks on your wreath, you need to turn it over and look at the back. Secure any stems that are sticking out and cut them off shorter if needed. Secure ends of stems to wreath frame with zip ties. Trim off the excess of the zip tie too. Look for any sharp edges from the metallic twists that might scratch your door or wall. You can bend the sharp edges toward the inside of the wreath if necessary.
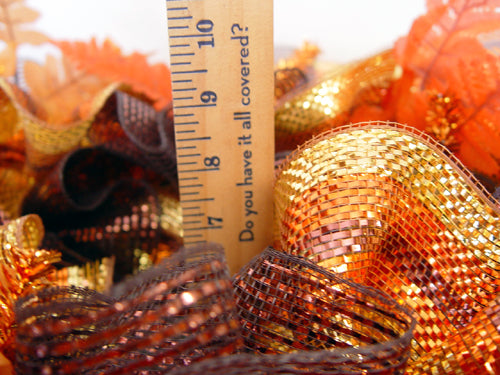
Next we measured the depth of the wreath which was 8-10" and cut our ribbon strips 16" in length. The ribbon we chose is a beautiful (expensive) Autumn Multicolor Plaid Ribbon.
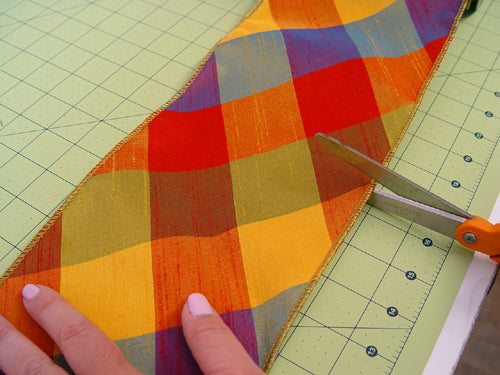
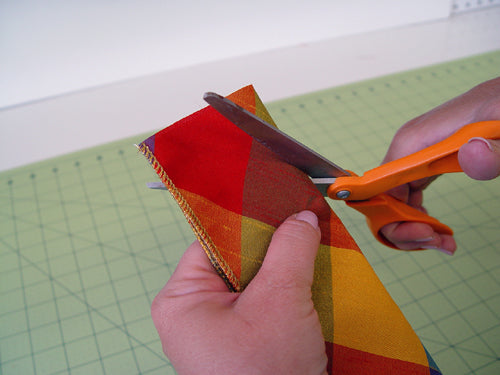
After the ribbon strips were cut 16" in length, we fold them in half lengthwise and cut diagonally across the end creating a chevron or fishtail finish.
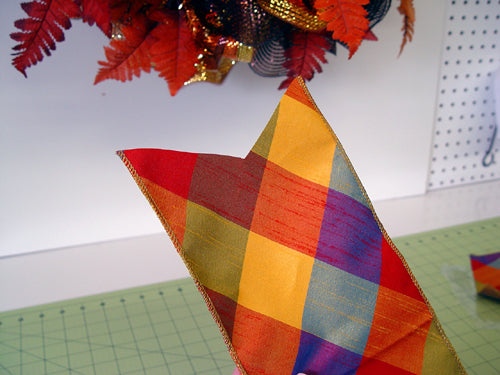
The ribbon strip was pinched in the center and placed in every other twist on the wreath. Just open the twist and place right on top of the mesh/leaves and re-secure with 3-4 twists this time since this is the last layer.
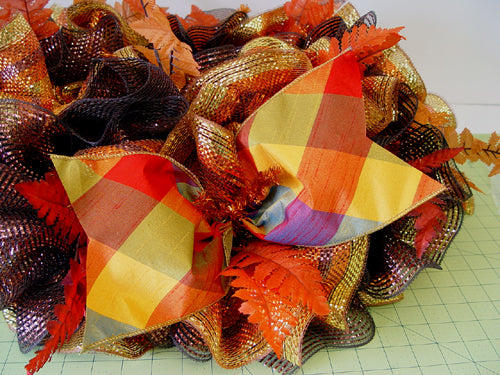
At this point we hung the wreath up, looked for stray strings, smoothed out the ribbons and re-shaped the leaves here and there.
The wreath measured 24-26" before we added the leaves and ribbon so now it is closer to 26-28" in width
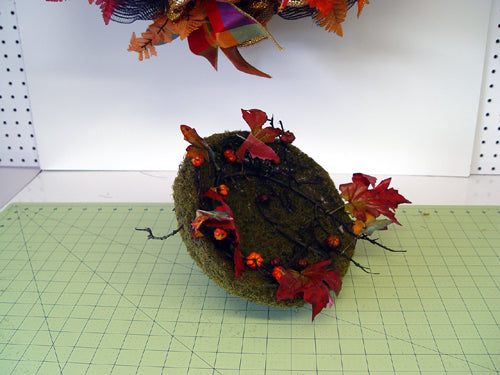
We chose the Moss
Bird Nest with Mini Pumpkins. This nest comes in two sizes and we used the larger one. It's a deep, mossy green next with a strand of garland with tiny pumpkins and leaves. Floral wire was run through the back of the nest and secure to the Copper Pencil Wreath Frame.
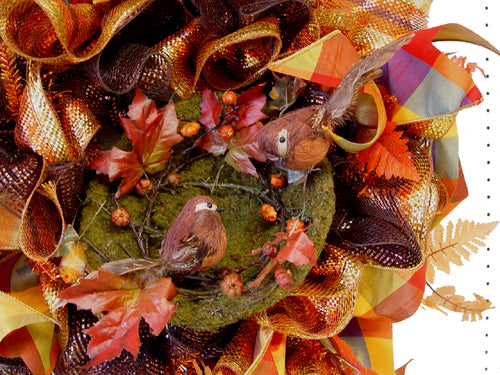
We added a pair of RAZ Clip on Feathered Birds to the nest. These are available in two sizes and we chose the 3" x 8" size that are $9.99 a pair.
This completes this wreath tutorial but it could be changed up in several different ways by choice in ribbon, etc. It's actually very pretty with no leaves or ribbon. A bow could have been made from the remaining ribbon too.
We have several autumn signs coming in soon that would look great on this wreath, here a few suggestions:
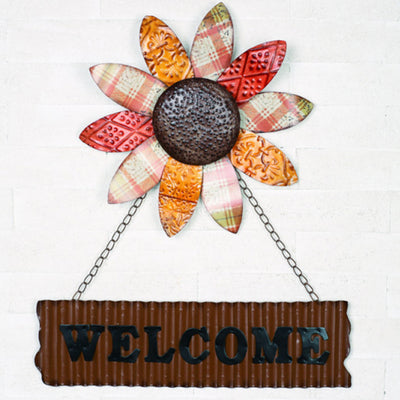
Metal Autumn Deco Flower Welcome Sign

Metal Pilgrim Hats with Stakes

Burlap Pumpkin
Browse through the Autumn, Fall Sign Category to see more!
Save