Please note that even if the exact items we used for this tutorials are sold out, you can still choose other products to achieve a similar look.
If a 21" mesh is not available in your color choice, you can always use two rolls of 10" mesh and revert to a "ruffle" technique.
Choose other styles of Halloween ribbon in 1.5" and 2.5" sizes. You can omit the sign, choose another style, or even use something like a pumpkin, or black plastic kettle for the center.
Summary:
Wreath:
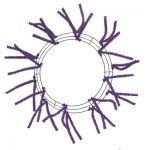
We chose a purple pencil wreath for this project but you could use another color or style of wreath.
Our 24" wreaths actually measure 15" across the widest ring, but with the addition of products you wind up with a finished wreath that measures 24" or greater.
Another wreath that would be great for this project would one of the ball wreaths like the lime green with lime green balls.
Deco Poly Mesh:
We chose a 21" wide foil mesh in the orange. Wide foil mesh has strips of foil that are wider than the routine metallic mesh.
The orange wide foil mesh strips have more of a translucent shine a little different from your typical foil.
Wide foil mesh gives better coverage than just metallic mesh too. You could make this project using other colors of mesh also.
We have a wide variety of colors and styles. We used the "pouf" technique for this project. Using the pouf technique, you have less raveling of the mesh. You will still have some and you will have to clips strings at the end.
All mesh ravels no matter how you use it, but the more cuts you have, the more raveling.
To make the pouf technique, just let the mesh roll on to the floor and grasp it about 3" from the end, pinch it up and attach it to a twist on the wreath.
We started on the outside, but it doesn't matter if you start on the inner ring or outer ring. (I apologize for the still images, I had to grab them from the video.)
Once the mesh is attached, tuck that raw edge to the inside of the wreath.
Measure 10" of mesh, pinch it together and attach to the next twist. You can make your poufs anywhere from 10-14" but just be consistent around the wreath making them all the same size.
You will have a little mesh left over even making them 14" in length. You can put your hand up under the pouf to fluff it out a bit.
Continue measuring and securing and just work all the way around the outer ring. When you get back to your starting point, open up that twist (making sure your first pouf stays in place) and attach your last pouf in that same twist. This way you won't have any gaps in your poufs.
Now you're ready to move up to your inner ring. Don't cut the mesh, just pull it snuggly and move up to the closest twist on the inner ring, secure the mesh. This is your starting point for the inner ring.
Continue working around the inner ring with the same 10" poufs. When you work back to your starting point, open up that twist (keeping the first pouf in place) and lay the last pouf down on top of it, re-secure the twist. Now you're ready to cut off your mesh. Leave a tail of 4-5"
Your finished poufs should look like the image below.
You may want to hang it on the wall and look for symmetry. If you have some too small or too big you can adjust a little if needed. Fluff out the poufs and you're ready for the next step!
Ribbon:
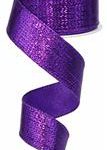
We chose three ribbon styles for this wreath and wanted to keep everything simple.
Ribbons can be added in a number of way and one of the easiest is just to add ribbon strips. You can make loops, small bows, etc. It's always a good idea to test your length of your ribbon strip before cutting up your ribbon.
We cut a strip of scrap ribbon 12", pinched it in the center, opened up a twist and it looked to be about the right length.
Ribbon preferences vary, so just add the ribbon the way you prefer. I don't like mine to be squashed down in the mesh and I don't want them too long and floppy either. Just find the look you like or experiment))
We cut 18 pieces of each ribbon 12" in length. There are 18 ties typically on a 24" wreath. We placed a cluster of the three ribbons on each twist.
You can finish off the ends of your ribbon with a dovetail or angled cut. We cut these all on an angle. With 1.5" ribbon, sometimes it works better to just use an angled cut which maybe will keep the ribbon tails from curling up so much.
All the ribbon was wired, it's much easier to work with.
Just pinch the ribbon in the center, and pick up three pieces for the cluster. We really didn't try to create a pattern or anything.
Open up a twist and lay the ribbon cluster on top of the top and then re-secure the twist with 3-4 turns now since that is the last thing we'll be adding to the twist.
Spread the ribbons out, making sure you have right sides facing up.
If you don't want the tips of the twist to show, you can tuck them to the inside of the wreath or you can also curl them around a pencil if you want to take the time to do that.
Witch Kit: Next we added the three-piece (hat and legs) witch kit.
The hat is lightly stuffed and has about three wires on the back for attaching. The legs also have wires at the top for attaching and wires down the length of the legs for shaping.
It helps if you hang the wreath to judge your placement of the pieces. We placed the hat toward the top on the left and used the wires to attach the hat directly to the wreath frame.
Sometimes when you attach items, if you do it too tightly, it may pull the item down into the mesh and you don't want that.
Sometimes you may have to use part of the pencil twist and secure there. Secure in an many places as necessary to secure it well.
The pieces of this kit are very lightweight, the material is nice and shiny and the fabric from the hat and legs will hang up on the mesh, when it does, just snip with scissors.
It helps also, to twist the legs together and attach them as one piece versus too. We placed them on the inside of the wreath, attaching from the back and let them hang out the front. You can shape the legs.
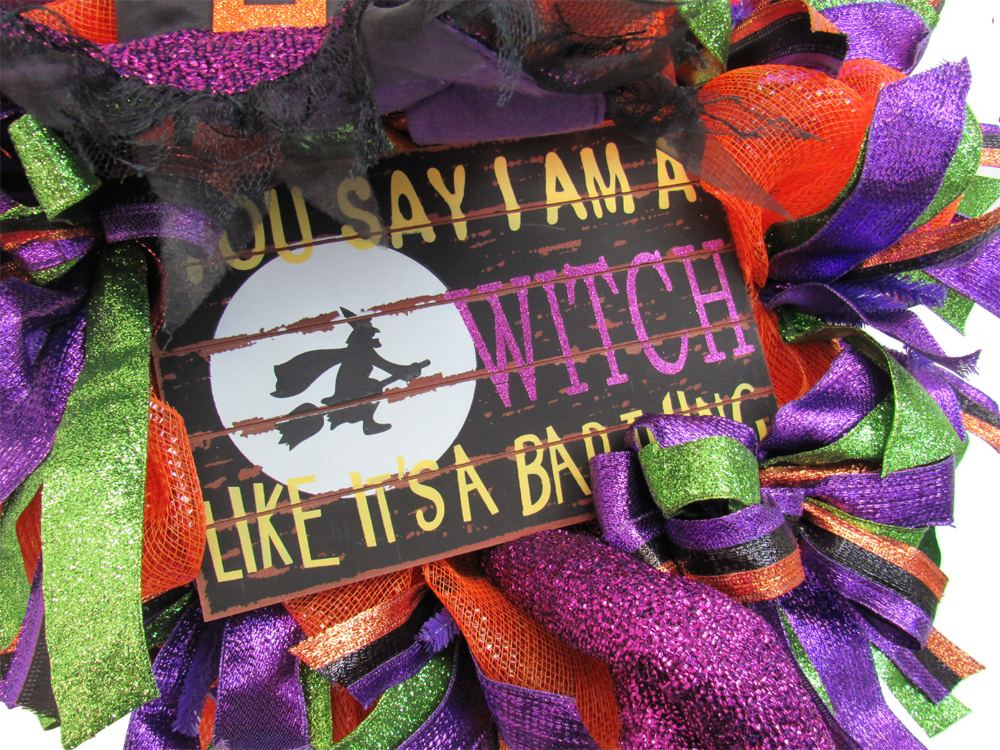
Halloween Plaque:
You can end your wreath at this point if you like but if you would want to put something in the center, this Halloween plaque is a perfect size.
The sign is assorted and they measure about 12" in length and 8" in height. They are made of MDF.
Signs can be secured in several different ways and it all depends on the size, weight and where you plan to place it. The sign comes with a jute string for hanging.
An easy way to attach this sign would be to staple some chenille stems to the sides with a heavy duty stapler or you could also use some tiny eye screws (being careful not to screw them completely through the wood).
Once the tiny screws are attached, you can slip some floral wire through there and secure to the wreath frame.
Since my wreath was just for this tutorial, I just used the jute string and attached it to the top of the wreath from the back. If you use the jute string for hanging, you might also want to attach it somewhere close to the bottom of the sign.
Bows:
We had ribbon left over of course so if you wanted to, you could make a big bow sort of for the center and leave off the sign.
We elected to make two smaller bow and attach one to each size of the size, one toward the top and one at the bottom. Typically, I would say never split ribbon, but the lime green metallic ribbon didn't seem to ravel. So to make small bows, we split the lime ribbon down the middle. Then taking the lime ribbon and the two other 1.5" ribbon, made a couple of small bows using the Bowdabra.
You don't have to use a Bowdabra to make a bow. You can just make a simple shoestring style bow and put extra loops.
I like using the Bowdabra sometimes just because the bows turn out pretty much the same each time. The Bowdabra you saw in the video is the plastic part. The board was something my husband made. He just drilled four holes in the plastic base of the Bowdabra and secured it to the board. I added markings with a permanent marker for measurement.
We no longer sell the Bowdabra on Trendy Tree but we do have an affiliate link for Amazon that I can share. Bowdabra Bowmaker
We made two bows. Each bow had four (5 inch) loops and tails of about 6" The bows were secured with chenille stems. We did use the twist from the wreath to help secure the bows.
Sometimes if you try to attach your bow all the way down to the wreath frame, it pulls the bow into the mesh too much and squashes it.
The finished wreath measured about 27" or so, not sure I mentioned that in the video.
Happy crafting!
Thank you for visiting our blog! If you have any questions or comments just contact us at: Trendy Tree Blog