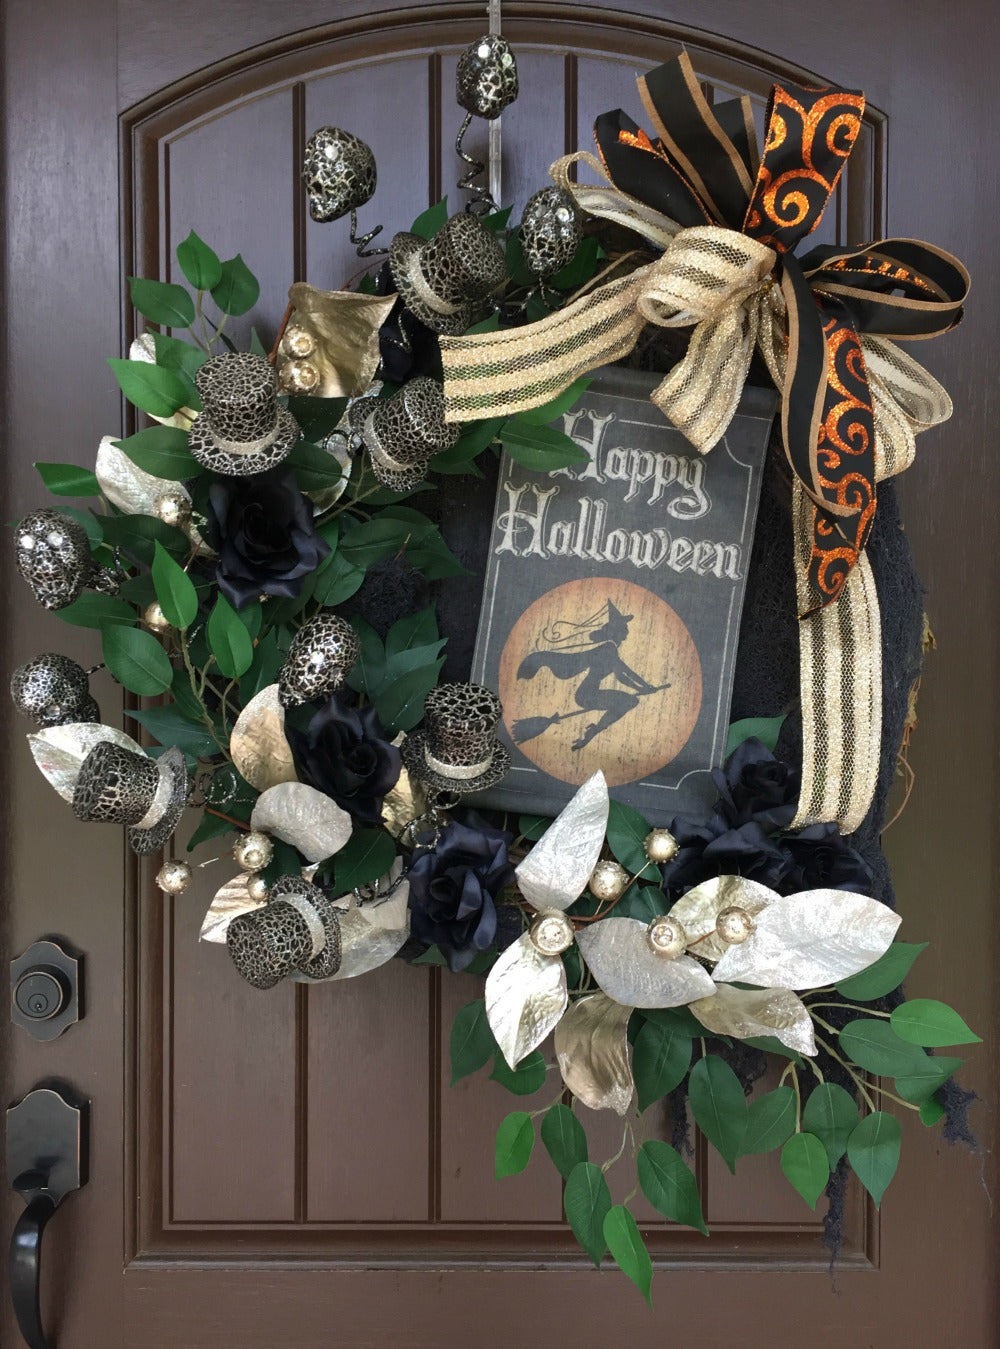
Glitzy Halloween Wreath that Carrie and Rachel put together at Trendy Tree. This wreath is a little something different for Halloween!
SuppliesLarge Round Grapevine Wreath
F36686 Halloween Fabric
HH1180 Halloween Banner
F3606760 RAZ Skull Head Spray - 2
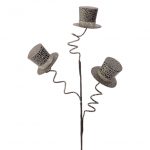
F3506737 RAZ Top Hat Spray - 2
F3506737 RAZ Silver Pod Leaf Spray - 3
SB55152-030 Black Rose Bush
SG780028 Ficus Leaf - 3
X530340-14- 2.5" Light Gold Striped Metallic Ribbon
X510440-21 - 2.5" Black Satin Orange Fuzzy Glitter Ribbon
RG1584KF - 1.5" Black Chalkboard Ribbon Brown Edge
Note: The tutorial will be left up even after some or all the above supplies have sold out, since the basic instructions can be followed and other products used.
Summary:Grapevine Wreath: Carrie and Rachel started with a round grapevine wreath. This wreath is rather large but you could always make a similar one on a smaller wreath form, or use an oval or square. Right now we only have the large round and small round in stock, but more ovals will be coming in.
Working with grapevine is messy! So be prepared to have to do a little clean up when done. Grapevine wreaths are not always perfectly round, as they are made of twisted up vines so no too look exactly alike. If a wreath is a little irregular in shape, it won't show after you have added all your embellishments.
Halloween Fabric: The black gauzy fabric was the first element added to the wreath. It just gauzy fabric and was draped over the wreath. You can position to show as much, or as little as you want, or even hang off the bottom. It was attached in a couple of places, but actually as you add the other items like the sprays, this too would secure the fabric to the wreath.
Ficus Leaves: The ficus leaves are about 22" in length and have three springs on them. They come 12 sprays to a bag and we used three for this project. Typically, the smaller stems would be cut and used as individual pieces, but for this large wreath, Rachel just inserted the entire spray into the grapevine. You could use hot glue for this for added security, or you could always add a bit of floral wire, if you wanted to plan to re-use your wreath or other items for another project later.
The ficus leaves were placed on one side of the side, some going up and some downward. The leaves are wired so you can position them. Make some of the leaves sort of stick up out of the wreath so they are not all laying flat down.
Silver Pod Sprays: The RAZ Silver Pod Sprays were also left full length (stems may have been cut a little, check the video.) But the spray itself was left intact and secured into the grapevine wreath with hot glue.
Three of the sprays were used on the same side where the ficus leaves were added. Once the sprays were secure, the leaves from the ficus and silver spray were worked around together so that the silver spray wasn't just laying flat on top of the green leaves.
The silver leaves and pod are wired, so you can position them. The spray is called silver, but is more of a champagne look that blends well with silver or gold.
Black Rose Bush: The black rose bush has 7 blooms and they were cut away from the bush. Four of the roses were positioned on one side of the wreath on top of the sprays and the remaining three, left for later. The rose bush also has just a bit of white baby's breath or something like that in it too. To make the roses fuller looking, you can fluff them out a bit.
The roses were secured into the grapevine wreath with a bit of hot glue. Any time Rachel was adding an element with hot glue, she also took care to place the piece next to the ficus leaves to help secure the ficus in place too.
Skull Head & Top Hat Sprays: The skull head and top hat sprays were placed full length (ends may have been shortened). Two skull head and two top hat sprays were used, all being placed on the same side as the leaves, roses and silver pods.
The skull heads and top hats are on springy like ends and they can be positioned once secured to the wreath. Again, you can use hot glue or you can use floral wire to secure these pieces if you are interested in removing them later for another project.
Each one of these RAZ sprays has three skull heads or three top hats.
Halloween Banner: The Halloween banner was added to the opposite side of the all the floral components. It has a burlap string at the top and a wooden dowel at the bottom. Rachel secured the top of the banner to the grapevine wreath using a bit of wire. To secure the bottom of the banner to keep it from flopping around, she ran a straight piece of floral wire through the bottom cuff and then secured the bottom to the grapevine wreath.
I think she secured the bottom first, then pulled it up snug to secure the top to keep the banner nice and straight.
Loop Bow: Rachel made a simple loop bow with the three different ribbons. She started out with the light gold striped metallic ribbon first and cut about four yards. She made a two six inch loops (leaving a 12" tail) with the light gold ribbon and then picked up the black orange swirl ribbon and made a bit smaller loop (3" loop with a 6" tail) and made two loops.
Next the 1.5" chalkboard ribbon was picked up and two 3" loops made with a 6" tail. The black and orange ribbon was picked up again and two more loops made. The 1.5" chalkboard ribbon was picked up and two more loops made.
Lastly, the light gold striped metallic ribbon was picked up again and four more 6" loops made on the back. The bow was secured with a chenille stem.
You can make your bow in any number of ways, but this one wound up being sort of a stacked bow with six (three loops on each side) loops made from the light gold ribbon, four smaller loops made with the orange/black and four with the chalkboard.
The bow was secured to the grapevine wreath using then chenille stem and the longer tail of the ribbon was pinched and secured toward the bottom of the wreath.
The remaining three black roses were dipped in hot glue and secured over the tail of the ribbon. Or you could just leave the tails of your ribbon free. Lots of options on making a bow)))
The overall width measured 30-32" and it just all depends on how you place your elements and spread them out, so this is a large wreath.
You can fashion a hanger for the wreath out of chenille stems or floral wire.