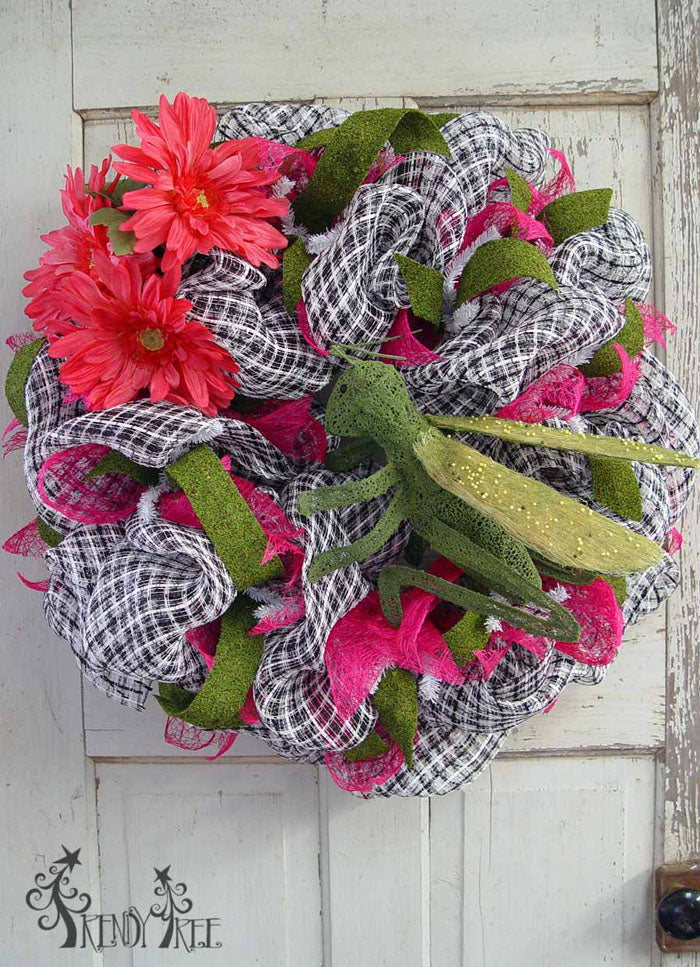
Here's a new Spring wreath we did using a black and white basket weave pattern Deco Poly Mesh® for the base, hop pink ribbon and an adorable new green grasshopper.

Click the link below to see the video tutorial

We didn't take many pictures along the way, but if you watch the video maybe this will help. We'll list the steps taken.

Supplies
RE1056FF Black/White Basket Weave Deco Poly Mesh® - 1 Roll
XX750427 24" White Pencil Wreath - 1
BR40013 Hot Pink Banana Weave Ribbon - 1 Roll
EG2599H8 Moss Ribbon - 2 Rolls
KG2921 Wire Bead Grasshopper
FH155111 Hot Pink Daisy Mum Bush - 1
First Step: Smooth out the Pencil Wreath
Next: Attach basket weave mesh to wreath starting on the outer ring (it really doesn't matter if you start on inner or outer, but sometimes depending on the product you are using, one level or the other makes working with it a little easier.)
Grasp the mesh 3-4" inches from the end and pinch together. Place the mesh where you have it pinched together into one of the twist on the outer ring and secure with a couple of turns. Take the raw ends and push to the inside of the wreath. Wrap the raw end around the wreath frame and secure tightly with a zip tie. Snip off the tail of the zip tie and turn the cut edge of the tie toward the inside of the wreath - you don't want any sharp edges left that would scratch your door or wall.
Next: Using a yardstick or something to measure with, measure the mesh 14" starting at the twist you just secured. Grasp the mesh at the 14" mark and pinch together. Place this mesh into the next twist. Your first pouf is made!

Continue working around the outer ring of the wreath in the same fashion. Measure - Pinch - Secure
It's only necessary to give the twists a couple of turns right now, because you'll be undoing them later to add in some ribbon strips.
Finish you last pouf on the outer ring by opening the twist where you started. Place the last pouf into that first twist right on top of the tail of the mesh where you started and re-secure with a couple of turns.
Now you're ready to move up to the inner ring.
Next: Don't cut your mesh, leave it attached and just pull the mesh up tightly to the closest twist on the inner ring. Secure the mesh here with a couple of turns and proceed around the inner ring in the same fashion - measure - grasp - secure.
When you have secured your last pouf, leave the mesh attached (we had a couple of yards left over) and step back and take a look at the wreath. Fluff the poufs by placing your hands inside the pouf. Make any adjustments if you have one that is too small, too large, too tight, too loose etc.

Once you are satisfied with the look, cut the mesh from the roll leaving about a 4-5" tail. Tuck this tail to the inside and wrap around the frame just like you did with the beginning raw edge. Secure with a zip tie.
Now you're ready to decorate!
Next: Snip the mums away from the bush into single stems. This mum bush has 5 blossoms and we used three for this wreath. You can use more or less...or something else.
Next: Do a trial run of placing your large items on the wreath to see how they look. Don't secure anything yet. You're just deciding where you want to place things. It's easier to get an idea in your head of what you want the finished wreath to look like. For this wreath, the large pieces will be added last. Sometimes, depending on what you're adding to your wreath, you might need to add the large piece before going any further....it just depends on what you're attaching and how it has to be attached..
Next: We used a Hot Pink Banana Weave Ribbon for this wreath. The Banana Weave Ribbon has a nice stiff texture and is made from a natural fiber.  The ribbon is 4" in width and 10 yards in length.
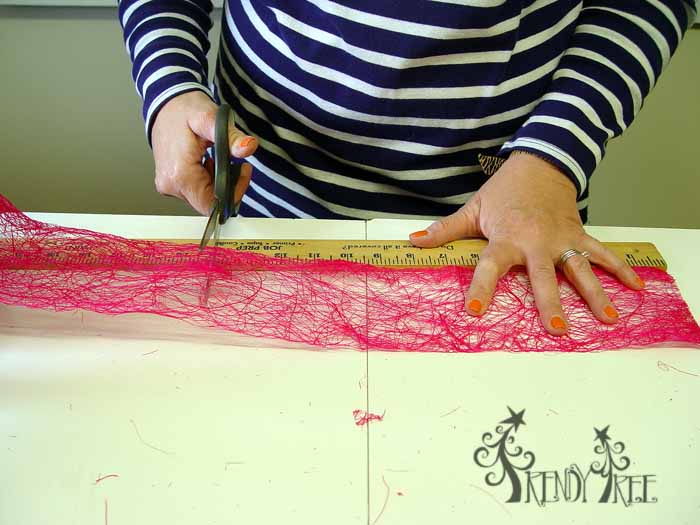
Always do a test ribbon strip before cutting up all your ribbon. Some wreaths have more depth than others depending on the product or layers of products that you use and you want your ribbon strips to stick out a little farther than the basic product. It all depends on the look you want, but you don't want to cut them so short that they are not visible.
We cut ribbon strips about 14" in length and did a chevron cut to the ends by folding the ribbon lengthwise and cutting the end at an angle starting at the folded side of the ribbon.

To secure the ribbon strip to the wreath, grasp the ribbon strip in the middle and pinch it together. Open one of the twists and place the ribbon down on top of the mesh.

Be sure not to let your pouf slip out of place while you're doing this, but it usually holds nicely. Re-secure the twist with a couple of turns.

We placed a hot pink ribbon ribbon strip into each twist around the wreath. You can use as much or little ribbon as you wish. Layering ribbon of different widths, styles and colors achieves a nice look too.
Next: Strips and loops of Moss Ribbon was placed in the same fashion as the Banana Weave ribbon. Open the twist, and secure the Moss ribbon right on top of the Banana Weave. This is our last layer, so now we secured with 3-4 turns.
Next: Three flower stems were secured together with a zip tie. Then this flower bundle was secured to the Work Wreath frame using a zip tie.......buy stock in zip ties!
Next: The grasshopper was secured using a zip tie around the legs, also secured to the Work Wreath Frame.
All done!

Be sure to subscribe to our Trendy Tree Video Channel so you won't miss what's coming up next!