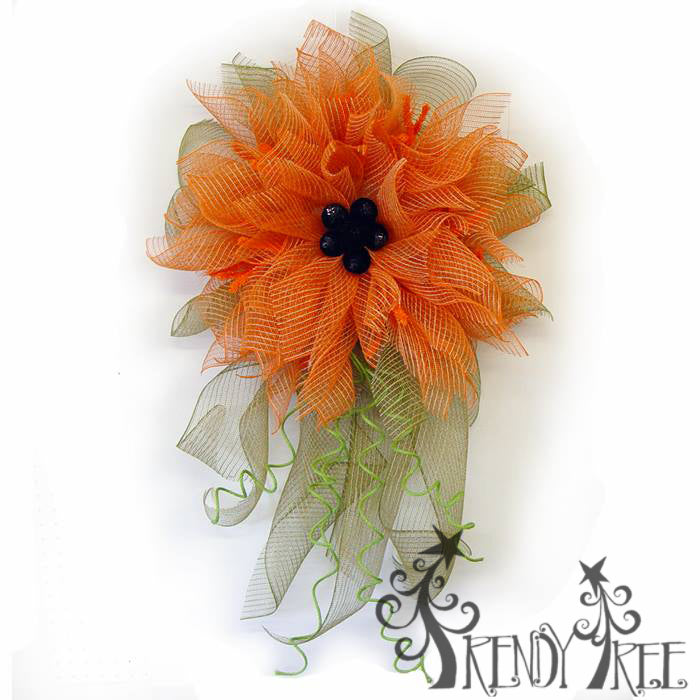
New tutorial for this Orange Poly/Burlap combination mesh. We have a video tutorial for this wreath and you can click on the image below to be taken to YouTube to watch.

Sorry, but we did not get images of the stages while we were making this wreath, but I'll try to describe them for you. If you watch the video first, that should help))
Supplies:
XX167820 10" Orange Pencil Wreath (other colors can be used)
XB93210-19 10" Natural Burlap and Orange Poly Mesh - 1 roll (other colors can be used)
XB93210-08 10" Natural Burlap and Moss Poly Mesh - partial roll (other colors can be used)
XP346402 Black Sequin Ball Pick Bag of 12 - used 5-6 (sold out, no more available)
RD106132 Wired Jute Roping Lime Green - partial roll (sold out, other colors can be used)
First step was to take the Pencil Wreath and smooth out the twists.

XX167820 10" Orange Pencil Wreath
Next, the Natural Burlap and Moss Poly Mesh was cut in 17" lengths. We had 7 twists on the outer ring of the work wreath, so we cut 7 pieces of moss mesh for our outer leaves.

XB93210-08
Natural Burlap & Moss Poly
The mesh tends to curl up, and that natural curl position is how you want to lay your mesh into the twist.
Lay the 17" piece of mesh out and bring two opposite corners to the center, then pinch it up in the center like a bow. Lay the mesh in the twist and secure with just 1-2 turns. Point the mesh tips toward the outside of the wreath, in a V-fashion. The burlap/poly mesh won't hold that "V" like the paper mesh does, but it works okay.
Work around the outer ring. The Moss mesh is cut in longer lengths than the orange, because you want the "leaves" to stick out more than the orange.
Next we took the roll of Natural Burlap and Orange Mesh and cut 10" lengths.
We use a 24" x 36" self healing
Omnigrid Cutting Mat and a
45mm Omnigrid Rotary Cutter (these are available at Amazon and we have included our affiliate links.)
One 10 yard roll yielded 36 pieces and we used all of them, but it was enough. It's always good to have a second roll though in case you have a gap that needs an extra fill in, etc.

XB93210-19
Natural Burlap & Orange Poly
The "petals" are fashioned the same way as the leaves, lay the mesh down, bring two opposite corners to the center, pinch up like a bow and place in a twist.
To place the orange layer, open up on of the twists that is holding the green leaves, lay the orange petal down right on top of the green and re-secure with a couple of twist.
Go around the outer ring with one layer of orange, then go back and do a second layer of orange. Opening the twist and laying the second layer of orange on top of the first layer of orange. Now your twist has a green and two orange layers.
Next step is to create a "crossbar" in the center of the wreath since the center will need to be filled in petals. This was done by taking a chenille stem and securing it to one of the crossbars in the center ring, pulling it tightly across the center and securing to another crossbar on the opposite side. Attaching the chenille stem to the crossbar will keep it from sliding. Take a second chenille stem and attach it the same way, opposite crossbars. You have a finished "cross-hair"
The reason for creating the crossbar now is just because it's easier to get to before applying the next layer of petals.
Apply the next layer of petals to the inner ring in the same manner as the outer ring. Keep pushing the petals toward the outside of the ring. Apply a second layer to the inner ring.
You should have still have some petals left over at this point, and you can apply about four to the "in between the twists" spaces around the inner ring. Attach these by using 1/2 of a chenille stem. Fold the chenille stem into a "staple" shape and place over the center of your petal, give it one twist. Then place the petal in position directly onto the wire frame between the twists. Just slip the chenille stem over the wire frame and reach under and attach it from the bottom giving it a couple of twists. Securing it from the bottom will make it less unsightly.
You should have about 4 petals left and these can be placed directly on to the "crossbar" that you made with the chenille stems. Attach them the same way, using a staple shaped chenille stem and securing from the bottom.
With these last 4 petals in place, the center should be full. You may have to adjust some here and here to make sure the wire frame is covered up.
Next take the Black Sequin Ball pick, I used 5-6 and just poke them through the center and secure then all together from the back at one time.

XP346402
Black Sequin Ball Pick
Turn the wreath over and check for any sharp edges that might scratch your wall or door. Turn anything toward the inside that might cause a scratch. If you still have something that might scratch, cover it up with a little piece of duct tape or ribbon or something.
We added some "tails" to the flower by cutting one length of Burlap and Moss Poly Mesh about 2 yards in length, chevron cut the ends and pinched together midway between the length for a tail. Then cut another strip a little shorter, chevron those ends and pinch midway in the center. Put the two pieces together with the shorter piece on top, secure with a chenille stem or zip tie and attach to the bottom of the Work Wreath frame.
Note: After we completed the video, we decided the longer tail was a little too long, and we cut about 10" off it.
Next we added some curls using Wire Jute Roping in the lime green. Just cut some random lengths 24" 30" 36" with wire cutters. To make the "curls" you can wrap the wired roping around a cardboard tube, broom handle etc. Pull the curls off and adjust as needed. Wire them into the wreath directly to the Work Wreath frame.
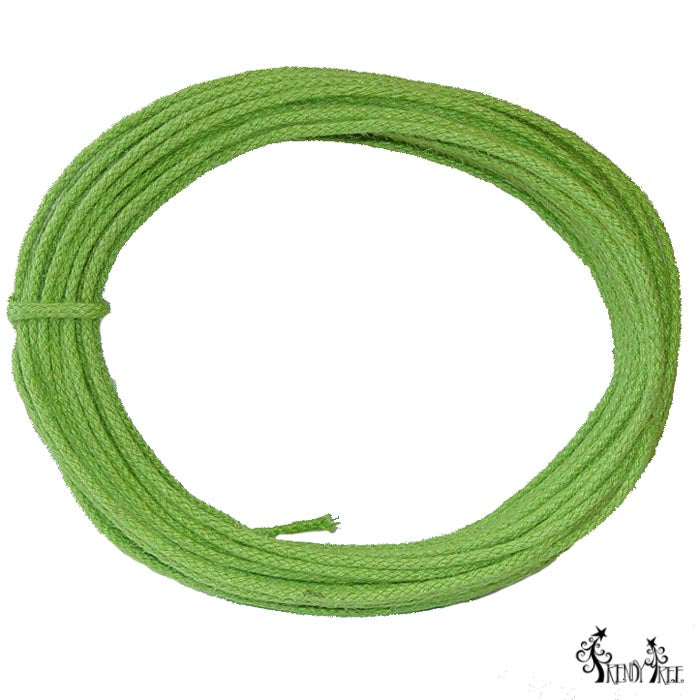
RD106132
Wired Jute Roping
Lime Green
The finished flower measures about 24" in width and 36" or so in length.
Another question we get quite frequently is can the flower be made with regular Deco Poly Mesh. Yes it can! Deco Poly Mesh is a little stiffer to work with and you may have to add an extra layer for good coverage, but it works)))

 Subscribe to our YouTube Channel!
Save


