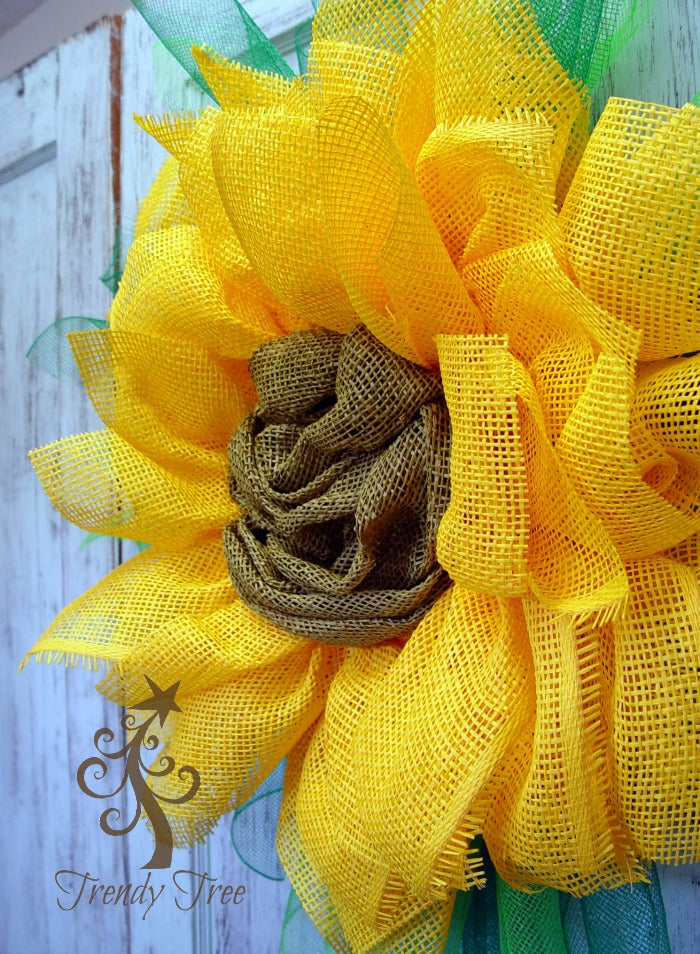
New Sunflower Yellow Paper Flower Tutorial with Paper Mesh Center
1/15/16 Re-posting a Popular Tutorial from June 2015:
What a whirlwind week! Last week a Facebook post made by Ocean 100 Radio Station went viral! It contained a link to a Blog post from Trendy Tree and an image from Nicole D Creations. Everyone just loved the center that Nicole created for her wreath and she very graciously shared with us how to make it. So we have a new tutorial)))
Please visit and browse through Nicole's Etsy Shop - Nicole D Creations and visit her Facebook Page Nicole D Creations.
Etsy Shop
Facebook Page
A little about Nicole: Nicole is from North Dakota. For about 10 years she was an Executive International Travel Consultant and met her amazing husband)) She and her husband did foster care for several years and wound up adopting six children. For many years, everything about her life revolved around their children because they all had a certain amount of special needs. When she finally felt it was okay to do something for herself that was just a hobby, she found wreathing. It has been such a creative outlet for her and gives her much pleasure to create beautiful things.
Our center isn't quite as pretty as Nicole's I don't think, but it was our first and it's very definitely something you do have to practice on, but we gave it a shot and are quite pleased with the way it turned out.
Supplies:10" Yellow Paper Mesh (if out of stock, you can use other colors or even Deco Poly Mesh)
10" Cream Work Wreath (you can use other colors)
10" Moss Paper (you can use other colors)
21" Emerald Deco Poly Mesh
21" Lime Green Deco Poly Mesh
Plastic Mesh Canvas (purchased at Wal Mart)
Zip Ties
First Step
Making the center is where we began. The plastic mesh we purchased at Wal-Mart comes in rounds, but wasn't available so we had to go with the squares. The inner ring of the 10" Pencil Work Wreath measures 7" in diameter. We cut the plastic mesh 6" in diameter and rounded off the corners.
You might want to make cut your plastic 7" just depending on what sort of product you're using to cover it with. If the material is more compact, go with 7", if you have some play in the product where you can manipulate it some, cut it 6"
10" Moss Paper Mesh was used for the center. Grasp and pinch about 1-2" from the end. Take a slender zip tie, we used the transparent (sort of white) and put the pointed end up through the plastic mesh from the underneath side. Bring the pointed end up and over your gathered mesh, go back down into the tiny mesh square next to where you brought it up through, secure the zip tie and snip off the end.
As per Nicole D Creations instructions, you can do this with chenille stems (cut the stems in half) and just place over your gathered paper (like placing a staple over it) and secure from the underneath side. Just practice and go with a method that is easiest for you. I tried floral wire too, because I thought it wouldn't show as much or would be easier to cover up. But had difficulty getting a secure fit.
Practice makes perfect....it took me a few tries to get the mesh to cover the plastic circle to suit. I wound up using sort of a zig zag pattern to secure the paper mesh, taking at the bottom of the circle and working my way back and forth up to the top securing the mesh from side to side. You want to leave the paper mesh loose enough to have a little play and you want it to roll over the edges a little so it covers of the plastic for sure.
When you get to your last attachment, cut your paper and tuck the end to the inside. Pull the paper over any places that you still need to hide, and use you hot glue gun to secure it. If you need to create wrinkles or creases, use a little hot glue and just tuck the paper down here and there. Don't expect to be happy with your first try, you may have to try again.
This type of center would be great for using up your scraps! As we said in the video, you can make this wreath out of Deco Poly Mesh also. But, if you are doing a poly wreath and using poly for the center, you will need to use something like a wide foil to get good coverage. Also, you would need a cool glue gun. Hot glue will melt Deco Poly Mesh.
Second Step
Next we cut the green Deco Poly Mesh for the leaves. We used two shades of green simply because it was already open and on the craft table. You can make the leaves all with one color and you can use 10" mesh instead of 21" But since 21" is what we had, it's what we used. Cut your strips about 10" in width.
The outer ring of the 10" Pencil Work Wreath has 7 twists, so you need 7 pieces of each color. I chose to take the emerald green to do the first layer.
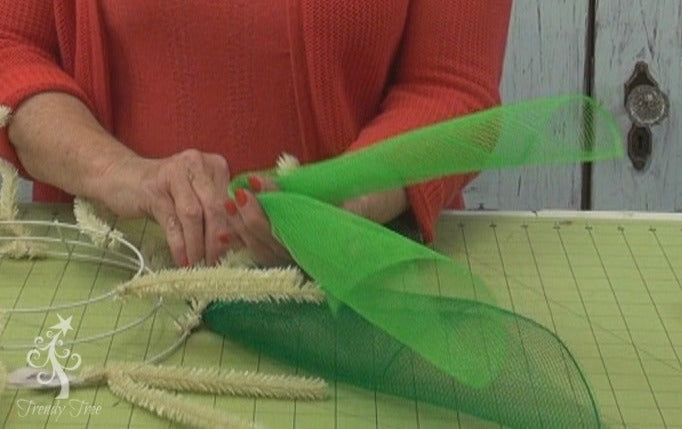
Take the 10" x 21" piece of mesh and start rolling at an angle at the lower right corner. When you get to about the center of the piece of mesh, start rolling the other side of the mesh at an angle.
This may not be very clear, but you want to roll the mesh to where the ends are pointy and not just in a curled roll. Hold the piece pinched in the center and place in a twist on the outer ring.
Repeat the procedure with the lime green. Since both my lime and emerald were 21" and the leaves would be the same size, I wanted to stagger the lime so it didn't extend out as far as the emerald green. To secure the lime layer, open up the twist and lay the lime piece on top of the emerald, but instead of securing it right in the center, push it to the right and into the center of the wreath form about 1.5" to 2". This will give a more layered look for the leaves.
Continue around the outer ring of the wreath with two layers of leaves in each twist.
Next Step
Create yellow flower petals by cutting the 10" Yellow Deco Paper Mesh into 10" lengths. We don't recommend splitting a 20-21" product to make 10" squares. All mesh, burlap, paper ravels and the more cut edges you have, the more raveling. Also the more handling you do, the more it ravels.
Take one corner of the square and bring it to the center, bring the opposing corner to the center. Pinch up the square in the center in a bow fashion.
Place the petal into a twist by opening up the twist and laying the petal down with edges curved under, re-secure the twist now with 3-4 turns and push the twists to the inside of the wreath form. Push the petals toward the outside of the wreath. They should be in the shape of a "V"
Continue around both the outer and inner ring with two layers of petals. You can gently give the petals a little diagonal pull to help fluff the petals.
There are usually about 12 twists on the 10" Pencil Wreath, so you need 24 pieces to make your petals. This is will you a little paper mesh left over. This is handy in case you need to fill in any gaps or holes once your done. If you need to fill in a hole, take a chenille stem (cut in half) and place over the petal like a staple, then secure from the underneath side.
Next Step
Secure the Moss Deco Paper Mesh center by attaching the the plastic mesh to the straight posts on the work wreath using chenille stems, floral wire or zip ties.
It is easier to secure the center from the back. Finish the wreath by checking to see that all the zip ties (or chenille stems if you used them) are covered up and that the twists of the work wreath are covered up.
You done! Well...clip your strings)))
Deco Paper Mesh is a paper product, so it really isn't designed to use outside unless it's in a very well protected area away from the elements. Areas with high humidity should probably only use the product inside.
Check out our other video tutorials on making different centers for the flower project. We had to split the videos out since they were fairly long. They'll be posted here just as quick as they are finished. We'll show you how to make this center using jute flex tubing.
This center was made using Moss Cloth.