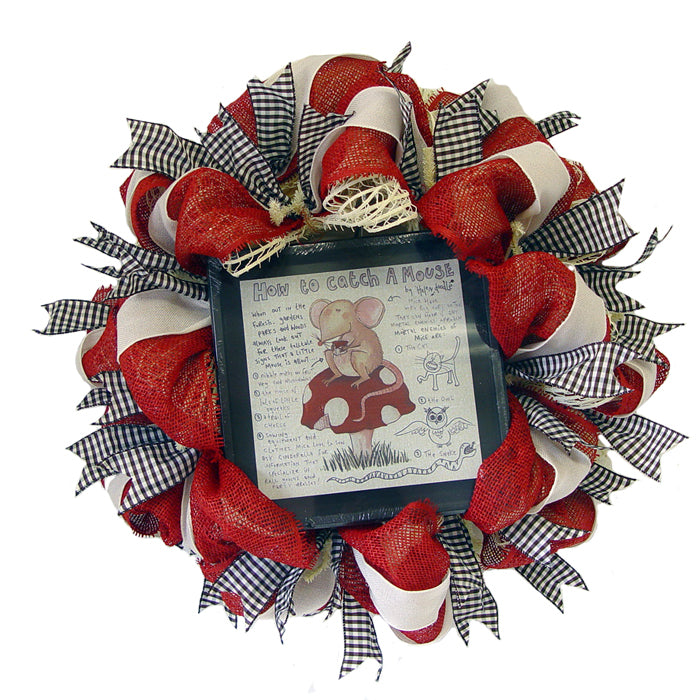
Adorable wreath for a child's room. This wreath features a Children's Print by RAZ entitled "
How to Catch a Mouse" The images taken for this tutorial were done with the plastic wrapping left on the print. We put wreaths together in the shop to give you inspirational ideas, show how products look once they are made up and more than anything to demonstrate the size of some of the signs, wall hangings or other embellishments that can be used. Let's get started on the tutorial)))
We chose an
Ivory Cotton Windowpane for the base mesh of the wreath.
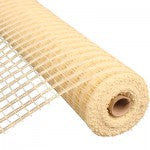
Cotton Windowpane is a natural fiber and has great texture. It has a type of sizing or stiffening agent that allows the mesh to have some body even though it is very open weave. The rolls of Cotton Windowpane are 21" in width and 10 yards in length and available in many colors.
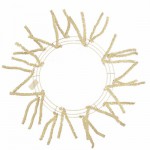
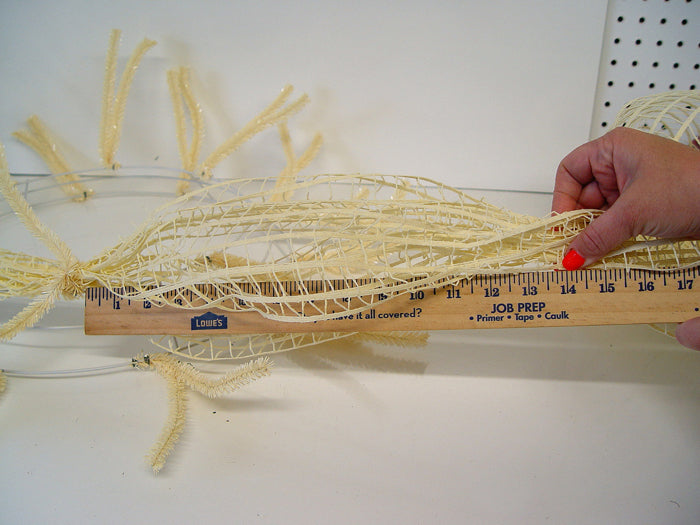
Next we chose a
24" Cream Pencil Wreath. The 24" wreaths actually measure about 15" at the widest ring, but yield a wreath that measures anywhere from 24" to 30" or more depending on the type material used and the size of the poufs.
The Cream Pencil Wreath is a new color for this season. We also have it available in the standard Work Wreath. The only difference between the standard Work Wreath and the Pencil Wreath is the size and type of twist ties. You can choose a wreath that is close to the same color as your base mesh, or something that contrasts. You might want to use the standard Work Wreath if you want the contrasting colors since the twists are more noticeable once you're finished. When using either type of wreath, if you don't want the twists to show, just tuck them to the back of the wreath when you're done.
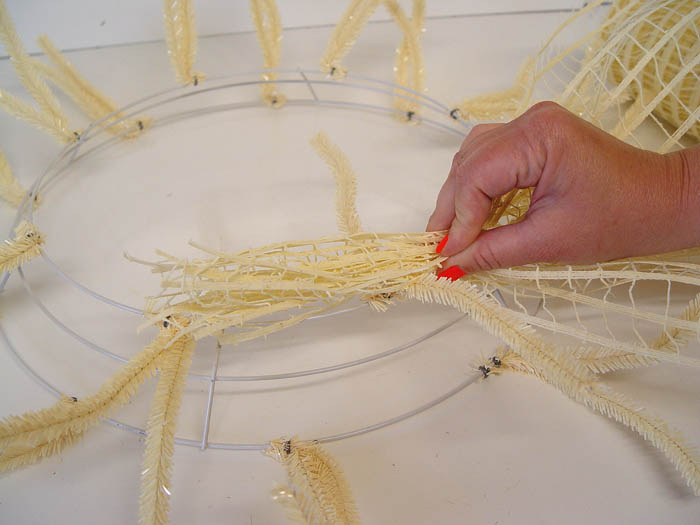
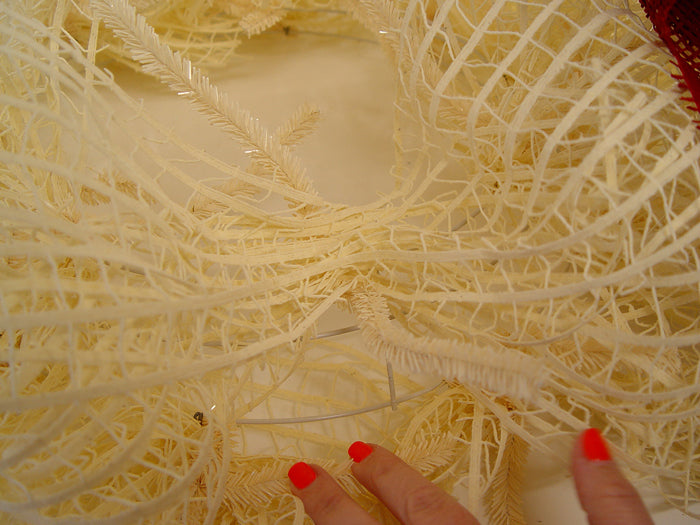
Just lay your wreath down on a flat surface and straighten out all the twist ties. Choose one to start with. It doesn't really matter whether you start on the inner ring or outer ring. Sometimes it's easier to start on the outer ring first, but we generally start on the inside. Grasp the mesh about 3-4" from the end and pinch it together. Lay the grasped portion in the twist and give it a couple of turns. We only do a couple of turns at this point, because we know we're going to reopen the twist later on to add more product. If you were doing a wreath and were not planning to attach anything else on top of the base mesh.....you would want to give it 3-4 tight twists.
Once the first twist is secured, measure the mesh for your first pouf. This measurement depends on several things ....the size of the overall wreath you want to finish with, the amount of material you have and how tight or loose you want to make your poufs. Anywhere from 12" to 16" or so should be fine.....you just to have experiment. If you start on the inner ring, you might want to make the poufs on the outer ring a little larger. Just keep an eye on the amount of mesh you have left.....you don't want to run out and still have a couple of twists that need to be filled. Generally it takes a roll of 10 yards to do a 24" wreath. You might have a little left, or not. If you see that you are going to be short, you can adjust your poufs and make them a little smaller.
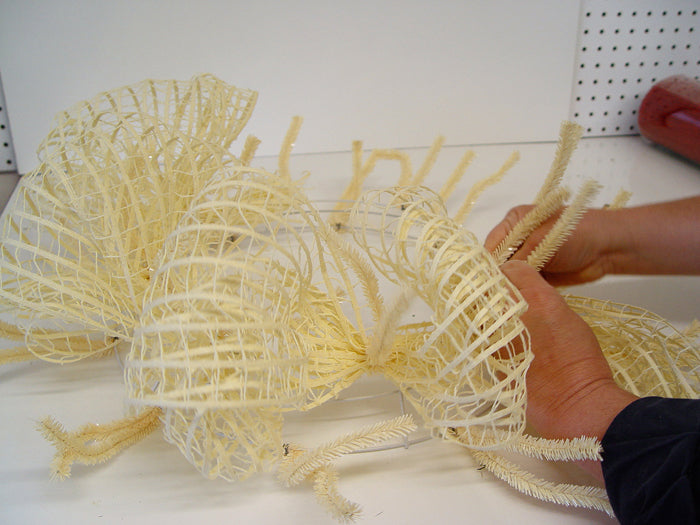
Just pinch the measured mesh and secure it in the next pair of twists. Continue measuring, pinching and securing and just work your way around the upper ring. When you have mesh in every twist, just drop down to the closest twist on the outer ring, secure the mesh and make the next first pouf on the outer ring. Continue around the outer ring.
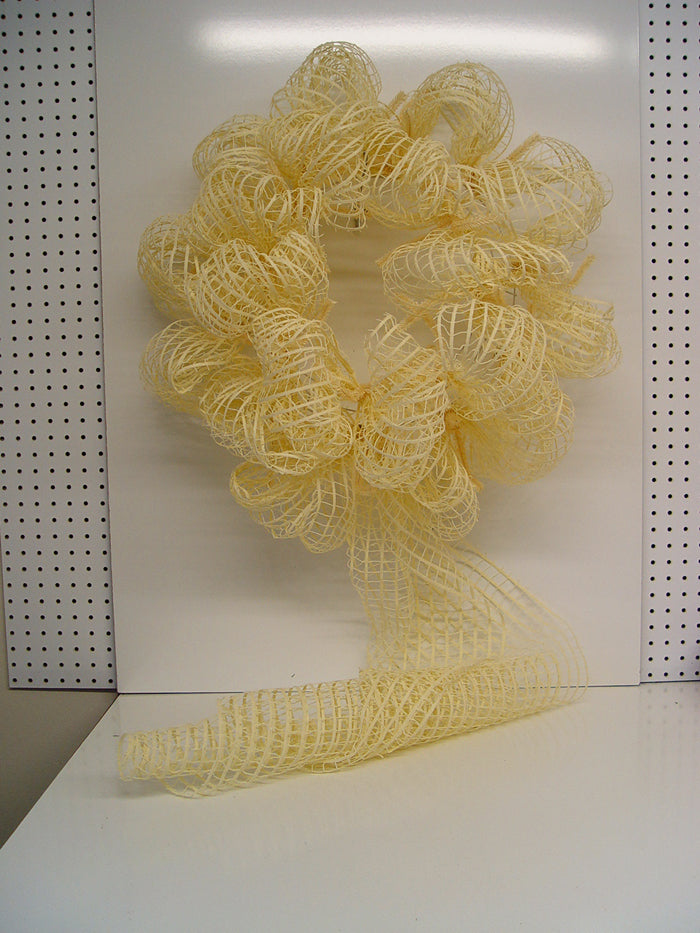
On this wreath we had a couple of feet left over.....so in hindsight we could have made our poufs a little larger at 16" or so.....or left them 14" for the inner ring and maybe 16" to 18" for the outer ring. Better to have a little left over, than to be short. If you do come up short and have another roll....you can always just add in a piece, it will never be noticeable.
Cut the mesh leaving a tail of 4-5" or so. You want a long enough tail that you can thread through the frame of the wreath without it popping out.

Just work the tail in and out the metal frame. You can also secure the tail with a zip tie, pipe cleaner or floral wire.
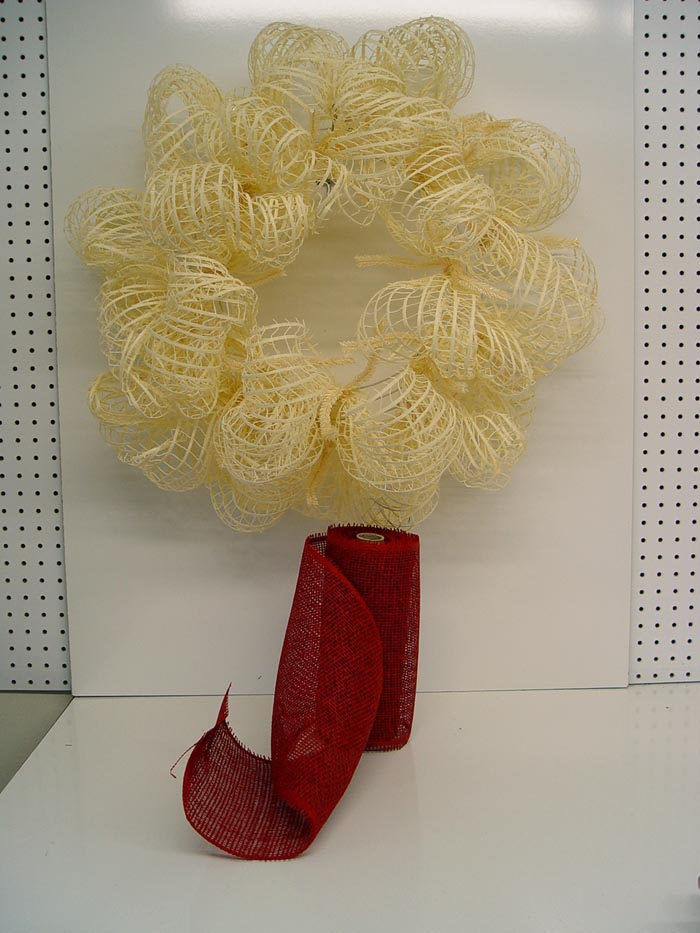
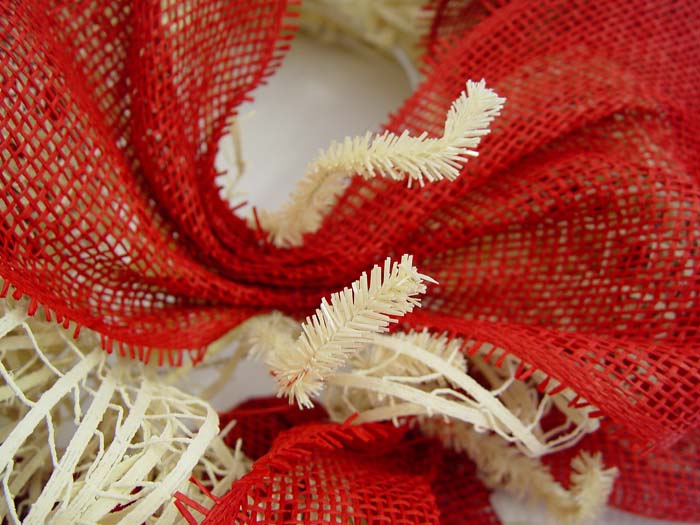
Next we chose a 10" Red Paper Mesh as a contrast. The paper mesh is also available in a 21" width which would make an excellent base for the wreath. It's not necessary to always start with a 21", put a 10" on top etc.....it's just a matter of choice. Some products give better coverage as a base than others depending on their density. If we had just used the Cotton Windowpane alone, the Pencil Wreath Frame would have likely been visible, so we chose to layer the 10" on top.
To start the next layer of mesh, just choose one of the twists where the windowpane was secured and untwist it.
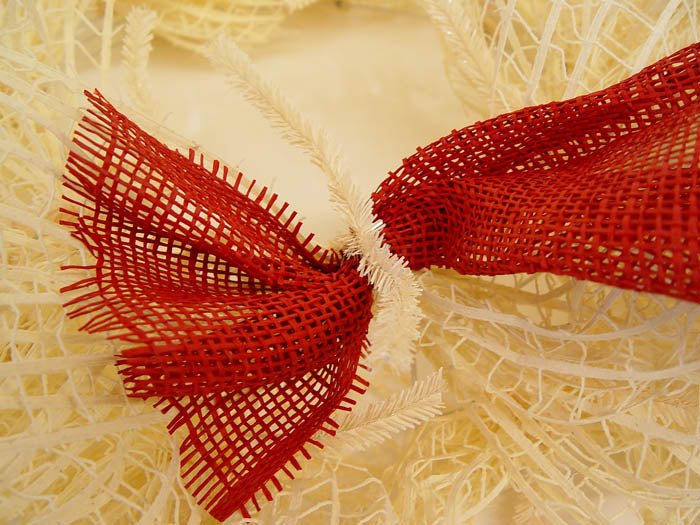
Grasp the paper mesh about 3-4" from the end, pinch an place it inside the twist right on top of the Ivory Cotton Windowpane. Re-secure the twist with a couple of turns.

Apply the same measure, pinch and secure technique and work your way around the inner ring, drop down to the outer ring and finish on around the frame.
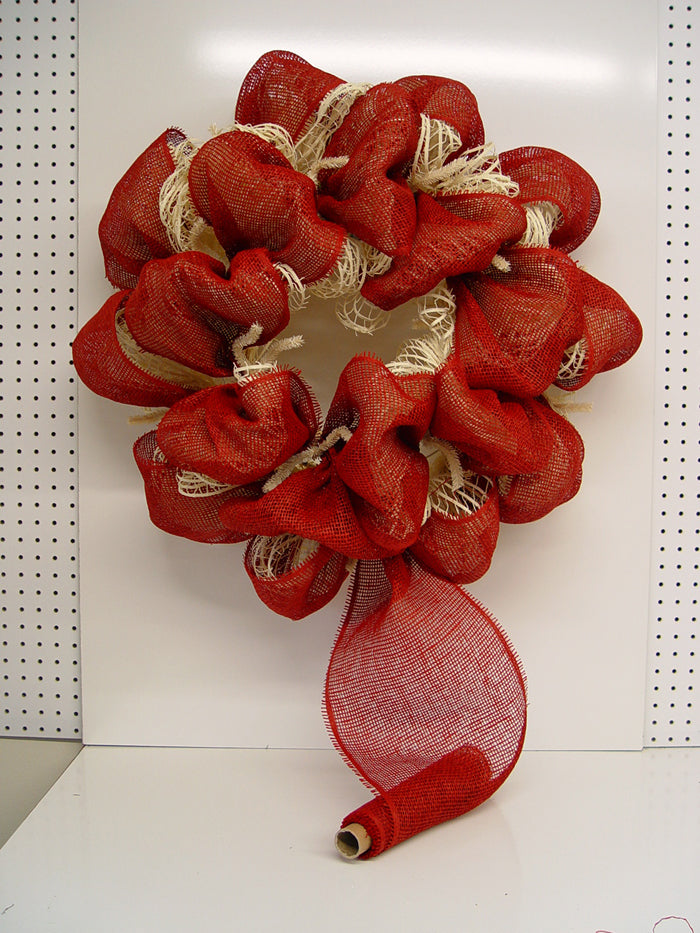
When you're finished, cut the roll and work the tail in to the back of the frame, same as the Cotton Windowpane.
Now is a good time to position the wreath where you can step back, take a look and evaluate for symmetry. Put your hands underneath the poufs to fluff them out. If one is too big and another too small, just open the twists and adjust. If you have a gap that just needs to be filled, you can make a pouf but just cutting a length of mesh, fold it, pinch the ends and secure it to the frame with a bit of floral wire or pipe cleaner. Remember that you don't want any sharp edges on the back of the frame that might scratch a door or wall.
The next layer we chose for our wreath was a
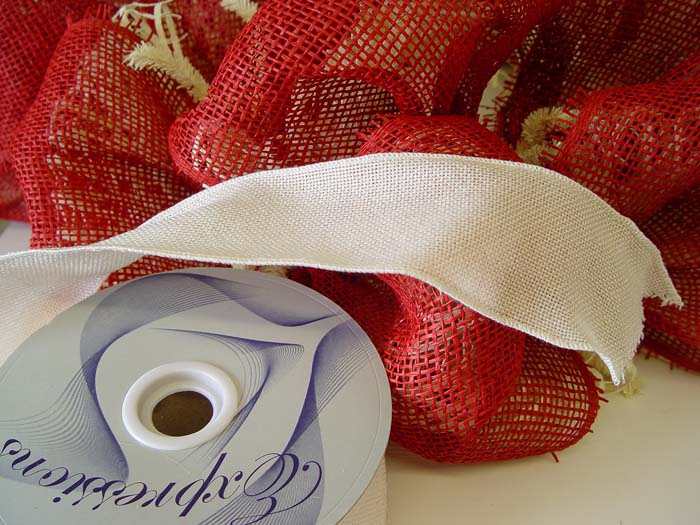
2.5" Cream Faux Burlap wired ribbon.Instead of cutting ribbon pieces for this layer, we decided to attach the ribbon and just loop it around the wreath, making the loops about the same size as the poufs and attaching in every twist. You can alter this in several ways by attaching the ribbon on the inner ring, then the lower ring next, skipping around and not necessarily attaching in very twist. But, for this wreath, we attached in every twist.
Just choose a twist, un-do it and lay the
Cream Faux Burlap Ribbon right on top of the red paper mesh. Secure with a couple of twists and continue around the wreath.
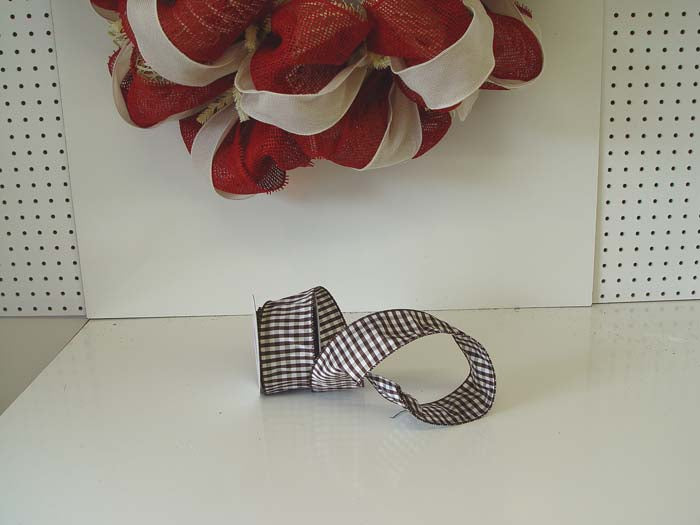
The next layer we chose for the wreath was a
2.5" RAZ Chocolate and White Check wire edge ribbon. It sort of looks black and white in the photos, but it's actually Chocolate Brown. Love the simplicity of checks)))
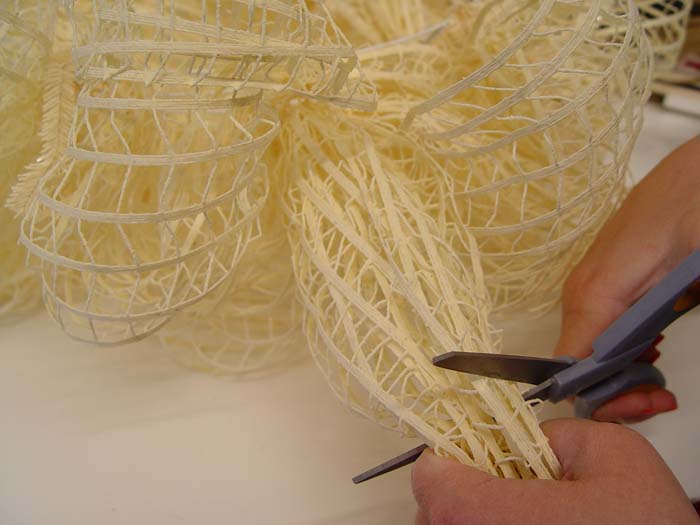
We decided to cut this ribbon into strips to add contrast to the wreath. To determine the length to cut the ribbon, you need to measure the depth of your wreath thus far. You want the final ribbons to stick out beyond the height of the wreath.
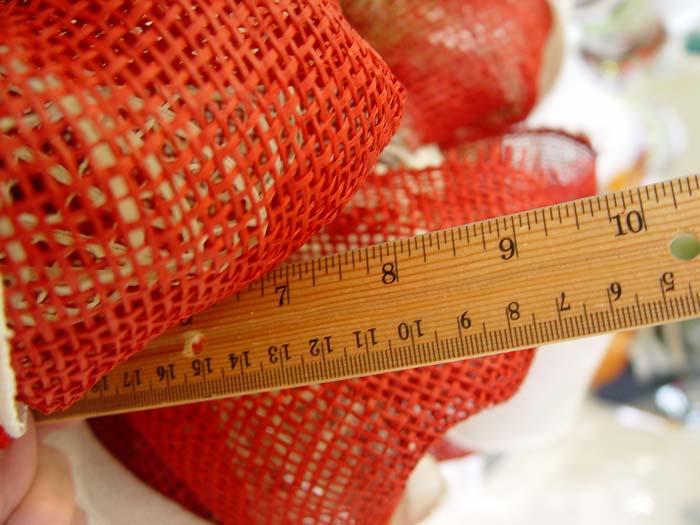
The depth of this wreath was bout 7" so we cut the ribbon strips about 16" length so the tips would extend and be more visible.
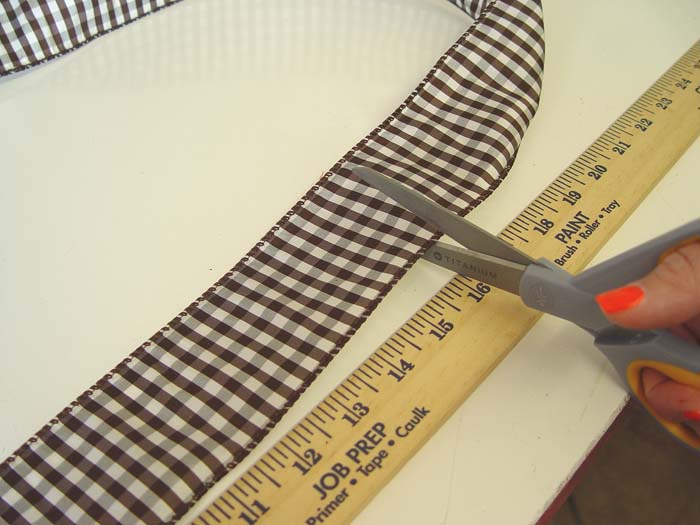
Measure and cut.
Your ribbon will stand out more and look nicer if you trim the end. Just fold the ribbon in half and cut from the folded side.
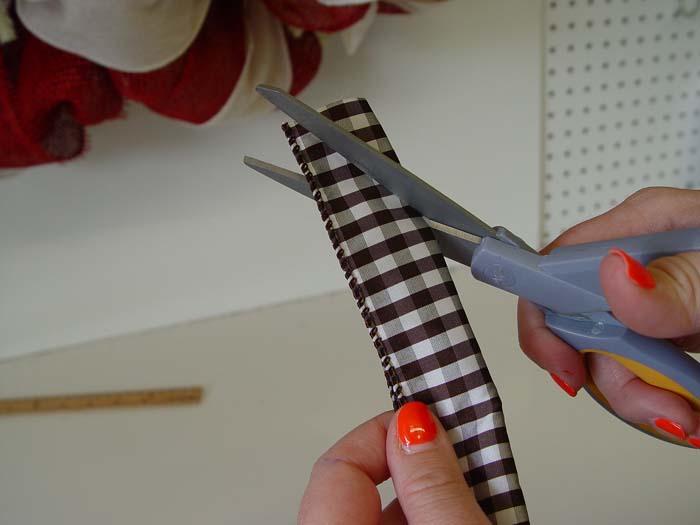
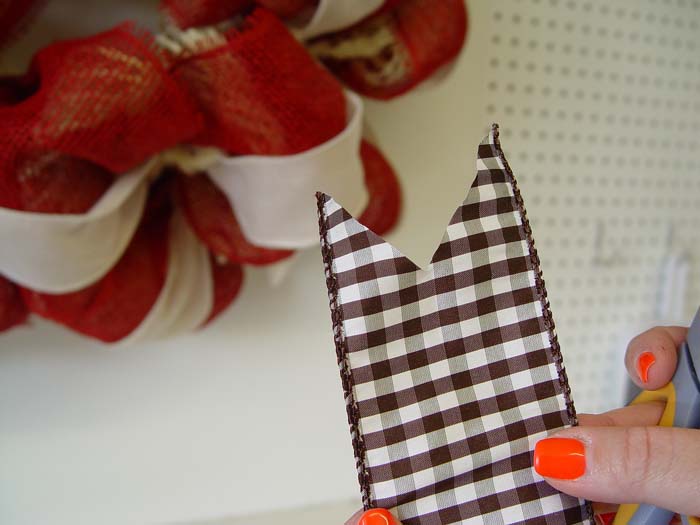
This cut gives the ribbon a nice chevron style cut or fish tail as some call it.
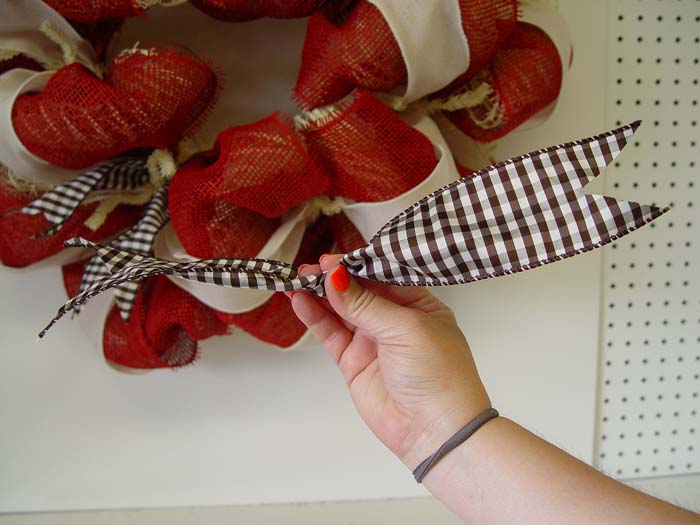
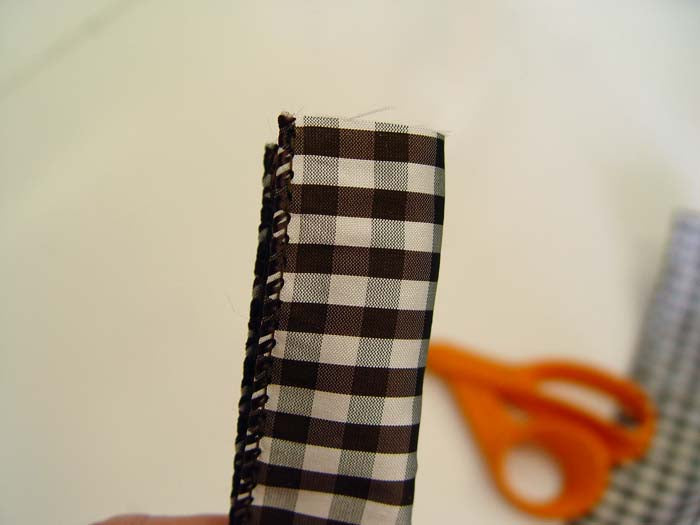
Pinch the ribbon in the center.
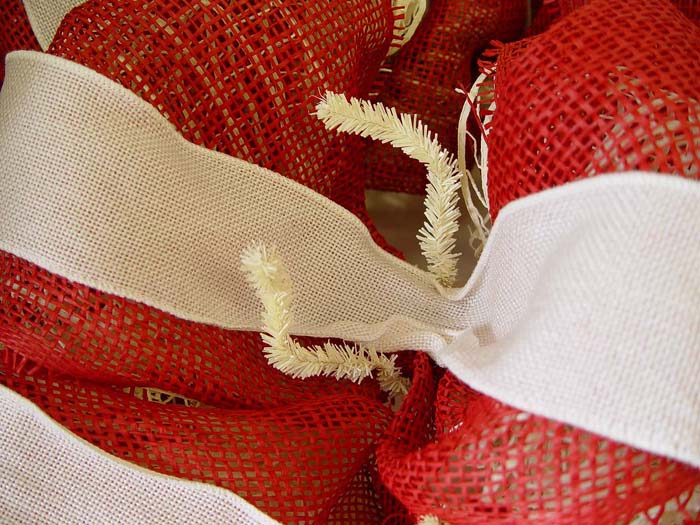
Choose a twist to start and just un-do it leaving all your layers of product in place. We have base 21" Windowpane, 10" paper mesh and 2.5" Faux Burlap.
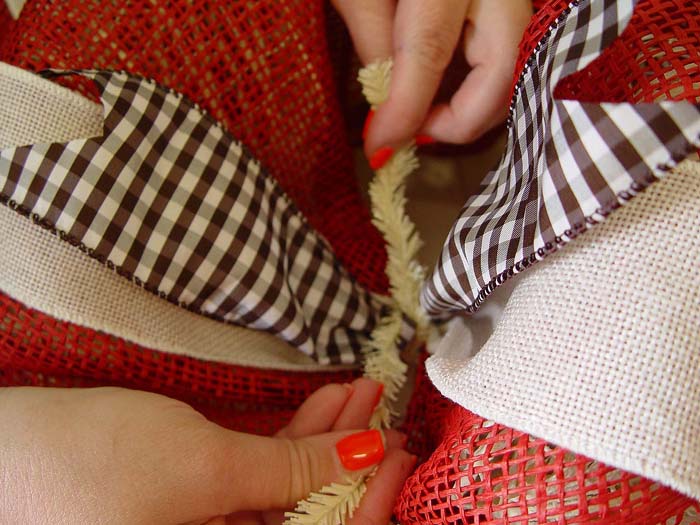
Place the check ribbon right on top of the Cream Faux Burlap and secure snugly with 3-4 turns this tie, since this is our last layer for the wreath. This ribbon was the same on both sides, but if we had been using a ribbon with a front and back, you would secure the ribbon face up. You can also add multiple layers of ribbon at this point all at the same time. Contrasting colors with larger ribbons on the bottom make a really nice look.
Ribbons are expensive, but they add the final touch to your wreath. Sometimes it better to use less expensive mesh or products for the base and save your more expensive products for the outer layers. One example is use plain 21" mesh (no foil) for the base....this is the least expensive mesh you can purchase. Then add some 10" 6" or 4" in wide foil on top. This saves you a little money versus making your entire base out of a wide foil mesh....but it all depends on the look you want to achieve. If you know you're going to be adding several layers.....go with the least expensive mesh for the base.....but if your plan is to make a simple wreath without a lot of extra......a base made of wide foil is stunning....so much glitz and shine)))

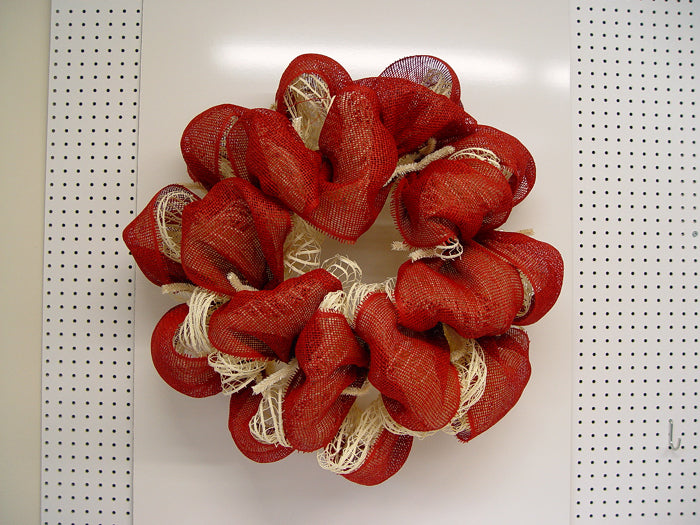
We're just about finished! This wreath is now ready for the final embellishment. Not bad left just the way it is, but we have a print from RAZ that just cried out for this wreath))
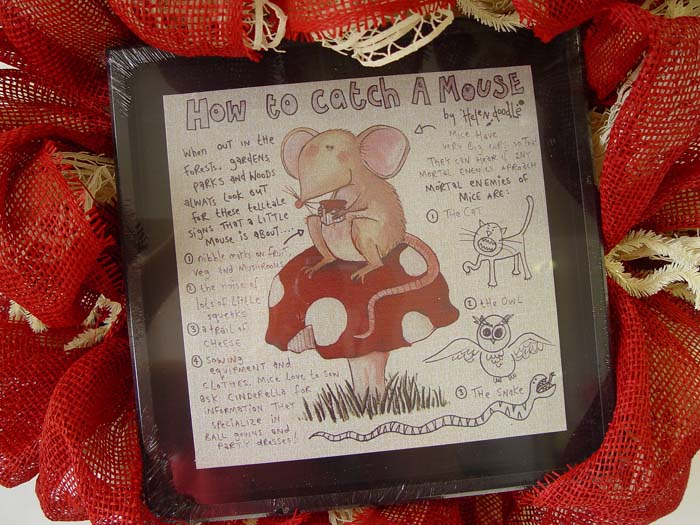
A print such as this or a stuffed animal also would look nice in the center of the wreath. For this tutorial purpose, we just wedged the print in the center of the wreath and took the photo. If would need to be secured to the wreath frame for permanence. You might have to use a Command Hook to the back of the print, then secure the hook to the wreath.
Kitchen signs would be a good choice for these colors also.
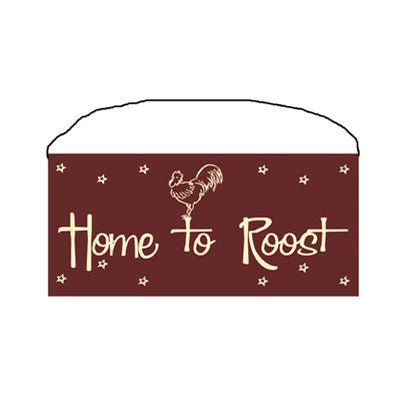
Home to Roost - Wooden Sign
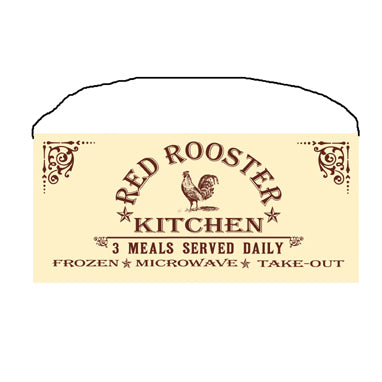
Red Rooster Kitchen - Wooden Sign
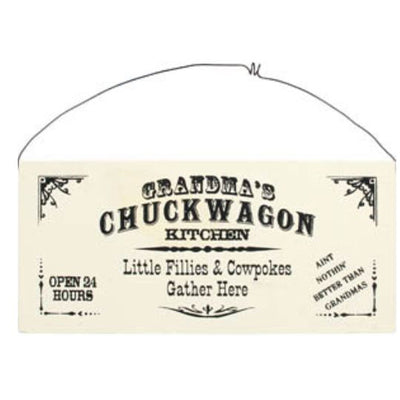
Grandma's Chuckwagon - Wooden Sign
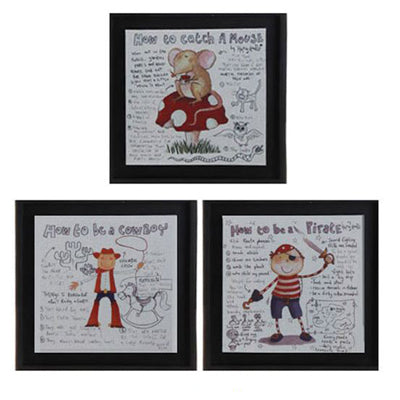
RAZ Children's Prints
Any one of these three prints by RAZ would look great in this wreath.

Old and Crabby - Metal Sign
Final Touches - remember to turn your wreath over and check for sharp edges, you make need to use pliers to turn any sharp edges to the inside of the wreath. If there is something you're worried about that might scratch, if you can't turn it in, cover it up with some tape or wrap something protective around it. Hang the wreath, stand back and adjust any poufs, fill in if you have any gaps. Sometimes you have to turn your wreath around a couple of times to decide on what position it looks the best in.
The wreath can hang right on a nail or wreath hanger, but if you need to make a loop you can do that with a zip tie. Zip ties are great for securing items tightly to the frame, especially if you're adding in sprays with long stems. Long stems might need to be secured in more than one place.
