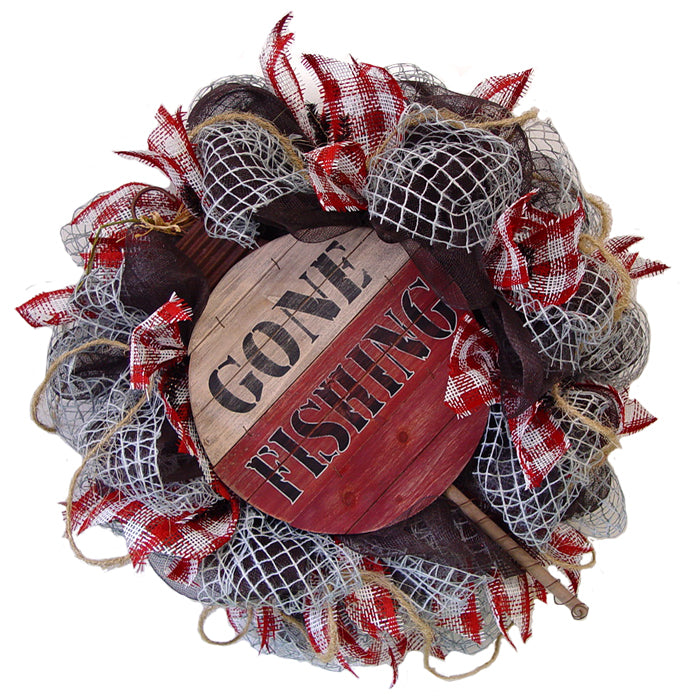
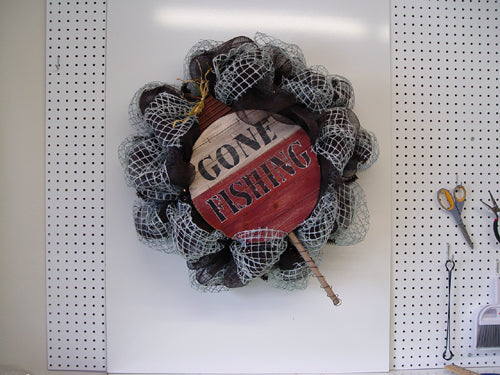
 This Fishing wreath makes a nice summer decoration and is made of Deco Poly Mesh, Botanical Mesh and Paper Mesh. We have assortment of different summer signs that fit nicely with these materials.
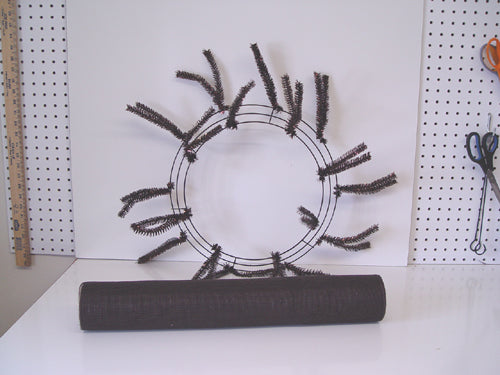
We started with a roll of plain Chocolate Deco Poly Mesh® which is one of the least expensive meshes available in this size - 21" in width; 10 yards in length. It has no foil. Sort of looks black in the photo, but it's chocolate brown. The wreath choice was a Metallic Chocolate Pencil Wreath. The Pencil wreath is 24" in width (largest of the metal rings actually measures 15" but with the twists and the addition of materials, the finished wreath results in 24" or larger.)
Sometimes using a mesh of less expense is helpful and allows you to use resources for more expensive items that show more on the outer parts of the wreath such as ribbons, embellishments, etc.
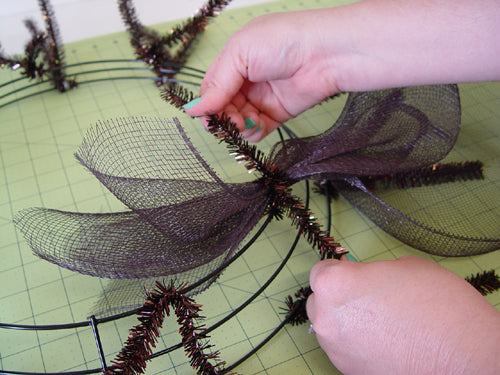
Start your wreath by laying the Work Wreath flat down and smooth out all the twists. Start the first pouf by grasping the Chocolate Deco Poly Mesh® about 3-4" from the end of the roll. Pinch the mesh together and lay it in twist, give the twist a couple of turns to secure. Only use a couple of turns at this point because we will be adding more items to the twist before we're done.
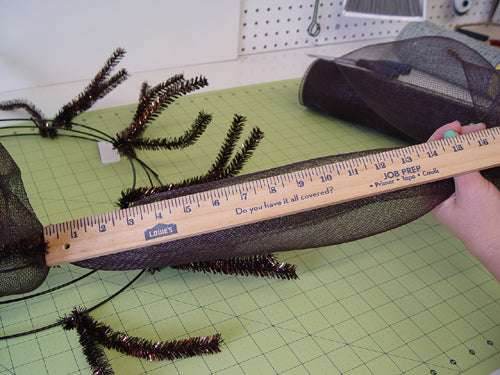
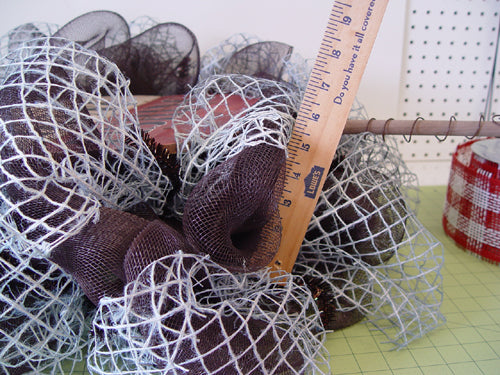
Once the mesh is secured in the first twist, measure about 14" using a yardstick or the measurements from the cutting mat, whichever is easiest for you.
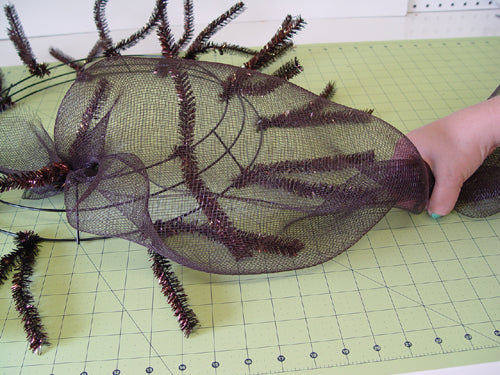
Grasp the mesh and pinch together, secure it in the next twist with a couple of turns. Your first pouf has been made!
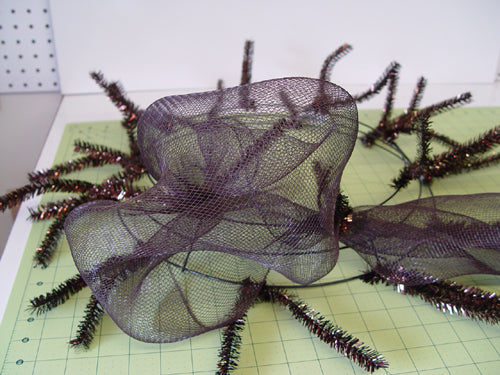
Fluff the pouf from the underneath side as you go along. Continue to measure, pinch and secure in the next twist. Continue around the inner ring. Note: We started on the inner ring for this wreath, but you can start on the outer ring, whichever way it works best for you. Take notice that your poufs are all about the same size. If necessary, undo the twist and adjust the size to make them even.
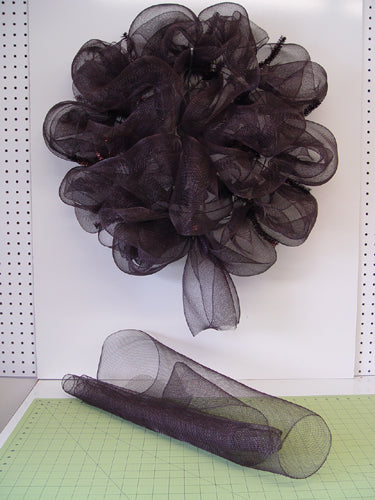
This is the inner ring completed. It looks rather sparse right now, but don't worry, it won't be so transparent once another round of mesh is added and we layer something else on top of the mesh.
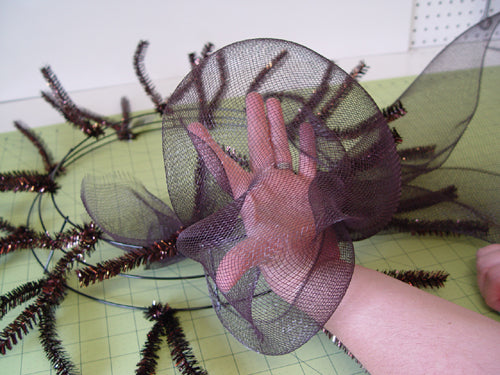
To start the first pouf on the outer ring, pull the mesh down snugly from the inner ring and secure in the closest twist on the outer ring. Notice that we pushed the poufs up and to the center of the inner ring just to get them out of the way a bit. Create your pouf the same way, measure, grasp and secure working all around the outer ring.
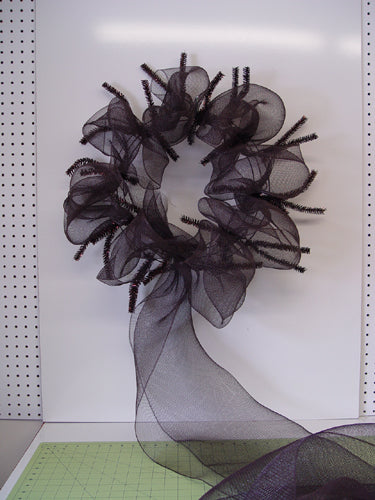
Once you've gone around and completed the outer ring, cut the tail off about 4-6". On this wreath, we had maybe a couple of yards left.
This is a good time to hang the wreath, step back and look for gaps or any poufs that need adjusting. The tail of the wreath can be tucked to the inside, woven through the rings of the Work Wreath frame and secured with a zip tie. Do this to the beginning tail also. When you use zip ties, secure the mesh tail around the wreath frame and snip off the excess zip tie with wire cutters (save your scissors). Be sure to turn the cut side toward the center of the wreath so it won't scratch doors or walls. Also check the back side of your wreath for wire edges that might cause damage. Cover them with tape if necessary.
Next we chose a Gray Botanical Mesh that is 21" in width and 6 yards in length. This gray mesh is made of jute and has a little bluish color to it also. It's a wide open weave, but has some stiffness to it for a great body. It is a natural jute however, and would be best used indoors or in a well protected area. Since the roll only contained 6 yards, we decided to split the mesh in half.
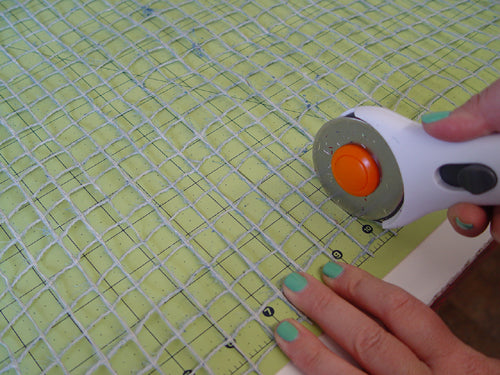
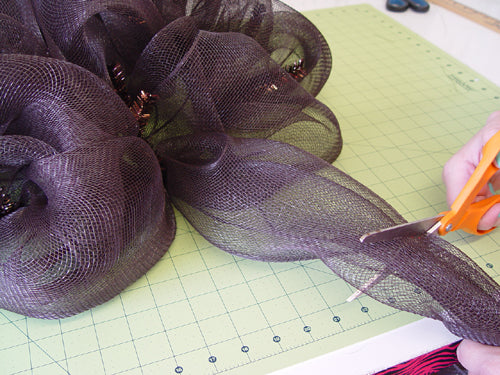
The jute mesh cut easily with a rotary cut and we stayed within one open weave to reduce fraying. Actually once it was cut and handled it did very well and we really didn't even have to clip any loose strings.
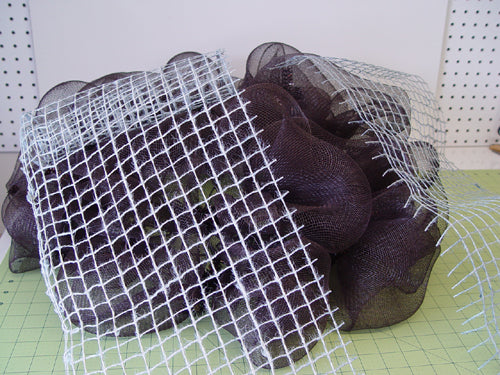
Once we had split the mesh into two 10" panels we had enough to go around our wreath and a piece left over that would make a nice bow.
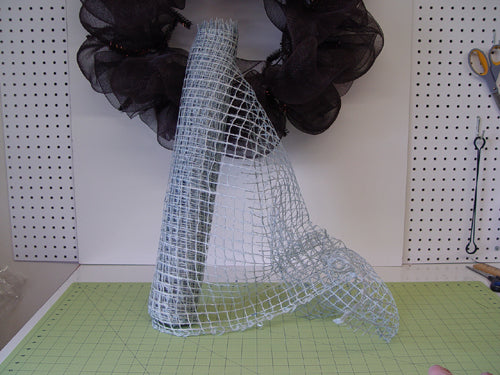
We started the Gray Botanical right on top of the Chocolate Deco Mesh by opening one of the twist, grasping the botanical mesh about 3-4" from the end and placing it right on top of the Chocolate Deco Mesh, re-secure the twist with a couple of turns.
The Gray Botanical was measured just like the Chocolate Deco Mesh at 14" and next twist opened, and re-secured around both layers. Continue around the inner ring in the same manner.
Once the inner ring was completed, the Botanical Mesh was dropped down to the outer ring same as Chocolate Mesh, secured in a twist and continue making poufs around the outer ring. Tail cut off at 4-6" and secure in the same manner - weaving through the wire frame and secured with a zip tie. You can also secure with pipe cleaners if you don't have a zip tie. We use zip ties for EVERYTHING))
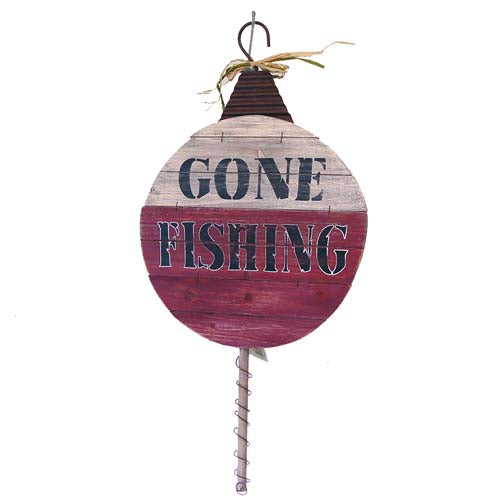
We chose this wooden
Gone Fishing Buoy Sign for our wreath. It's quite large at about 26.5" in length and the round portion 13" x 13" Sometimes we add signs last, but this is a large one so we wanted to put it on the wreath before the final touches.
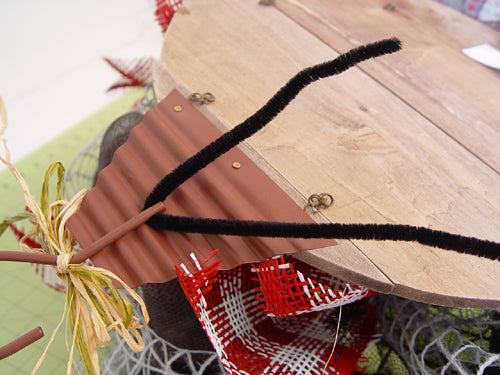
Signs or other embellishments can be secured in different ways just depending on the item to be secured. We generally use a method that isn't permanent for our wreaths since they are created just for tutorials unless we decide to take one home))) This sign was secured with a pipe cleaner inserted into the hanger from the back, then secured to the Work Wreath frame. The mesh poufs were pushed out of the center and the sign snugged down into the center of the wreath.
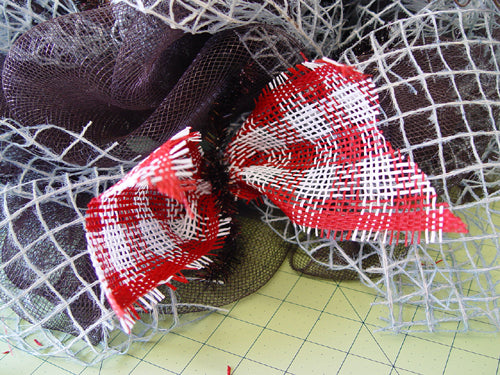
After the sign was secured to chose a 4" Red and White Check Paper Mesh to make some ribbon strips for extra contrast.
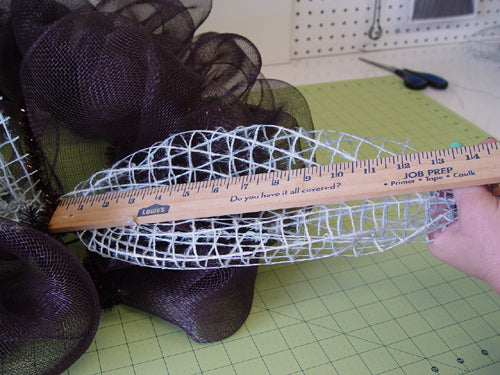
First we measured to see how long our ribbon strips needed to be by measuring the dept of the wreath. We placed the yardstick on top of one of the twists on the outer ring and the depth of the wreath was about 7" so we cut our ribbon strips 15".
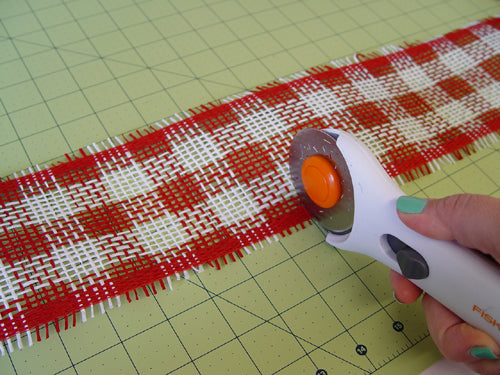
The rotary cutter and mat have been great tools to use in wreath making and are well worth the money. There is a short blog post about the cost and where we got them
here.
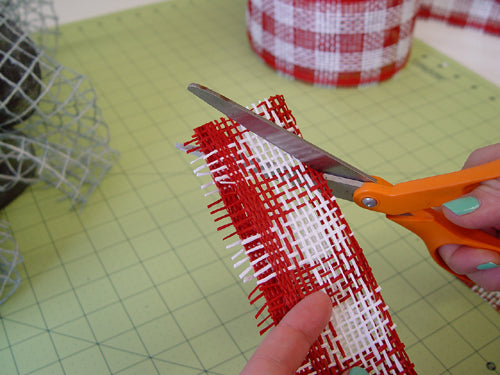
Once the strips are cut, fold in half and cut at an angle from the folded side to make a chevron or fishtail finish to the ribbons. Just a nice look.....you can also just cut at an angle.
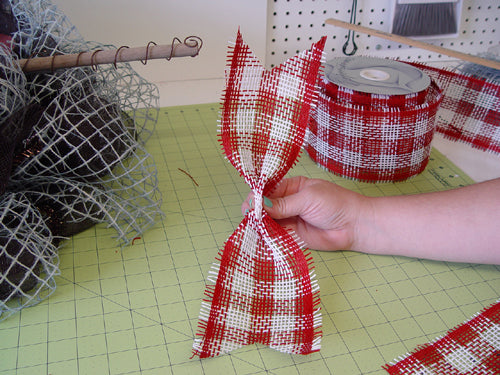
Pinch the ribbon strips in the center and apply to each twist on the wreath. Undo the twist and lay the checked ribbon on top of the last layer which would be the Gray Botanical Mesh. Secure the twist at this point with 3-4 turns since this will be the last layer used on this wreath.

The 4" Red White Check Paper Mesh comes in a 25 yard roll so we had enough of it left over to use in another project. It is made of paper of course, another reason for this wreath to be placed in a protected area away from the elements.
The Red White Check Paper Mesh also comes in a 10" and 21" roll width. It's great for summer creations and especially for a country Christmas look.
It will have some raveling and you may have to clip some loose strings, the more you handle it the more it ravels, but we have found it holds up nicely as ribbon strips.

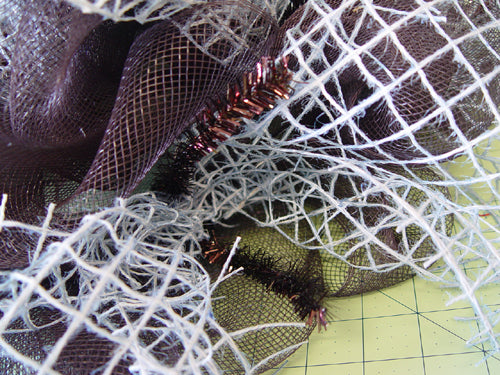
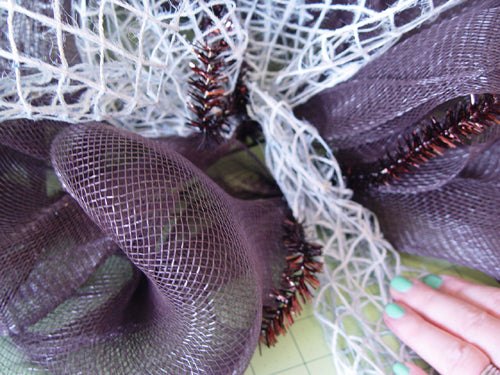
Next we chose another product to add a different texture to the wreath, some new wired jute roping. This just arrived this week and will be available in
Natural,
Orange and
Hot Pink. It has 10 yards to a roll. This roping is made of sisal, very hairy and contains wire making it easy to work with. For all you country girls.....it's sea-grass rope with wire)))
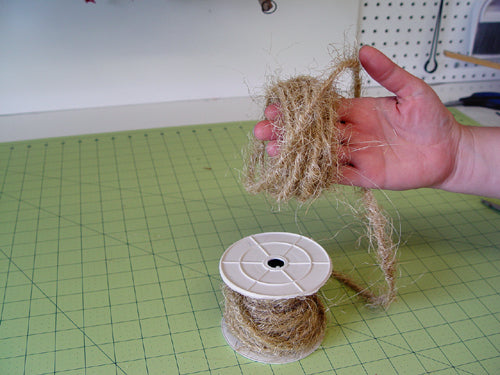
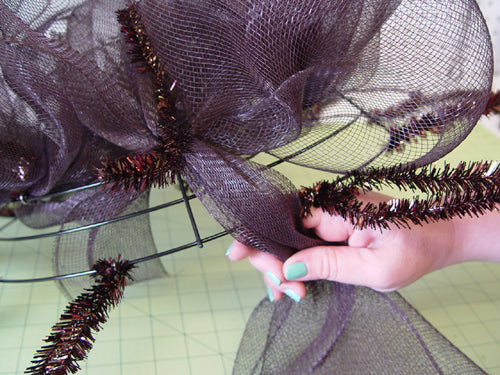
Carrie took the roping and wrapped it around her hand several times to help shape the wire.
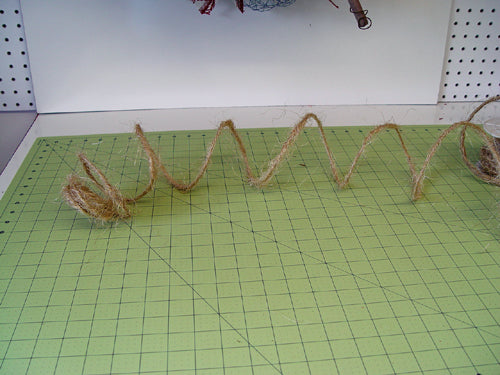
Then just secured one end of the roping into a twist and let the roping just meander around the wreath attaching here and there.
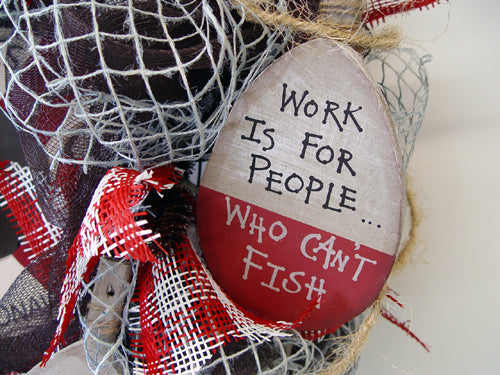
Here are several other sign options that worked well with this wreath.
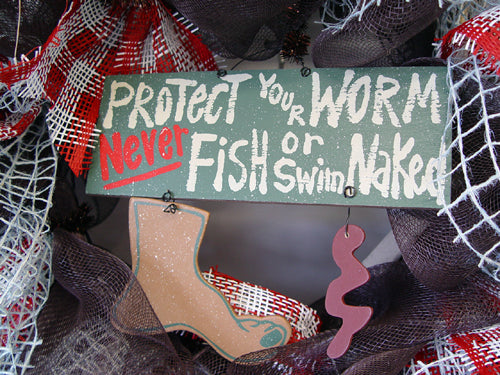
Protect Your Worm
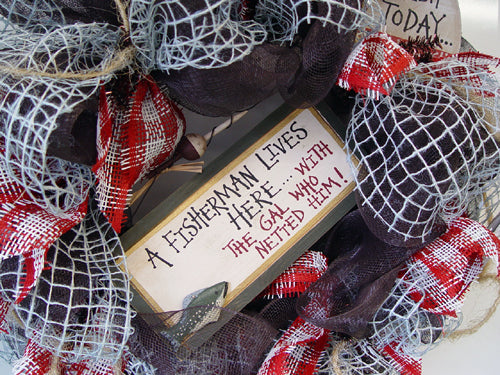
Fisherman Sign - Available in Three Assorted Styles
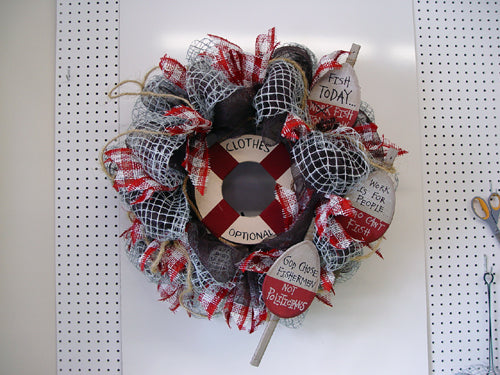
Life Ring Sign - Available in Three Styles
Bobber Signs - Set of 6 - all with different wording


