Last week we showed you how to make the snowman head using a 10" Pencil Wreath and 21" Snowball Mesh using the ruffle technique. Typically, we make a ruffle wreath out of 10". Click here to view that tutorial.
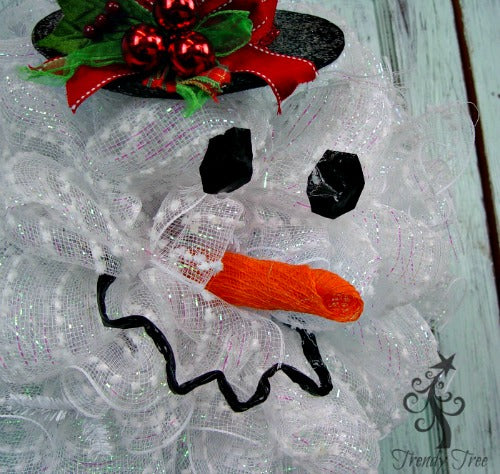
Today we are going to decorate the face using black duct tape or Washi tape, chenille stems, scrap mesh for the nose and attach a RAZ 7" Top Hat.
We cut some irregular shaped circles out of the tape for the eyes. You can make them as smooth circles, we liked the irregular look as coal would be. You can Google a snowman face coloring page for an easy sample. Experiment with your eye before attaching to the wreath by using construction paper, foam paper or anything to see the shape and placement. You can lightly stick them on with double stick tape. If you need more substance to the area you are going to attach, you can insert a bit of mesh into the ruffle to firm it up a little and give you a flatter surface.
If you decide to use hot glue to secure whatever you are using for the eyes, be sure of your placement first because it doesn't come off easy if at all. You can also use black ornament balls for the eyes.
The nose was made from a scrap of orange jute/poly mesh. You could make it out of foam craft paper, any kind of orange mesh or use a plastic carrot nose. We started with two squares of 10" x 10" mesh and just rolled into a cone, sealing the seam with hot glue, snipped off part of the base and hot glued into the wreath.
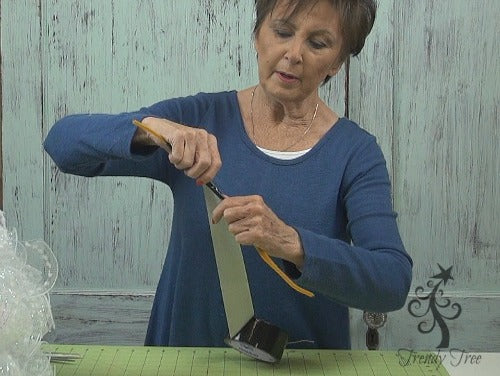
Next the mouth was fashioned from chenille stems covered in black tape. Sorry this photo isn't very good. But the three stems were staggered to make a piece that was about 20-21" Just twist the stems together in a couple of places.
Cover the chenille stems in tape leaving a couple of inches on each end. Shape the mouth any way you want and bend the uncovered ends, place the mouth on the wreath and secure the ends of the mouth to the work wreath frame. You can also adjust the mouth after you have it secured.
You can use single cut pieces of tape for the mouth also, or small black ball ornaments.
Next we secured the top hat. The RAZ Top Hat is used is the 7" size. There is also a 9" size. I would recommend the 7" size if you are just making the snowman head. You might want to use the 9" if you are using the two piece body, but the 7" would probably work for that too.
Here's a image that will show you the difference in the sizes.
The first thing we did was to slide a piece of red tinsel tubing (it's just a scrap we had on hand, you can use ribbons, twine, or even heavy fishing line) under the bow, come around to the back and tie in a knot.
Once the knot is secure, tie the tails to the work wreath frame and adjust the hat. To keep the hat from popping up and flipping back, make two very tiny holes in the front brim close to the hat, and thread a piece of floral wire through the holes. Make the holes about a half inch apart and thread one end of the wire through one hole (going top to underneath size) and the other end through the second hole.
The two end of the wire should be coming out the bottom of the brim. Secure these wire to the work wreath frame and adjust the hat.
You can use hot glue to help secure the hat if necessary, but we always try not to damage items permanently when we secure them for tutorial purposes.
If you want to make the two piece snowman, here is the link to that tutorial. Just connect to head and the body by using zip ties attached to the work wreath frames.
You can add ribbon, mesh or a real scarf.
We added a simple loop bow to this one's neck to add a little more color.