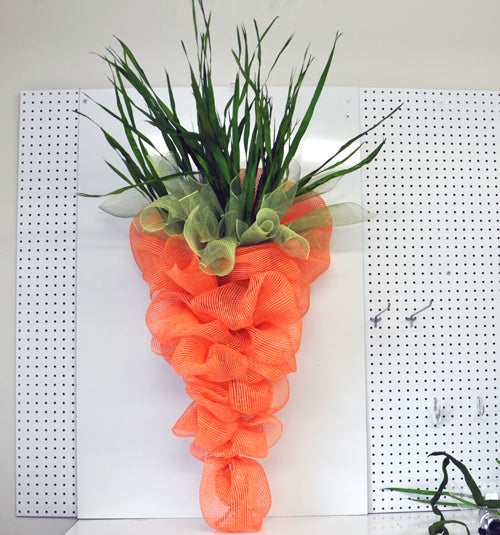
It's difficult to visualize the size of the finished Carrot Wreath in the photo above, but it measure about 4 1/2 ft. I've posted another photo lower in the blog showing it on my craft table or interior door.
The Carrot Wreath is a great decoration for Easter to use as a door or wall hanging, or even on top of a side table or hearth. They can be made using all sorts of type of orange mesh products and topped off with green spiral curls of mesh, Deco Poly Flex Tubing, garland etc. The base can be created out of chicken wire, half wall cone or in this case a folded Pencil Garland.
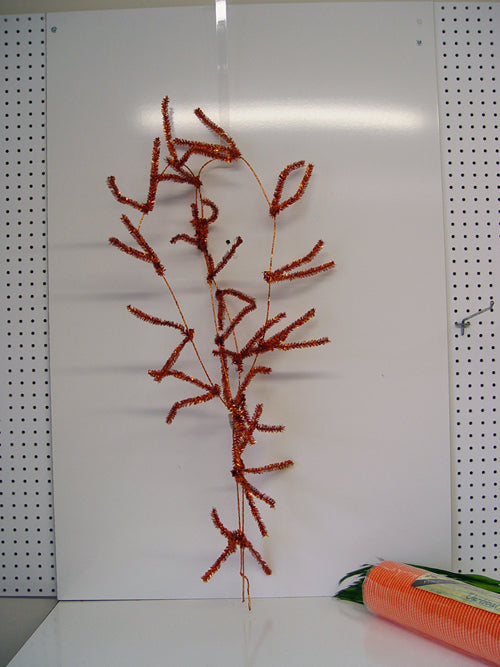
Supplied used for the Deco Poly Mesh® carrot were some Green Fire Grass, Orange Vertical Line Deco Poly Mesh and a Copper Pencil Garland.
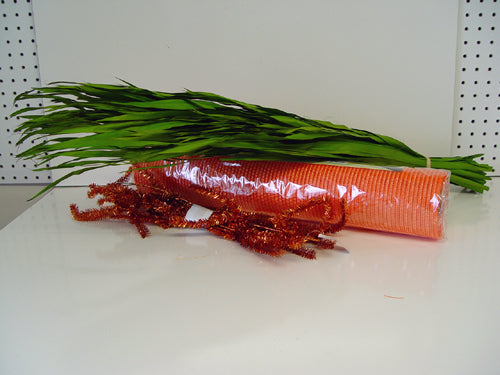
The Copper Pencil Garland was folded, then shaped into somewhat of a carrot form.
The first thing we did was to start the mesh at the tip of the carrot and work toward the top.
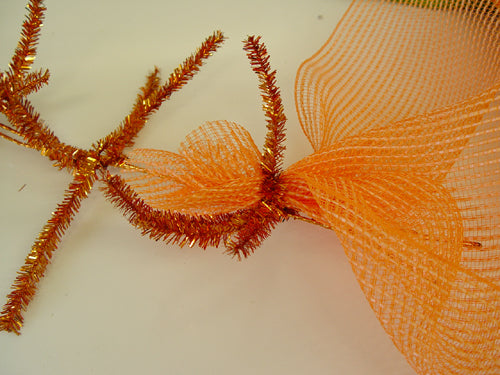
To start the mesh the ends were grasped leaving a tail of 2-3 inches and the pouf placed in the last pair of twists on the garland. The raw edges of the mesh are facing toward the top of the carrot. The next pouf was brought up over that first attachment and secured in the next pair of twists. This way I didn't finish off with a raw edge at the tip of the carrot that might have been hard to tuck to the back.

Then we just worked our way up the carrot making the poufs about the same size all along. Once you reach the area where there are 2 sets of twists, we started working in a side to side fashion and continued in this manner to the top of the carrot. By the time we reached the top of the carrot there were three sets of twists across the top.
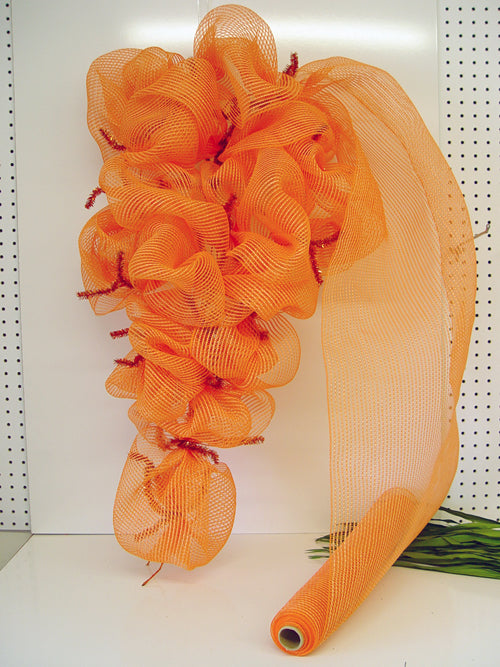
Once the top of the carrot has been reached, just cut the end off leaving a 3-4 tail that can be tucked to the back side and secured. This carrot wreath took over half a roll of Vertical Linemesh, but there was a good bit left over.
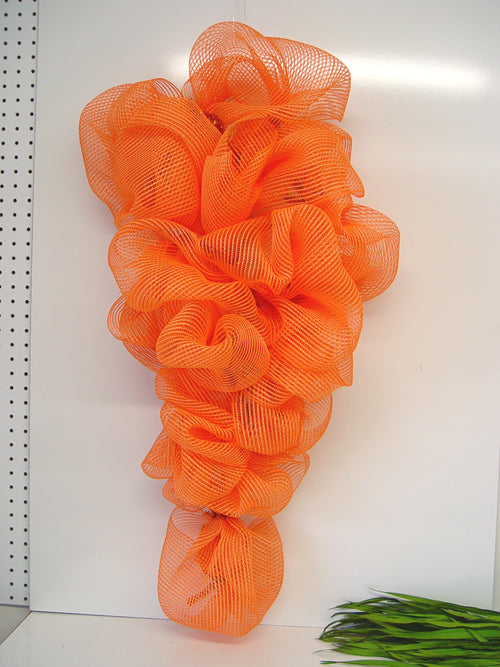
Once you've cut and tied off the mesh, step back and take a look at in and you may have to tuck here and there, fluff out to get it into a better shape. This one had to have a couple of poufs added to fill in a gap or two. We tucked the ends of the pencil twists to the inside or back of the wreath.
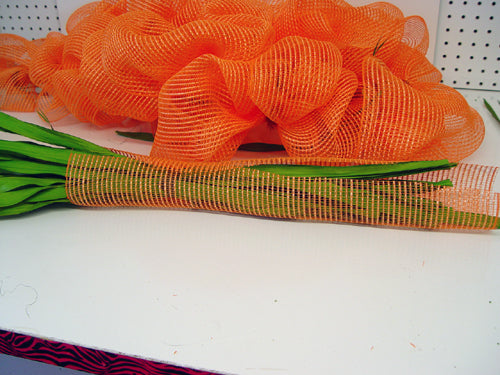
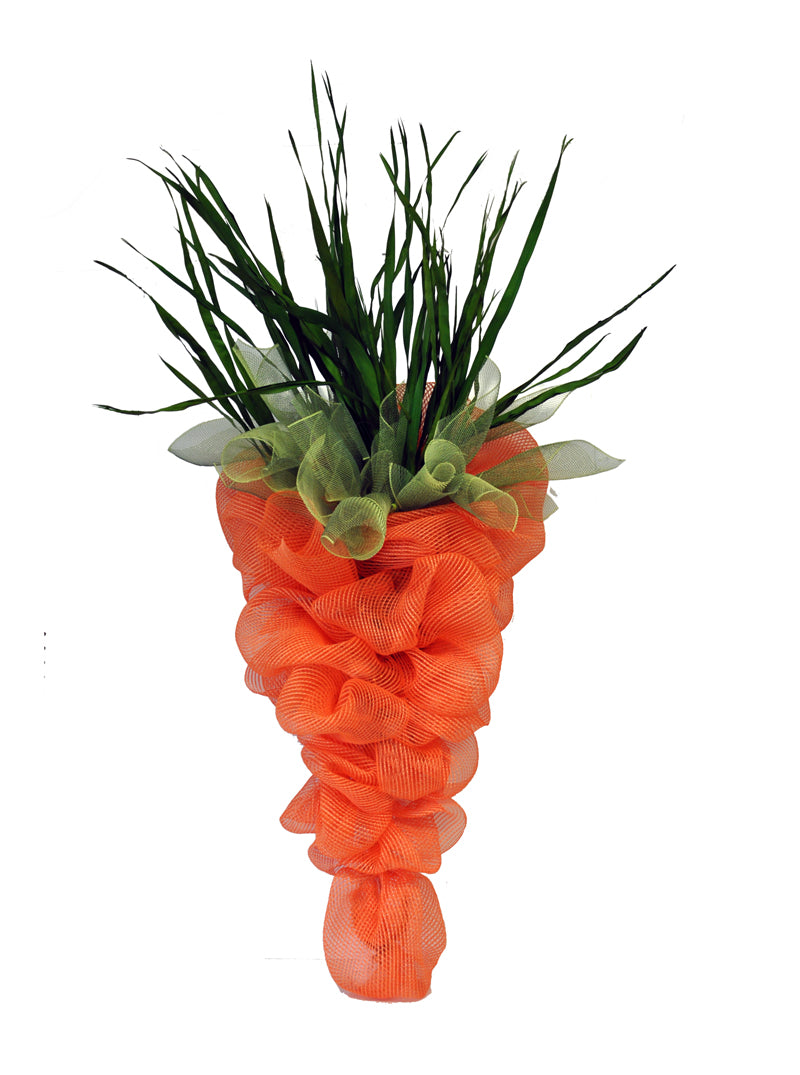
We used Green Fire Grass to use as a topper for the carrot and to help cover up the dark green leaves so it wouldn't show through the mesh as much, we made a sleeve of sorts with more of the orange mesh.
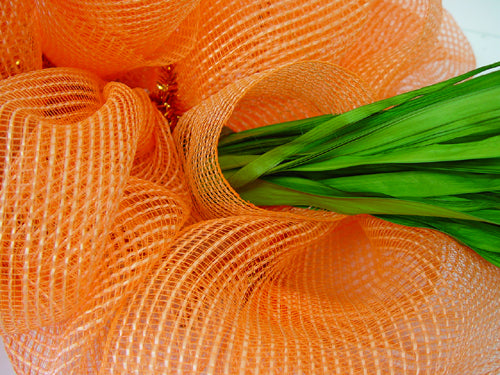
Then the clump of grass was placed down into the top of the carrot and secured from the back. This creation was put together just to show you the basics and if I were planning to sell the carrot or use outside, I would have chosen something other than the Fire Grass which is probably made of paper.

Also to finish off the Carrot, we added some curls of Moss Green mesh. This just happened to be the color that we had left over from another project and it was handy to use....any color green or multiple colors of green would work.
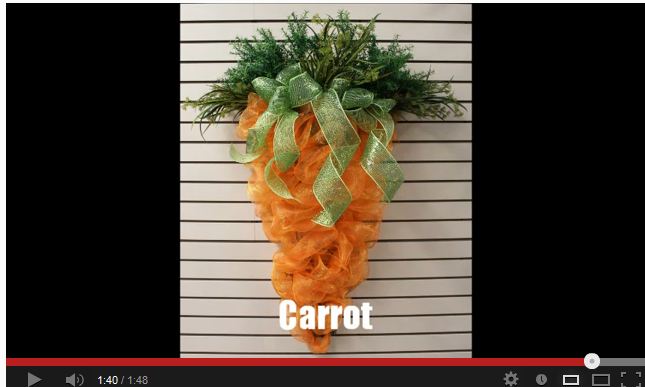
There are lots of different way of making Carrot Wreaths. Here's a link to a video by Craig Bachman Imports showing how they made theirs using a Twig cone product. Just click on the image to see the video.