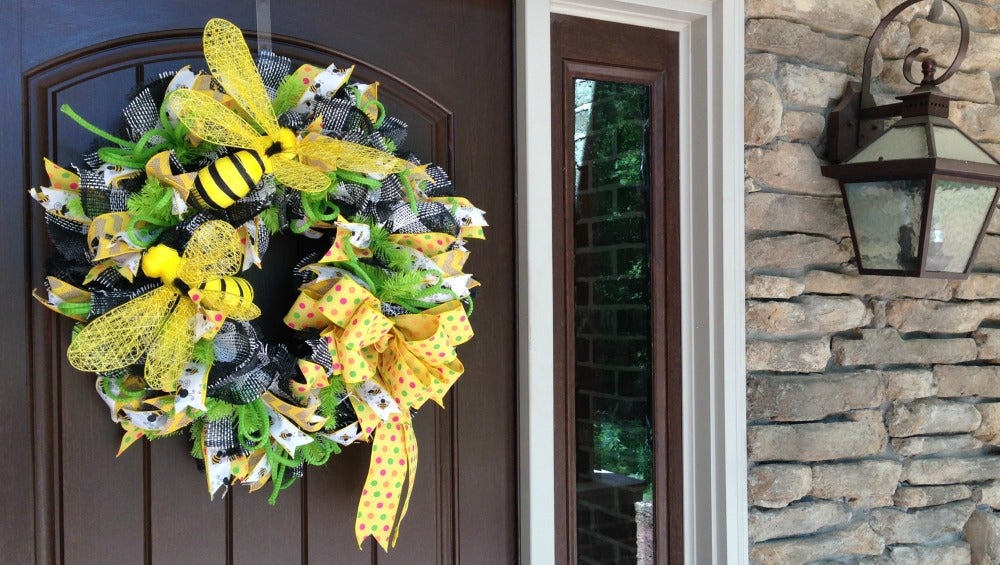
Bee Wreath Tutorial
A limited number of wreath kits will be available. Once the kits have sold out, the tutorial will be left up since you can always follow these instructions and substitute other products.Bee Wreath Kit - Kits are sold out, but tutorial left up since other materials can be substituted and instructions followed for a similar wreath.
Supplies:
XX748855 Fresh Green 24" Work Wreath (other colors can be substituted)
RR800240 Black/White Check 10" x 10 yd Paper Mesh (other colors can be substituted)
MT15682 Yellow Raffia Bee - 2
RG1632 Bumble Bee Ribbon 1.5" x 10 yds
Q613540-03 Yellow Canvas Bubble Dot Ribbon 2.5" x 10 yd
RN481229 Yellow/Natural Chevron Burlap Ribbon 2.5" x 10 yd
RE3661N9 Jute Flex Tubing Fresh Green
Ribbons, wreath color, paper mesh color can all be substituted. You can also make this same wreath using 10" x 10 yd Deco Poly Mesh, but you would need three layers of ruffles for good coverage so it would take two rolls of poly mesh.
Two rolls of paper mesh is shown in the image, but we only used one roll.
The first step was to cut the 10" x 10 yd paper mesh into 10" lengths. It is recommended that you don't split a 21" wide product to make 10" x 10" squares.
We use a 24" x 36" self healing Omnigrid Cutting Mat and a 45mm Omnigrid Rotary Cutter (these are available at Amazon and we have included our affiliate links.)
The more cut edges you have, the more raveling. Paper mesh (as with any woven product) will ravel. We are testing some products to help reduce raveling and have found that spraying the wreath after you are finished with Elmer's Craft Bond Spray Adhesive will help reduce the raveling. More about this later.
This wreath was made using the "ruffle" technique. Take your square piece of paper mesh, and lay it down. Lay the paper down where the edges are rolled under. Gather the piece of paper mesh up through the center, starting at your cut edge, having selvage edges to the sides.
The "ruffle" should look much like a bow tie. Hold the ruffle pinched in your hand with the edges curling under.
Open a twist on the 24" Work Wreath, we started on the outside layer" and secure the ruffle by giving the twist one or two turns. Make another ruffle. Open the twist you just finished and lay the second ruffle on top of the first. Re-secure the twist with a couple of turns. You can angle the second ruffle instead of laying it right down on top of the other if you like.
Continue working around the wreath placing two ruffles in each twist. Typically on a roll of product 10 yds in length and cutting the squares 10" in length, you should get 36 pieces. It doesn't always work out this way, you might only get 35 pieces or even 37. You need 36 to do this wreath, but if you come up short, it will not be noticeable if you leave one off. You could leave one off where you plan to place your bow, or other embellishment, it will never show.
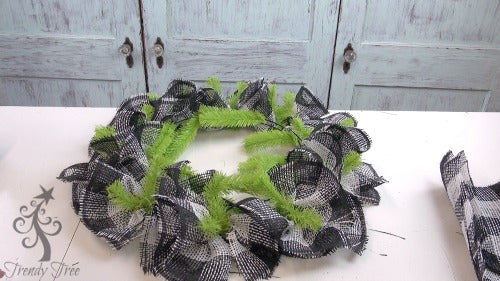
This image is the wreath after the ruffles have been placed on the outer ring. Next move up to the inner ring and continue to place two ruffles in each twist.
Since we were testing some products to help reduce raveling, we stopped at this point and gave the edges of the ruffles a spray with Mod Podge spray sealer. As the ruffles were sprayed, we lifted them out a bit, just to separate and keep them from sticking together. The wreath was left to dry.
It's always good to experiment with the placement of your embellishments to get an idea of positioning. We started out thinking we might places the bees on opposite sides of each other, but wound up placing them both on the same side,
While the wreath was drying, we cut our ribbon stripes. It's helpful if you have some scrap ribbon to do a test stripe before you start cutting up your ribbon. We cut a strip 12" in length and tested the length by pinching the ribbon in the center, opening up a twist and securing the ribbon. This was a good length for this wreath, so we cut more ribbon strips 12" in length. We just cut a few strips to start because you might start out with one pattern of ribbon strips in mind and decide on something else. So don't cut up all your ribbon))) Do finish off the ends of your ribbon with a chevron cut or a right angle cut, just whichever you prefer.
Ribbon can be applied several different ways. We did strips for this wreath and you can cluster them together by layering narrow ribbon on top of wider ribbon etc. We also added in some jute flex tubing loops. We just made single or double loops and included this in the ribbon cluster. We wound up using the 1.5" bumble bee ribbon in each cluster and alternated the chevron and polka dot ribbons.
Next we secured the bees directly to the Work Wreath frame using zip ties. Initially we had thought we could secure the bees using the wire extruding from the bee, but this was too difficult and was tearing up the paper mesh.
The bee is made of raffia and the wings are wired. You can move them gently for shaping. There are also wire legs and we spread those out a bit also to help with positioning.
We just curled up the wires extruding from the bee and slipped a zip tie through the center, then secure the zip tie to the Work Wreath frame. You can put the bees in any position you wish.
Next we placed a wreath both on the lower right portion of the wreath with the left over polka dot ribbon. We didn't use all the chevron or bumble bee ribbon either. Below is a short video of how we made the bow.
After the wreath was completed, we went back over the paper ruffle edges with Elmer's Spray Adhesive. Take care to lift out the ruffles so they don't stick together. I think this extra step will help in reducing the raveling. Nothing will stop it completely, but the Elmer's Spray Adhesive seemed to work the best. We will continue to work with the spray products and post most information as we continue to experiment.
Here's the video on product testing. But be sure to read the finished blog post.
SaveSaveSaveSave