Memorial Day is just around the corner and 4
th of July isn't far behind! But you really don’t have to wait for a holiday to show your Patriotism)))
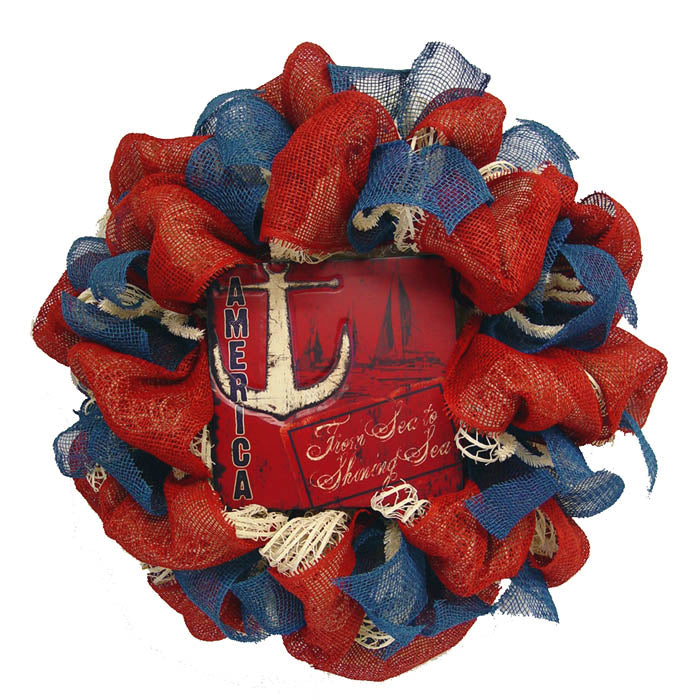
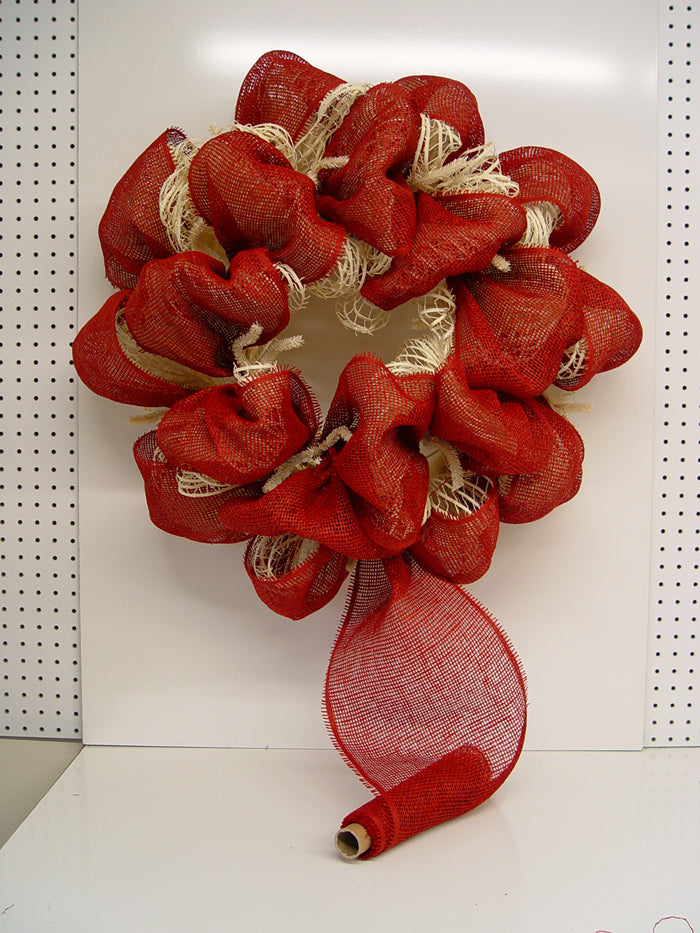
We created this Americana style wreath with some new products that just arrived and took several photos to show you some of the new signs that are in stock. So let’s get started with this tutorial. And remember, you can apply the technique to any sort of wreath whether you’re using the regular Work Wreath, Pencil or Twig Wreath and any type of Deco Poly Mesh, Paper or burlap products.
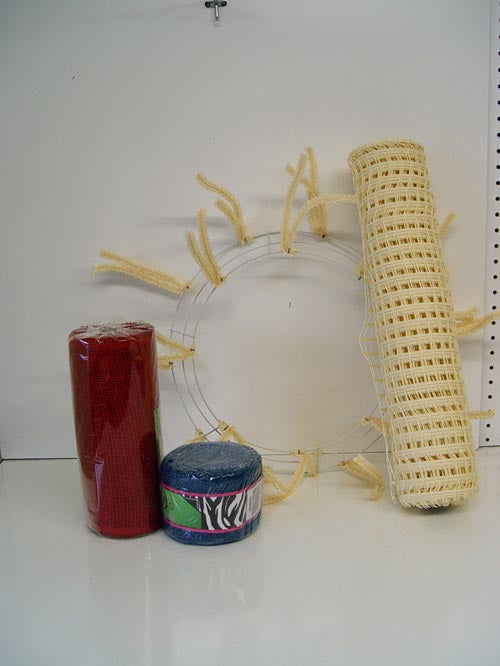
Supplies included
Ivory Cotton Windowpane Mesh, 10” roll of
Red Paper Mesh,
4” roll of Blue Jute and a
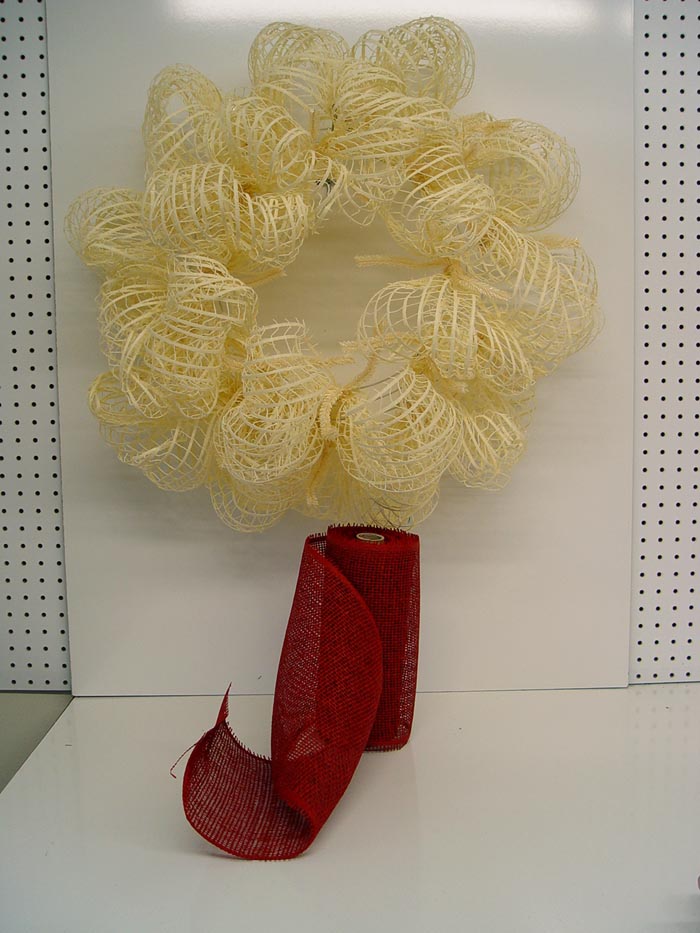
24” Cream Pencil Wreath. The measurements on the 24” wreaths are sometimes confusing, because the largest of the metal rings only measures 15” but with the twists and the addition of the material used in making your wreath, you come out with a finished product that is usually 28” or larger depending on the materials used, embellishments and how loose or tightly you make your poufs.
Typically, we use one roll of 10 yard to do a 24” wreath as a base. The
Cream Pencil Wreath is a new color for this season that just arrived. It’s a non-metallic style and really great as a neutral choice in wreath.
The Cotton Windowpane in Ivory is a nice full bodied product to work with. It is very open weave and works well when combined with other products. It is cotton, not poly, so it is not recommended for outdoor use unless it will be placed in an area that is protected from the elements. I wouldn’t hesitate to use this wreath on my back porch, but the roof over the porch extends enough that it is rare to get any rain on the door. But your best bet if you want the wreath to last a while is to use inside when made natural materials.
The 10” Red Paper Mesh is also a new product that just came in, and similar to the Cotton Windowpane above, it too is designed for inside use or areas that are highly protected. The Paper Mesh is nice to work with. It will ravel so expect to have to cut some loose strings here and there when you’re done. It has a nice texture and resembles burlap…..but with no smell)))
The 4” Jute add great texture and color to the wreath. It’s nice and stiff, not wired, and colors are very rich. It’s available in several other colors. We used the entire roll of 10” on this wreath.
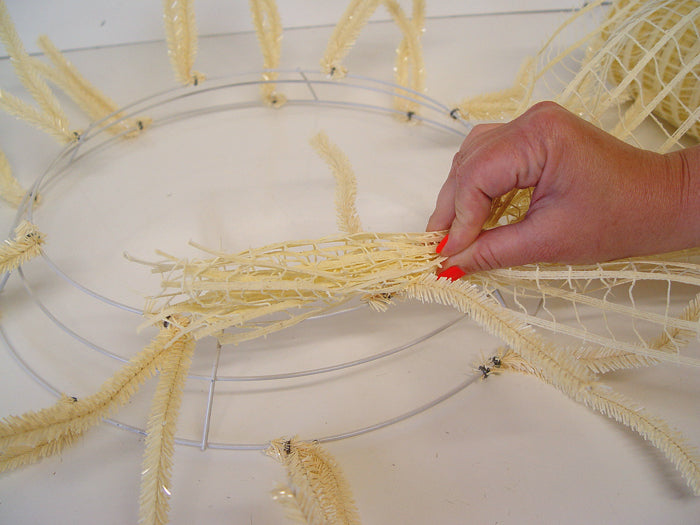
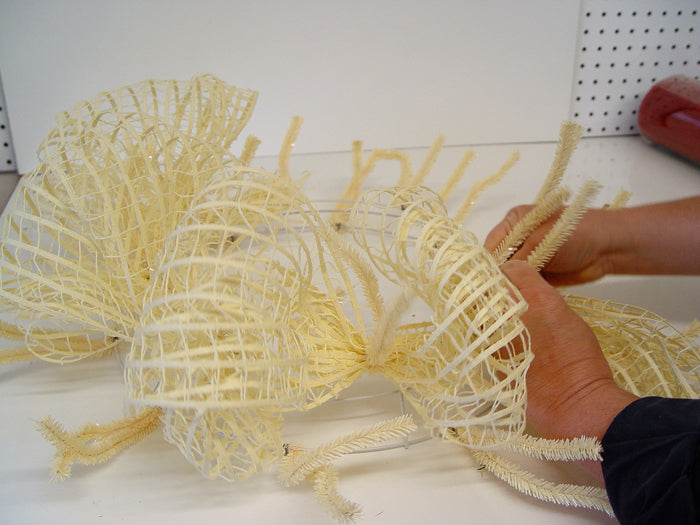
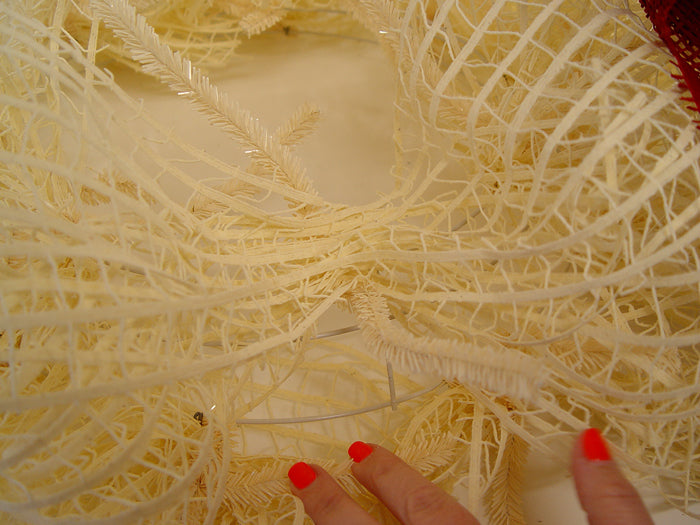
First thing you do is smooth out the twists on your wreath and get ready to start your first pouf. Just unwrap your roll of mesh or windowpane in this case and let it flow off your table to the floor even. Grasp the mesh about 3-4 inches from the end and pinch together. Place the pinched up mesh in a twist and secure it by twisting the strips about twice. It doesn’t matter where you start on your Work Wreath. Generally, we start on the inner ring and work around it, then drop down to the outer ring and continue. Some folks may work in an up and down pattern going from inner to outer ring. It’s just a matter of preference and what sort of end result you get.
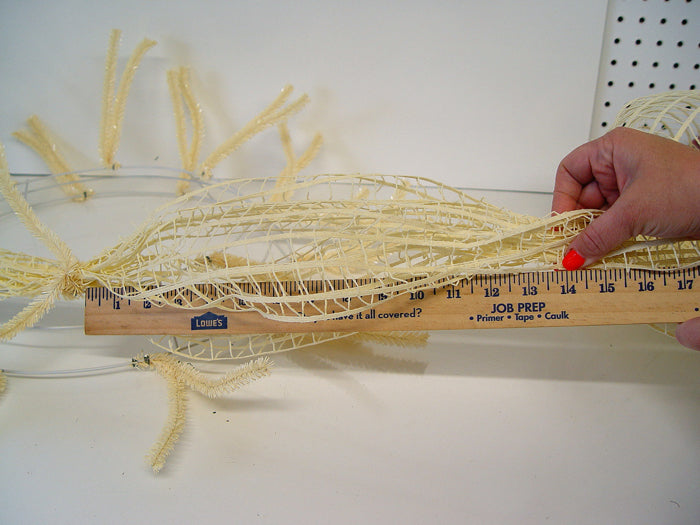
Once the mesh is secured in the first twist, you’re ready to make your first pouf. It helps sometimes especially in the beginning to measure the mesh. Grasp the mesh about 14” or so and pinch together again. Secure this pinch of mesh in the next twist. Your first pouf is done!
Sometimes we may make the poufs 12” and sometimes larger to 15-16.” It really just depends on the products you’re working with. And sometimes we have to regroup, make them larger or smaller once we get started around. If you made them two small, the poufs will look tight and too much of your work wreath will be visible. If you made them too large, they can be too loose.
It also helps if you put your hand underneath the pouf and keep it fluffed out as you go so you can see if your poufs are all staying the same size. You can undo a twist and reposition if necessary.
These poufs were about 14” and we had about 1 ½” yards left over on our 10 yard roll. Better to have a little bit left over, than to run out and still need two more poufs!
Continue working around the inner ring and then drop down and start on the outer ring.
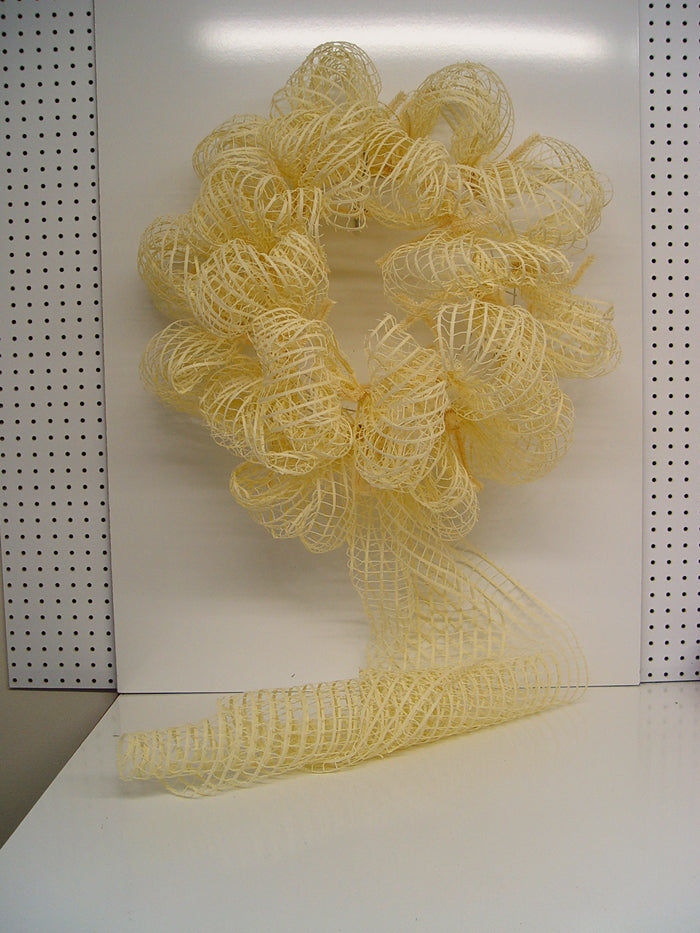
Place the wreath on a hanger or somewhere so that you can step back and take a look. Fill in any gaps or reposition if needed. If you have a “hole” you can always make a pouf from the excess and just secure it with a piece of wire and wire it into the wreath.
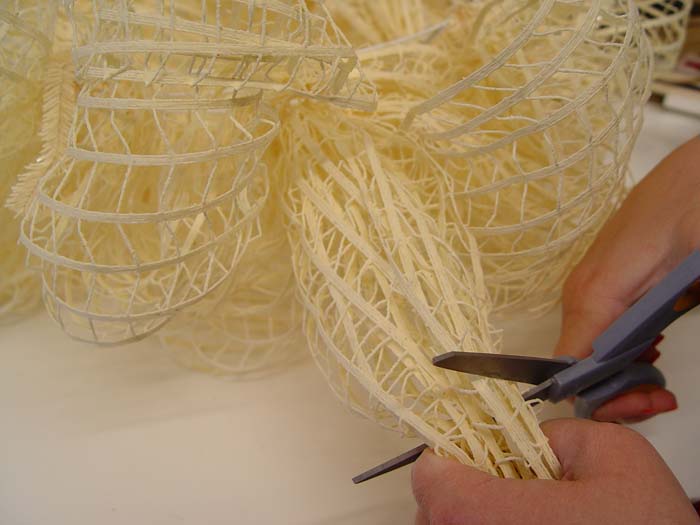
The finish off the Windowpane mesh, cut it off about 3-4” from where the last twist was secured. You want to cut it long enough to weave in and out of the metal ring, but not so short that your cut end sneaks out on you and shows.
You can also secure this cut end with a bit of wire or pipe cleaner.
The Cotton Windowpane mesh is a very open weave, but has great body and texture. We chose to use another product, the 10” paper mesh to compliment it and add some color. We wanted a more primitive or vintage look to our wreath versus bright red, white and blue colors because of the Americana signs that just came in. This Red Paper Mesh is a dark red and perfect for our wreath.
A burlap colored product would have made a good base for this wreath also.
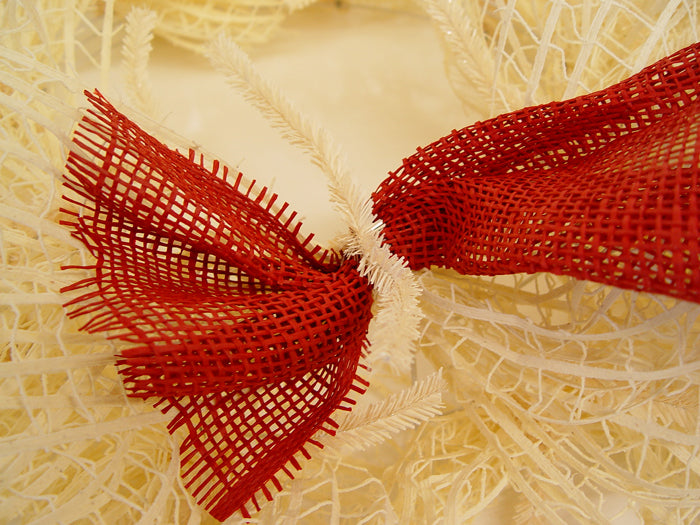
To start the Red Paper Mesh, just open one of the twists being careful to make sure the pouf of Windowpane stays in place. It will if you don’t get tangled up in anything!
Pinch up your Red Paper Mesh and lay down right on top of the Windowpane and re-secure with a couple of turns.
Continue working around the wreath in the same manner as with the Windowpane, measure, pinch, secure.
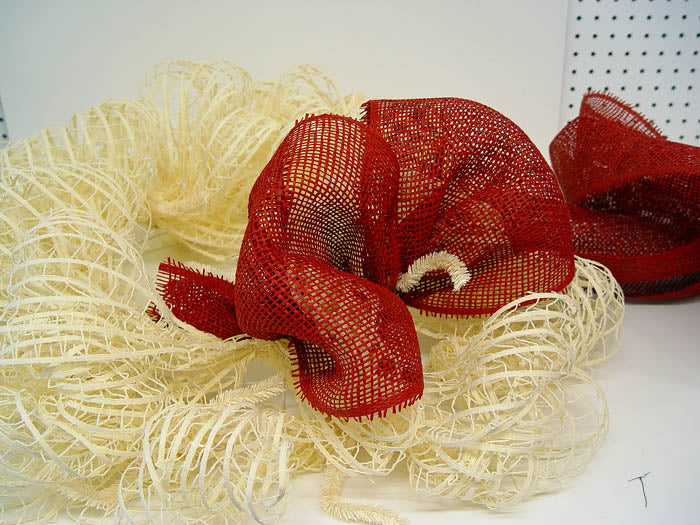
Our wreath is really beginning to shape up at this point))) Once your last pouf is made with the Red Paper Mesh, end it off the same way as the Windowpane and tuck to the inside of the wreath. Hang the wreath up, step back and take a look. Do any readjusting as necessary. If you keep your poufs fairly consistent, you won’t likely have to do any readjusting at the end.

Sometimes turning your wreath a bit from one side to the other may give you a better look. If it looks a little thin in one place….turn the wreath to where that part is at the top if you plan to use a bow…..that would cover that area up anyway.
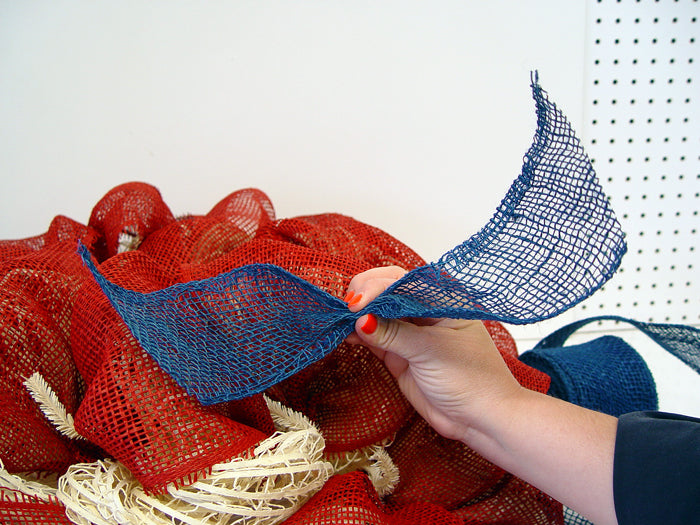
The Blue Jute will make a great contrast and complete our color scheme. The Jute is 4” in width and has a nice stiff texture, it isn’t wired. It could be applied in different ways to this wreath. You could apply it in the same manner as the first two layers were done……undo the twists and lay the 4” down on top of the Red Paper Mesh and re-secure. You could wind the 4” Jute around the wreath going into every twist, or in more of an irregular pattern, moving up and down or not securing the Jute in every twist, giving it a turn here and there. This is an advantage when using materials (unless you’re selling them of course). If you applied the Jute in this manner…..you would have the option to remove it later, re-roll and use it again for another project))) We take things apart all the time, and put away for another project. Unless someone says……hey…I’m taking that home!
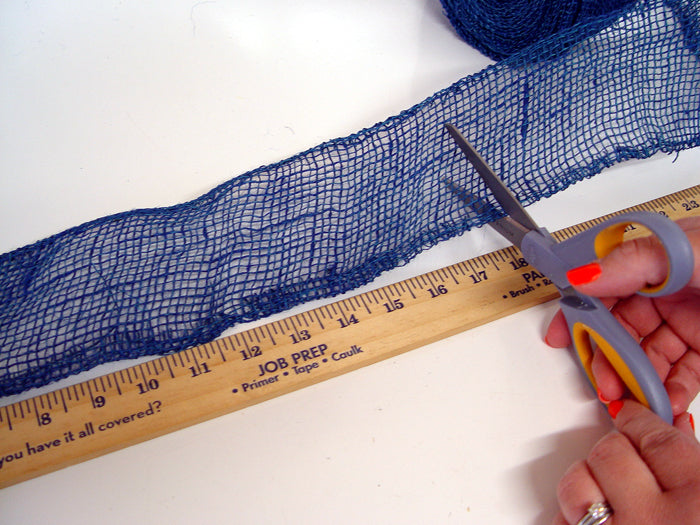
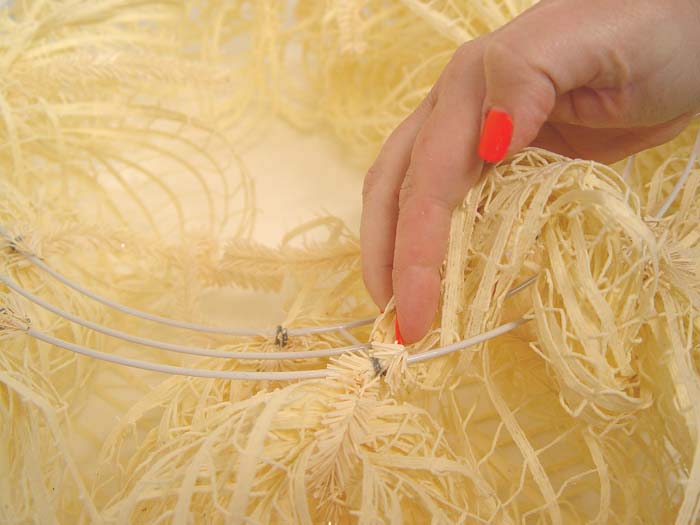
We chose to cut the Jute into strips, tapered the ends and pinch together in the center for a bit of a bow.
The strips were about 18-19” and we did have to measure the first one, to make sure it would be long enough once it was secured to stick out enough to be noticeable in the wreath. And we did some quick math to make sure that 10 yards would yield enough strips to go around the wreath. We applied a strip to each twist.
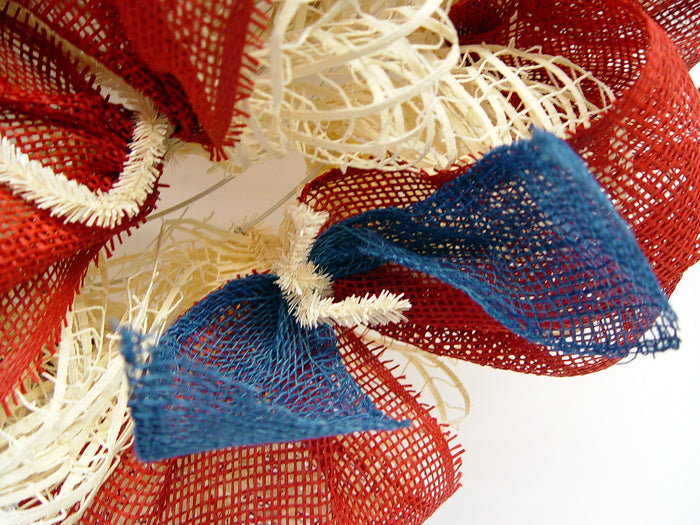
The Jute strips were attached in the same manner. Undo the twist and lay the pinched jute right on top of the Red Paper Mesh and re-secure the twists with a couple or three turns.
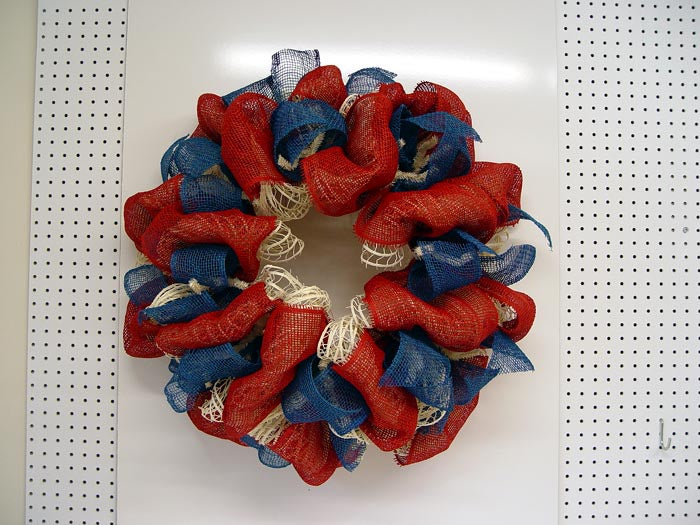
Now the wreath is ready for the final touches. You can add a sign, star picks or other sprays. Here are some of the signs that we added to show you our new products.
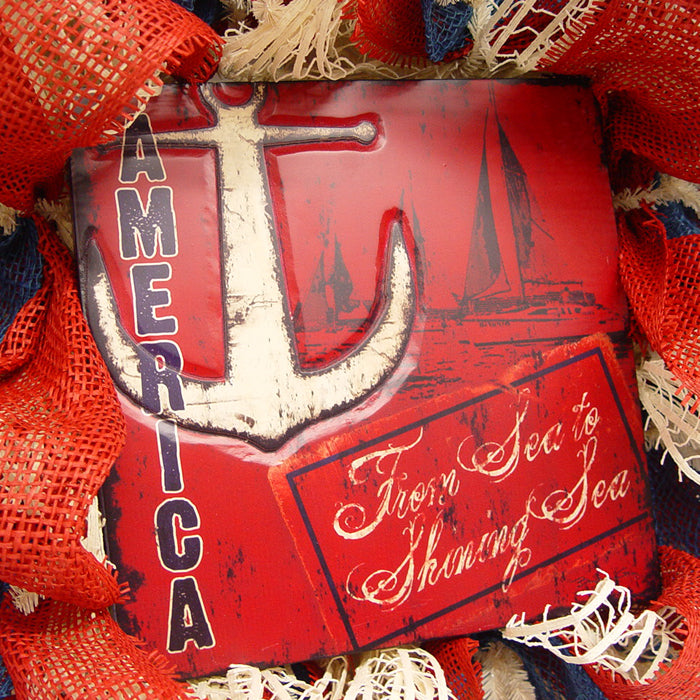
This is a new sign with America written down the side and the bottom right says “From Sea to Shining Sea.” It’s a raised art sign and really beautiful alone or on the wreath.
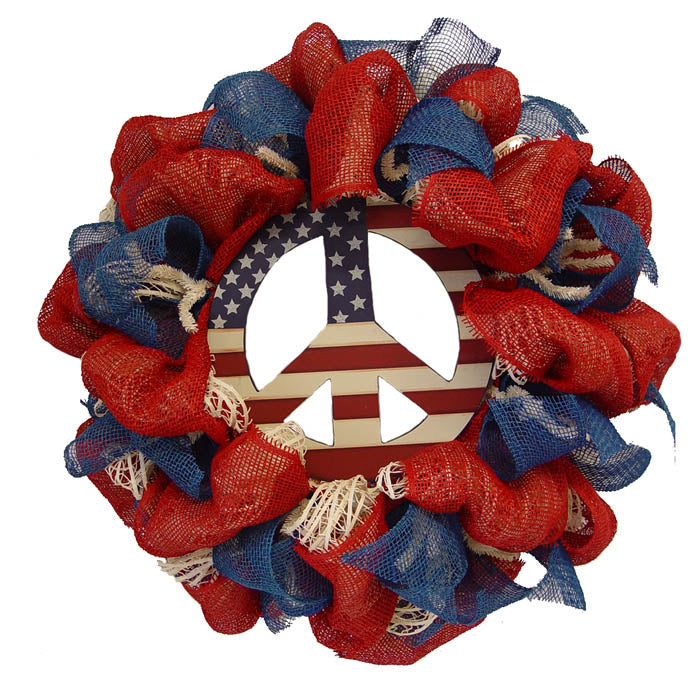 Wooden Retro Peace Sign
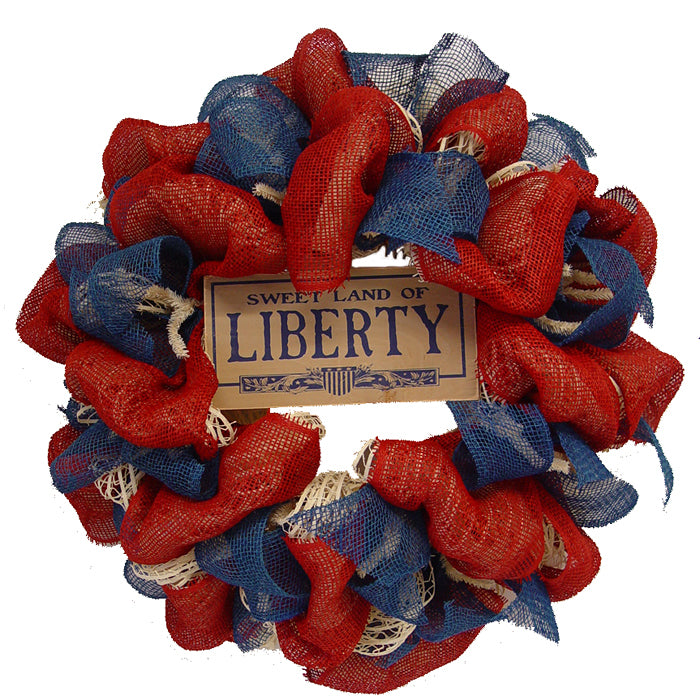
Sweet Land of Liberty - Wooden Sign
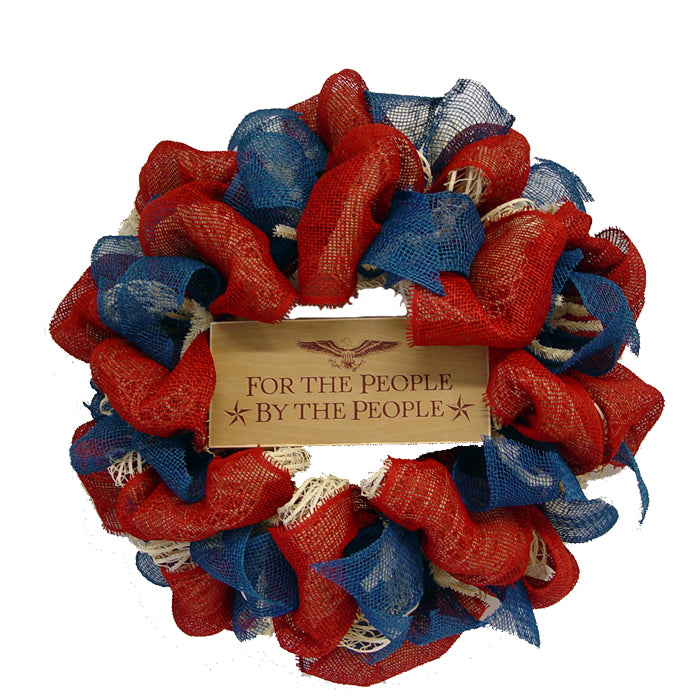
For the People By the People - Wooden Sign
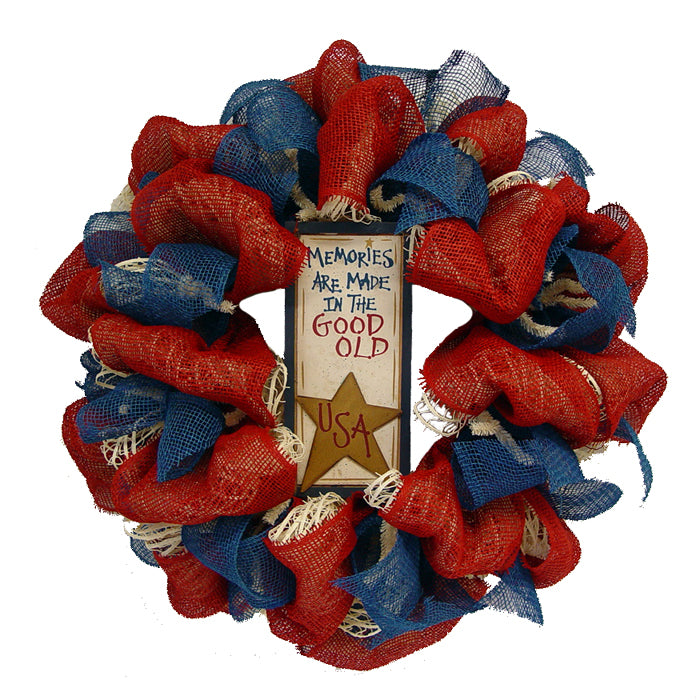
Memories are Made in the Good Old USA
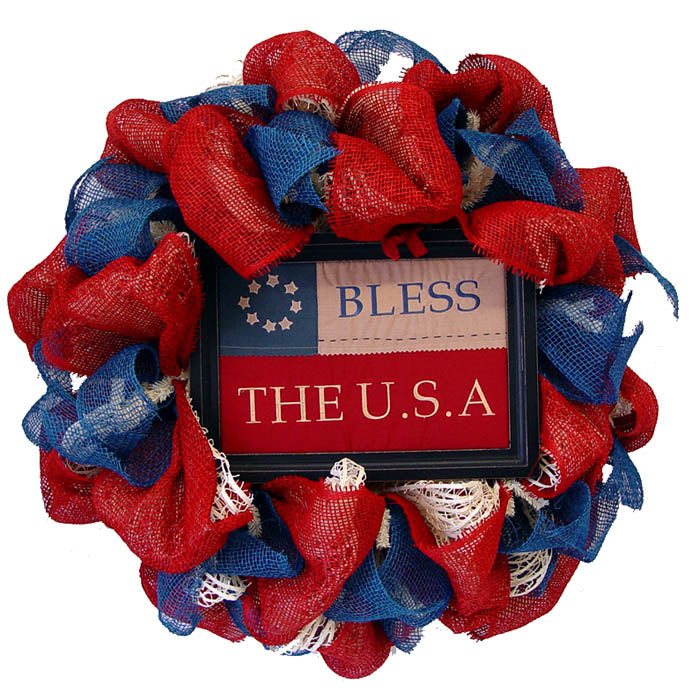
Bless the USA - Framed Fabric Sign
